Chat with us, powered by LiveChat
Home / Pumps / Motors / How to Change the Volts and Wire on a Jump selector motor for 115V

How to Change the Volts and Wire on a Jump selector motor for 115V

Difficulty:

Beginner

Some motors are capable of changing the voltage from 230v to 115v. Two main kinds of selectors are most common. The Mechanical selector and the Jumper selector. This Is a complete step-by-step guide on changing the voltage on a Jumper selector and wiring for the motor.

Tools Needed:

  • Needle nose Pliers
  • ¼” nut driver

Supplies Needed:

No items found.

Step 1

Remove the Motor Cover
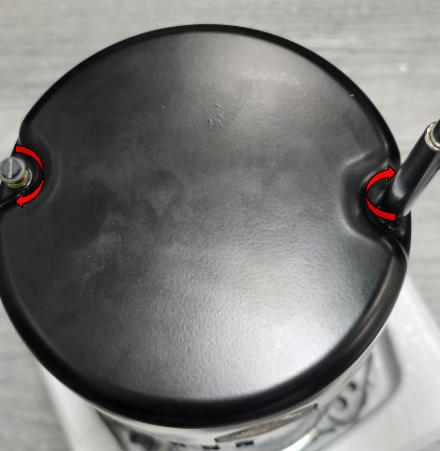
Remove the motor cover using a ¼” nut driver.

Step 2

Moving the Jumper Selector

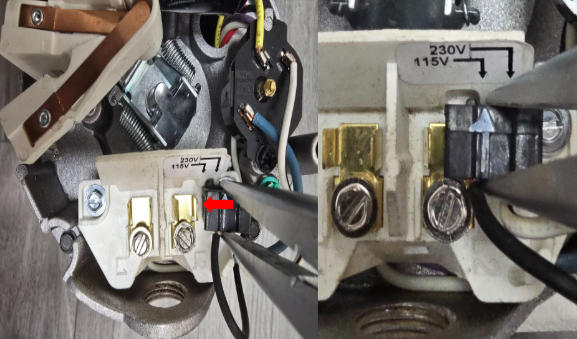
Move the jumper selector one pin connector to the left using needle nose pliers to change the motor to 115v.

Note: Sometimes the arrows don’t match directly up with each other.

Step 3

Connecting Wires Without Quick Disconnects
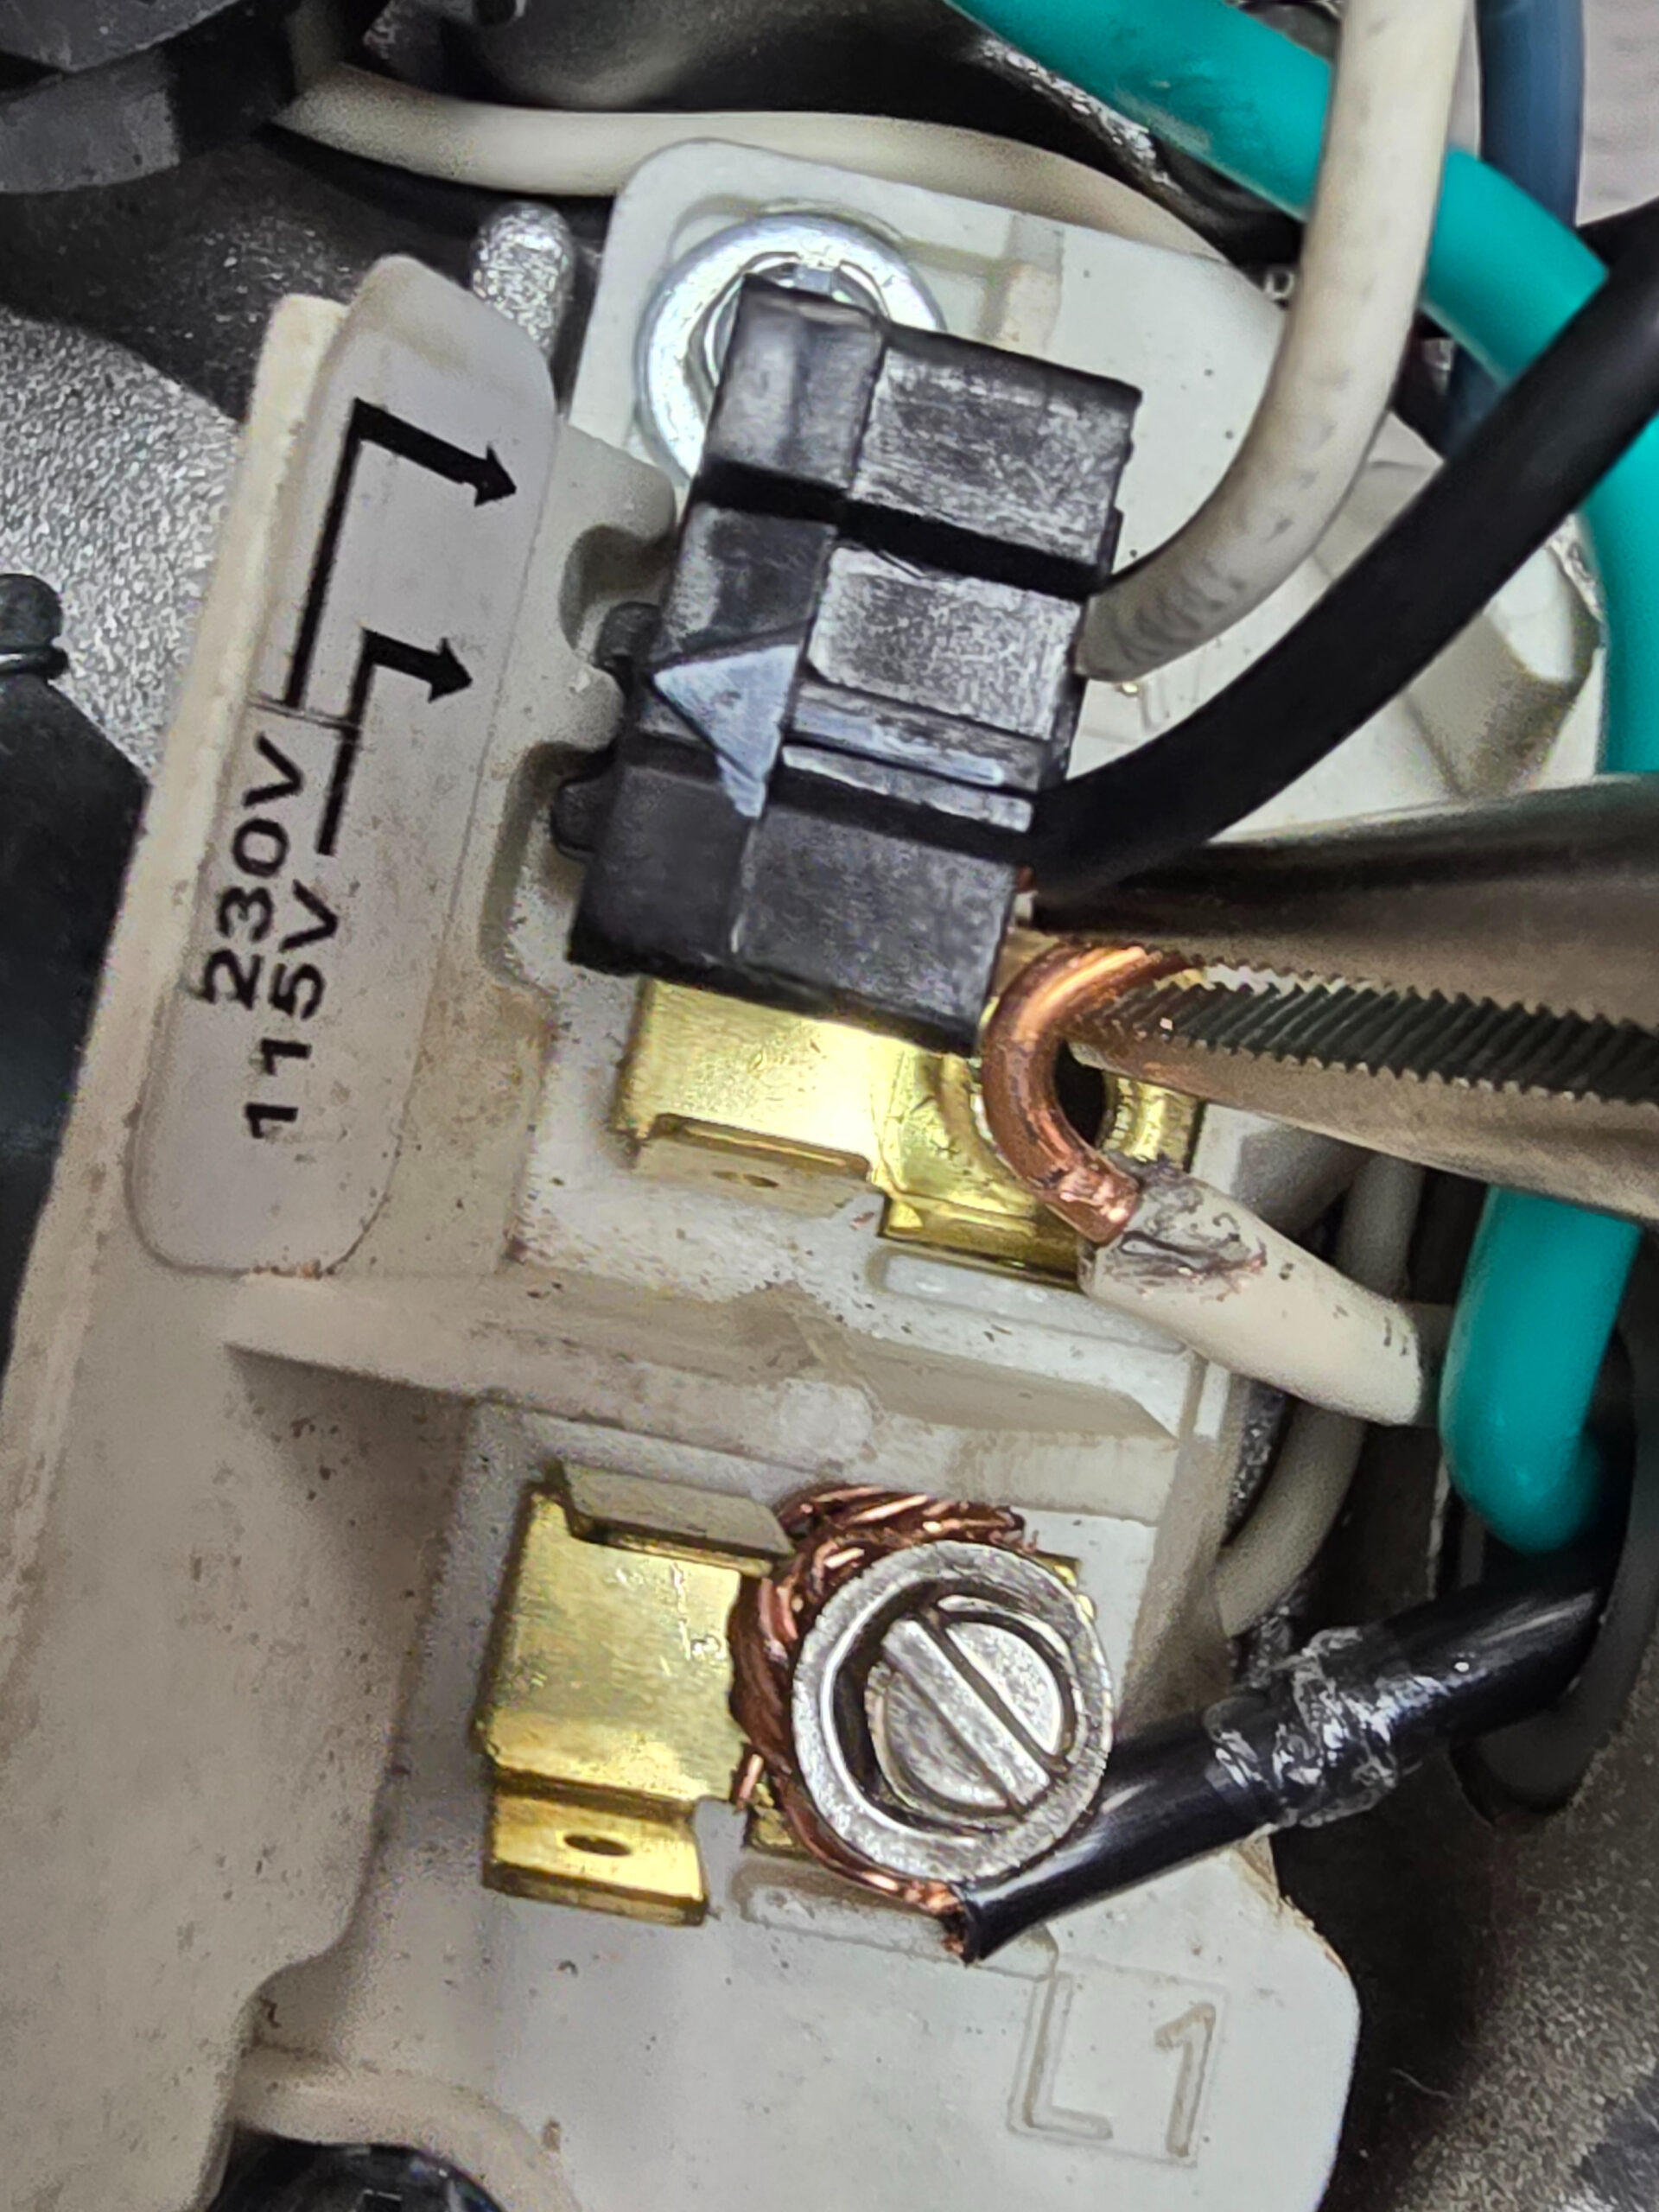
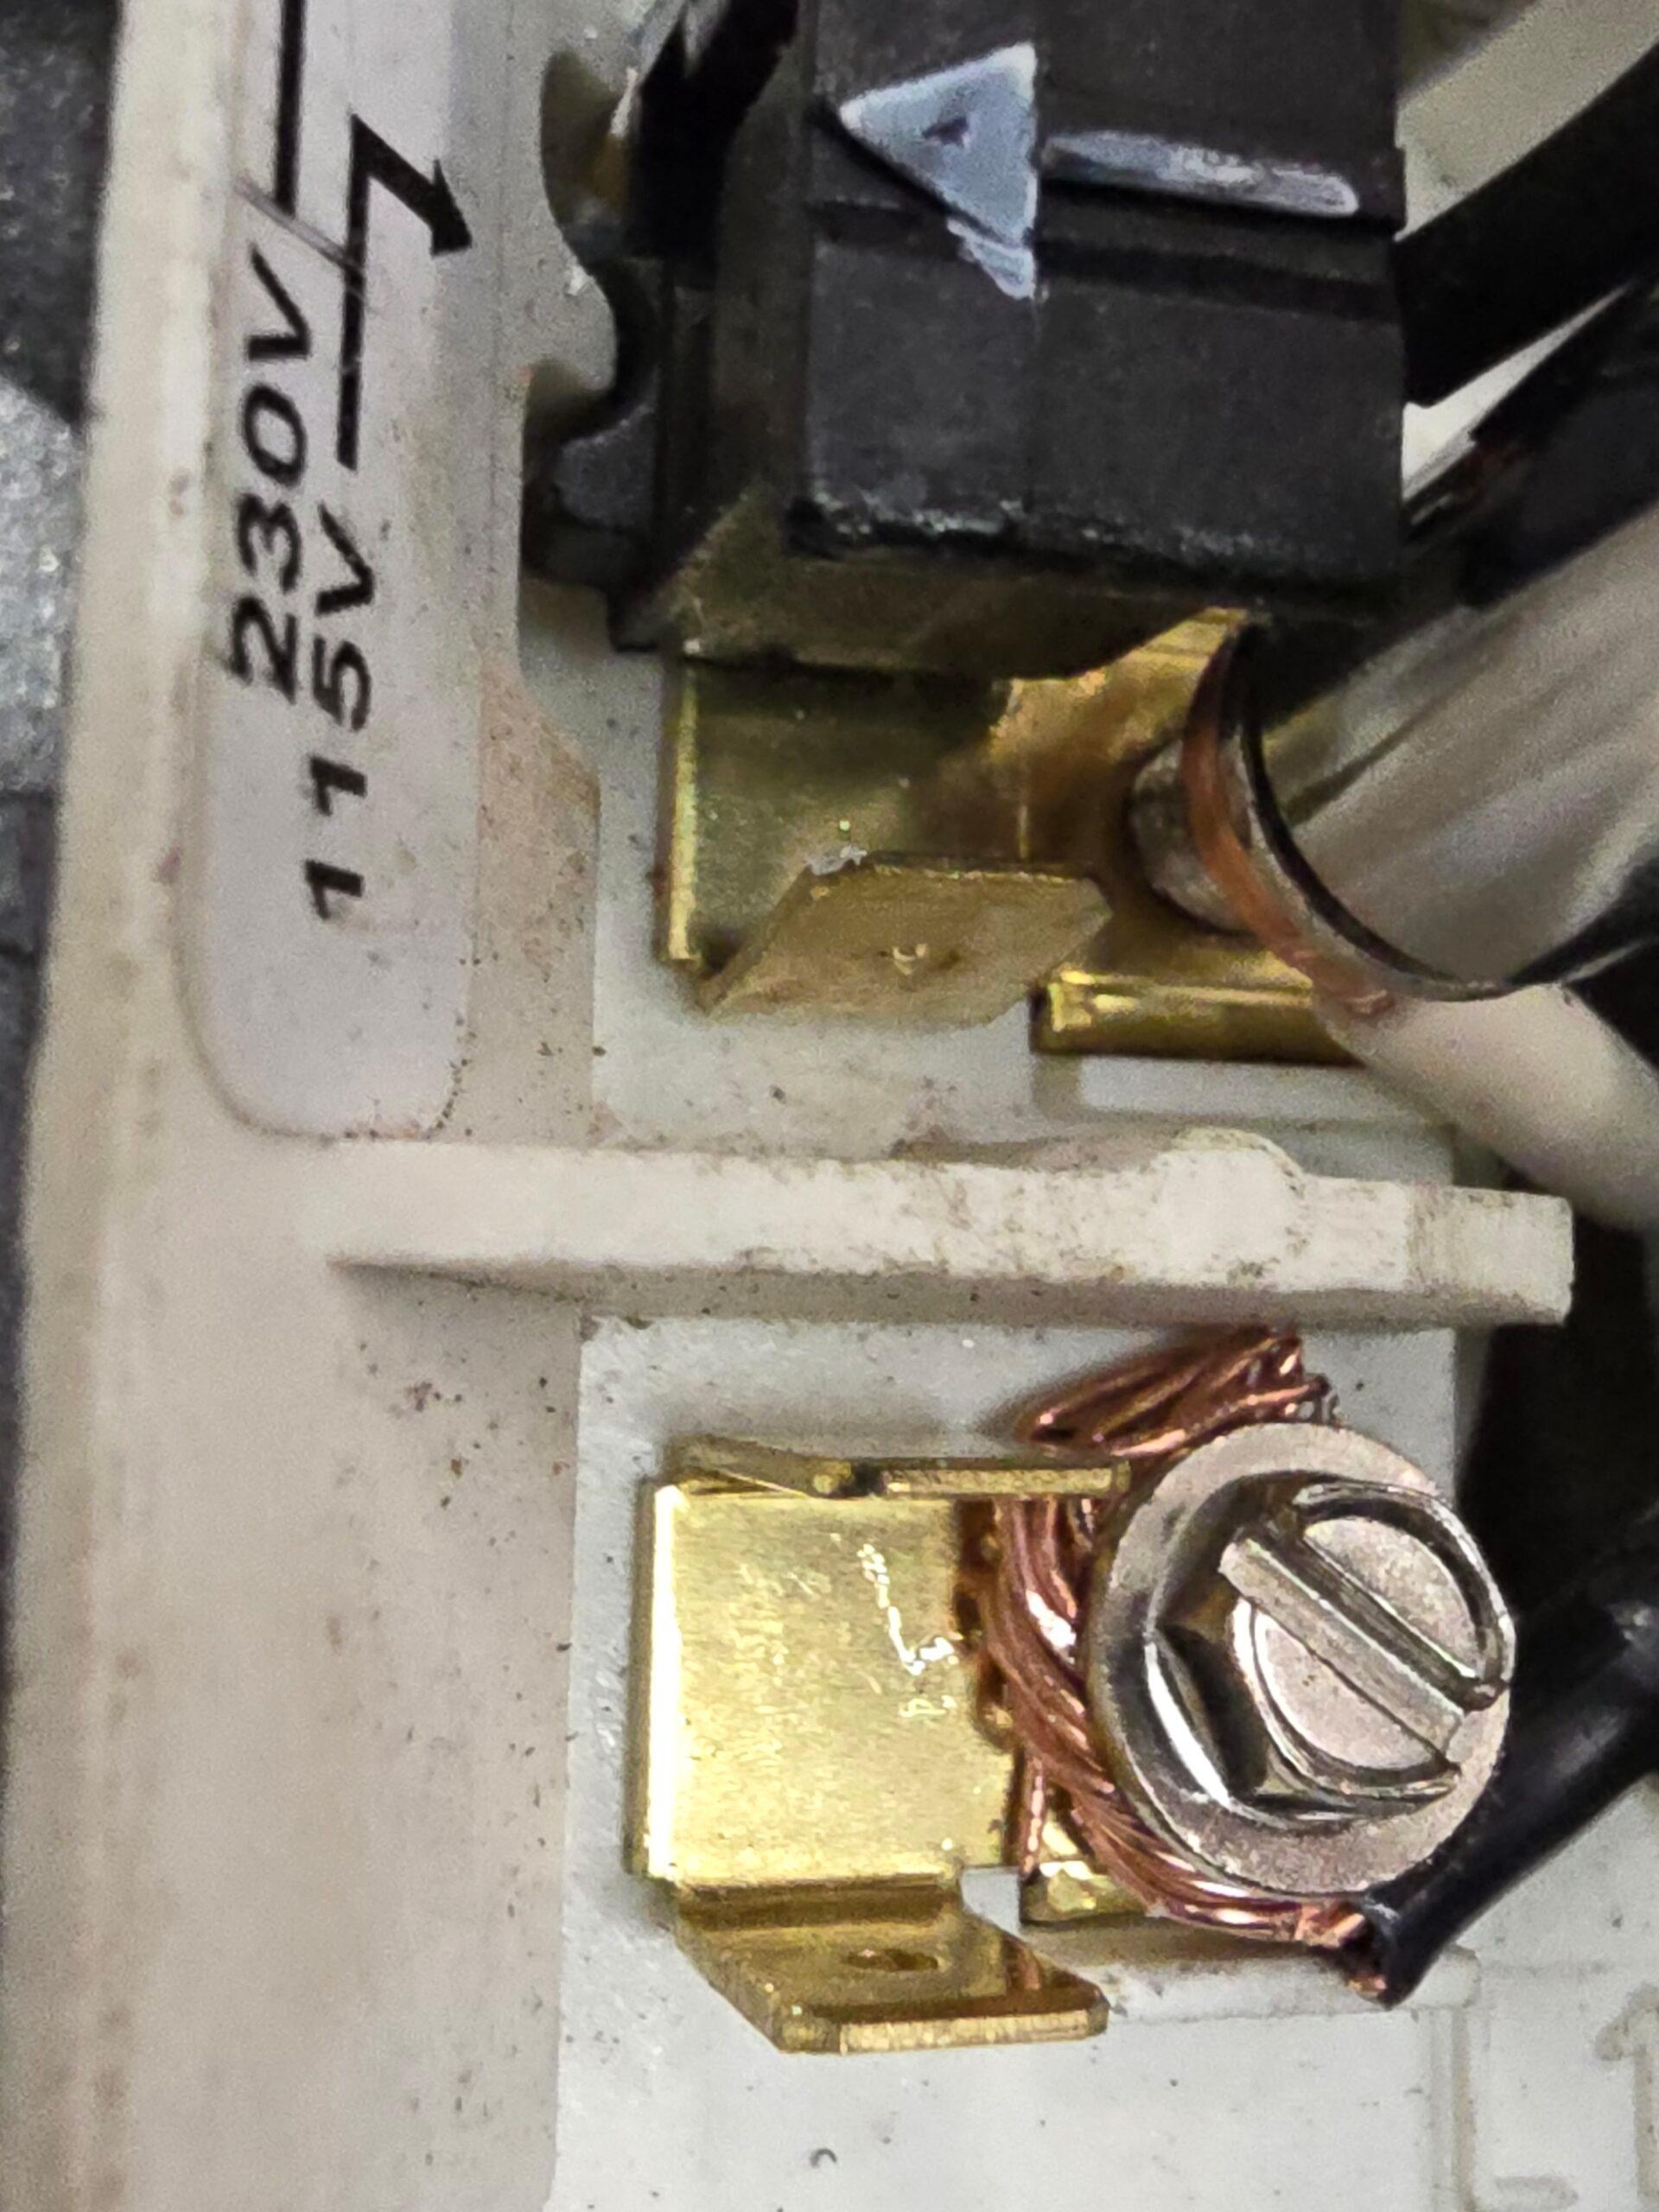
Create a candy cane bend forming to the right with needle nose pliers.

Step 4

Connecting the Motor Wires

Before connecting the wires, refer to the wiring diagram for proper connection. Use a ¼” nut driver to connect the wires to the terminals.

Step 5

Reattach the Back Motor Cover

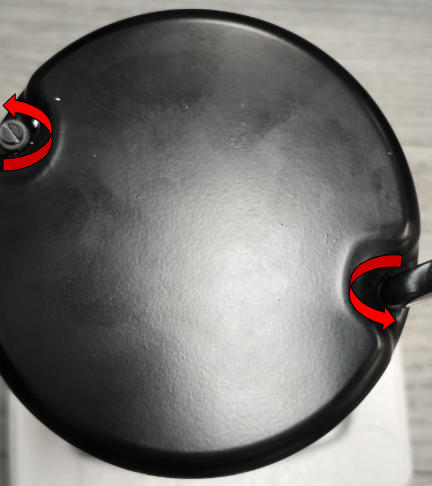
 Re-install the back motor cover by fastening the screws down using the ¼” nut driver.

Please Click Here for How to Change the Volts and Wire on a Mechanical Selector Motor for 115V

Watch Video

No video available.

Related Videos

author avatar
Tyler Aviles

Leave a Reply

Your email address will not be published. Required fields are marked *