Chat with us, powered by LiveChat
Home / Valves / How To Install A Multiport Valve Rebuild Kit

How To Install A Multiport Valve Rebuild Kit

Difficulty:

Intermediate

Occasionally parts might wear out or break on your multiport valve. This can cause issues with the way your filtration works. Some signs your valve might be having issues are water coming out of the waste line while in filtration, Powder or sand pushing back into the pool, and the diverter getting stuck in the up position. This is a complete step-by-step how-to guide on installing a multiport valve rebuild kit.

Tools Needed:

  • Rubber mallet
  • Philips head screwdriver
  • Trigger clamps
  • Pliers
  • Lube
  • Flathead screwdriver

Supplies Needed:

  • Multiport valve rebuild kit

Step 1

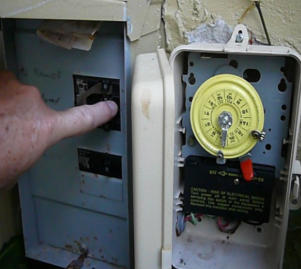
Turn Off the Power Going to the System
Step 2

Release the Pressure in the Filter
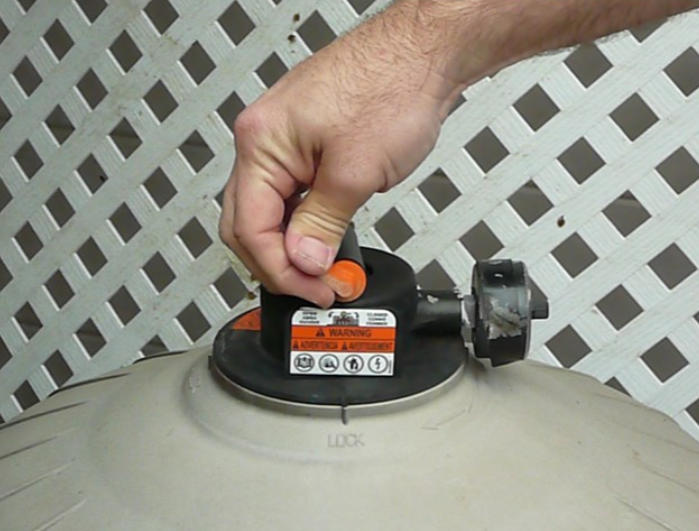
Use the air bleeder to let the air pressure out of the filter

Step 3

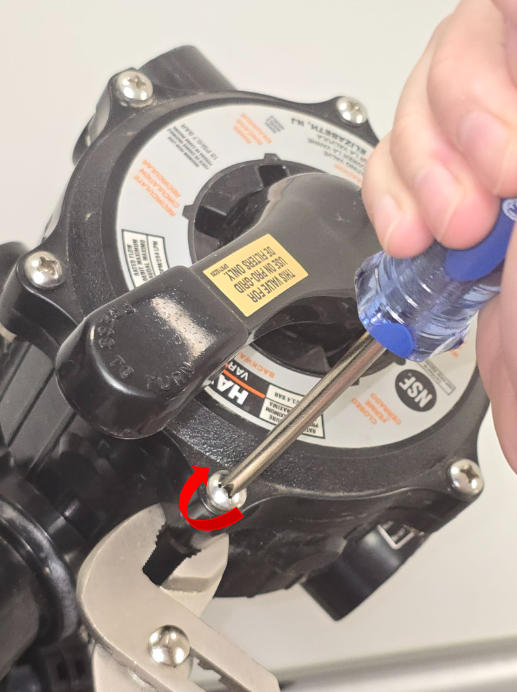
Remove the Screws and Nuts
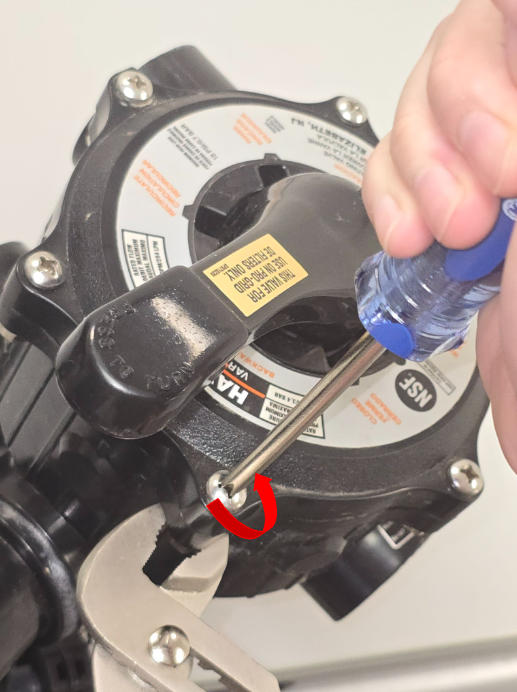
Use a Philips head screwdriver and pliers to remove the screws and nuts that hold the cover to the base.

Step 4

Remove the Key Cover Assembly

Pull up on the handle to remove the key cover from the base.

Step 5

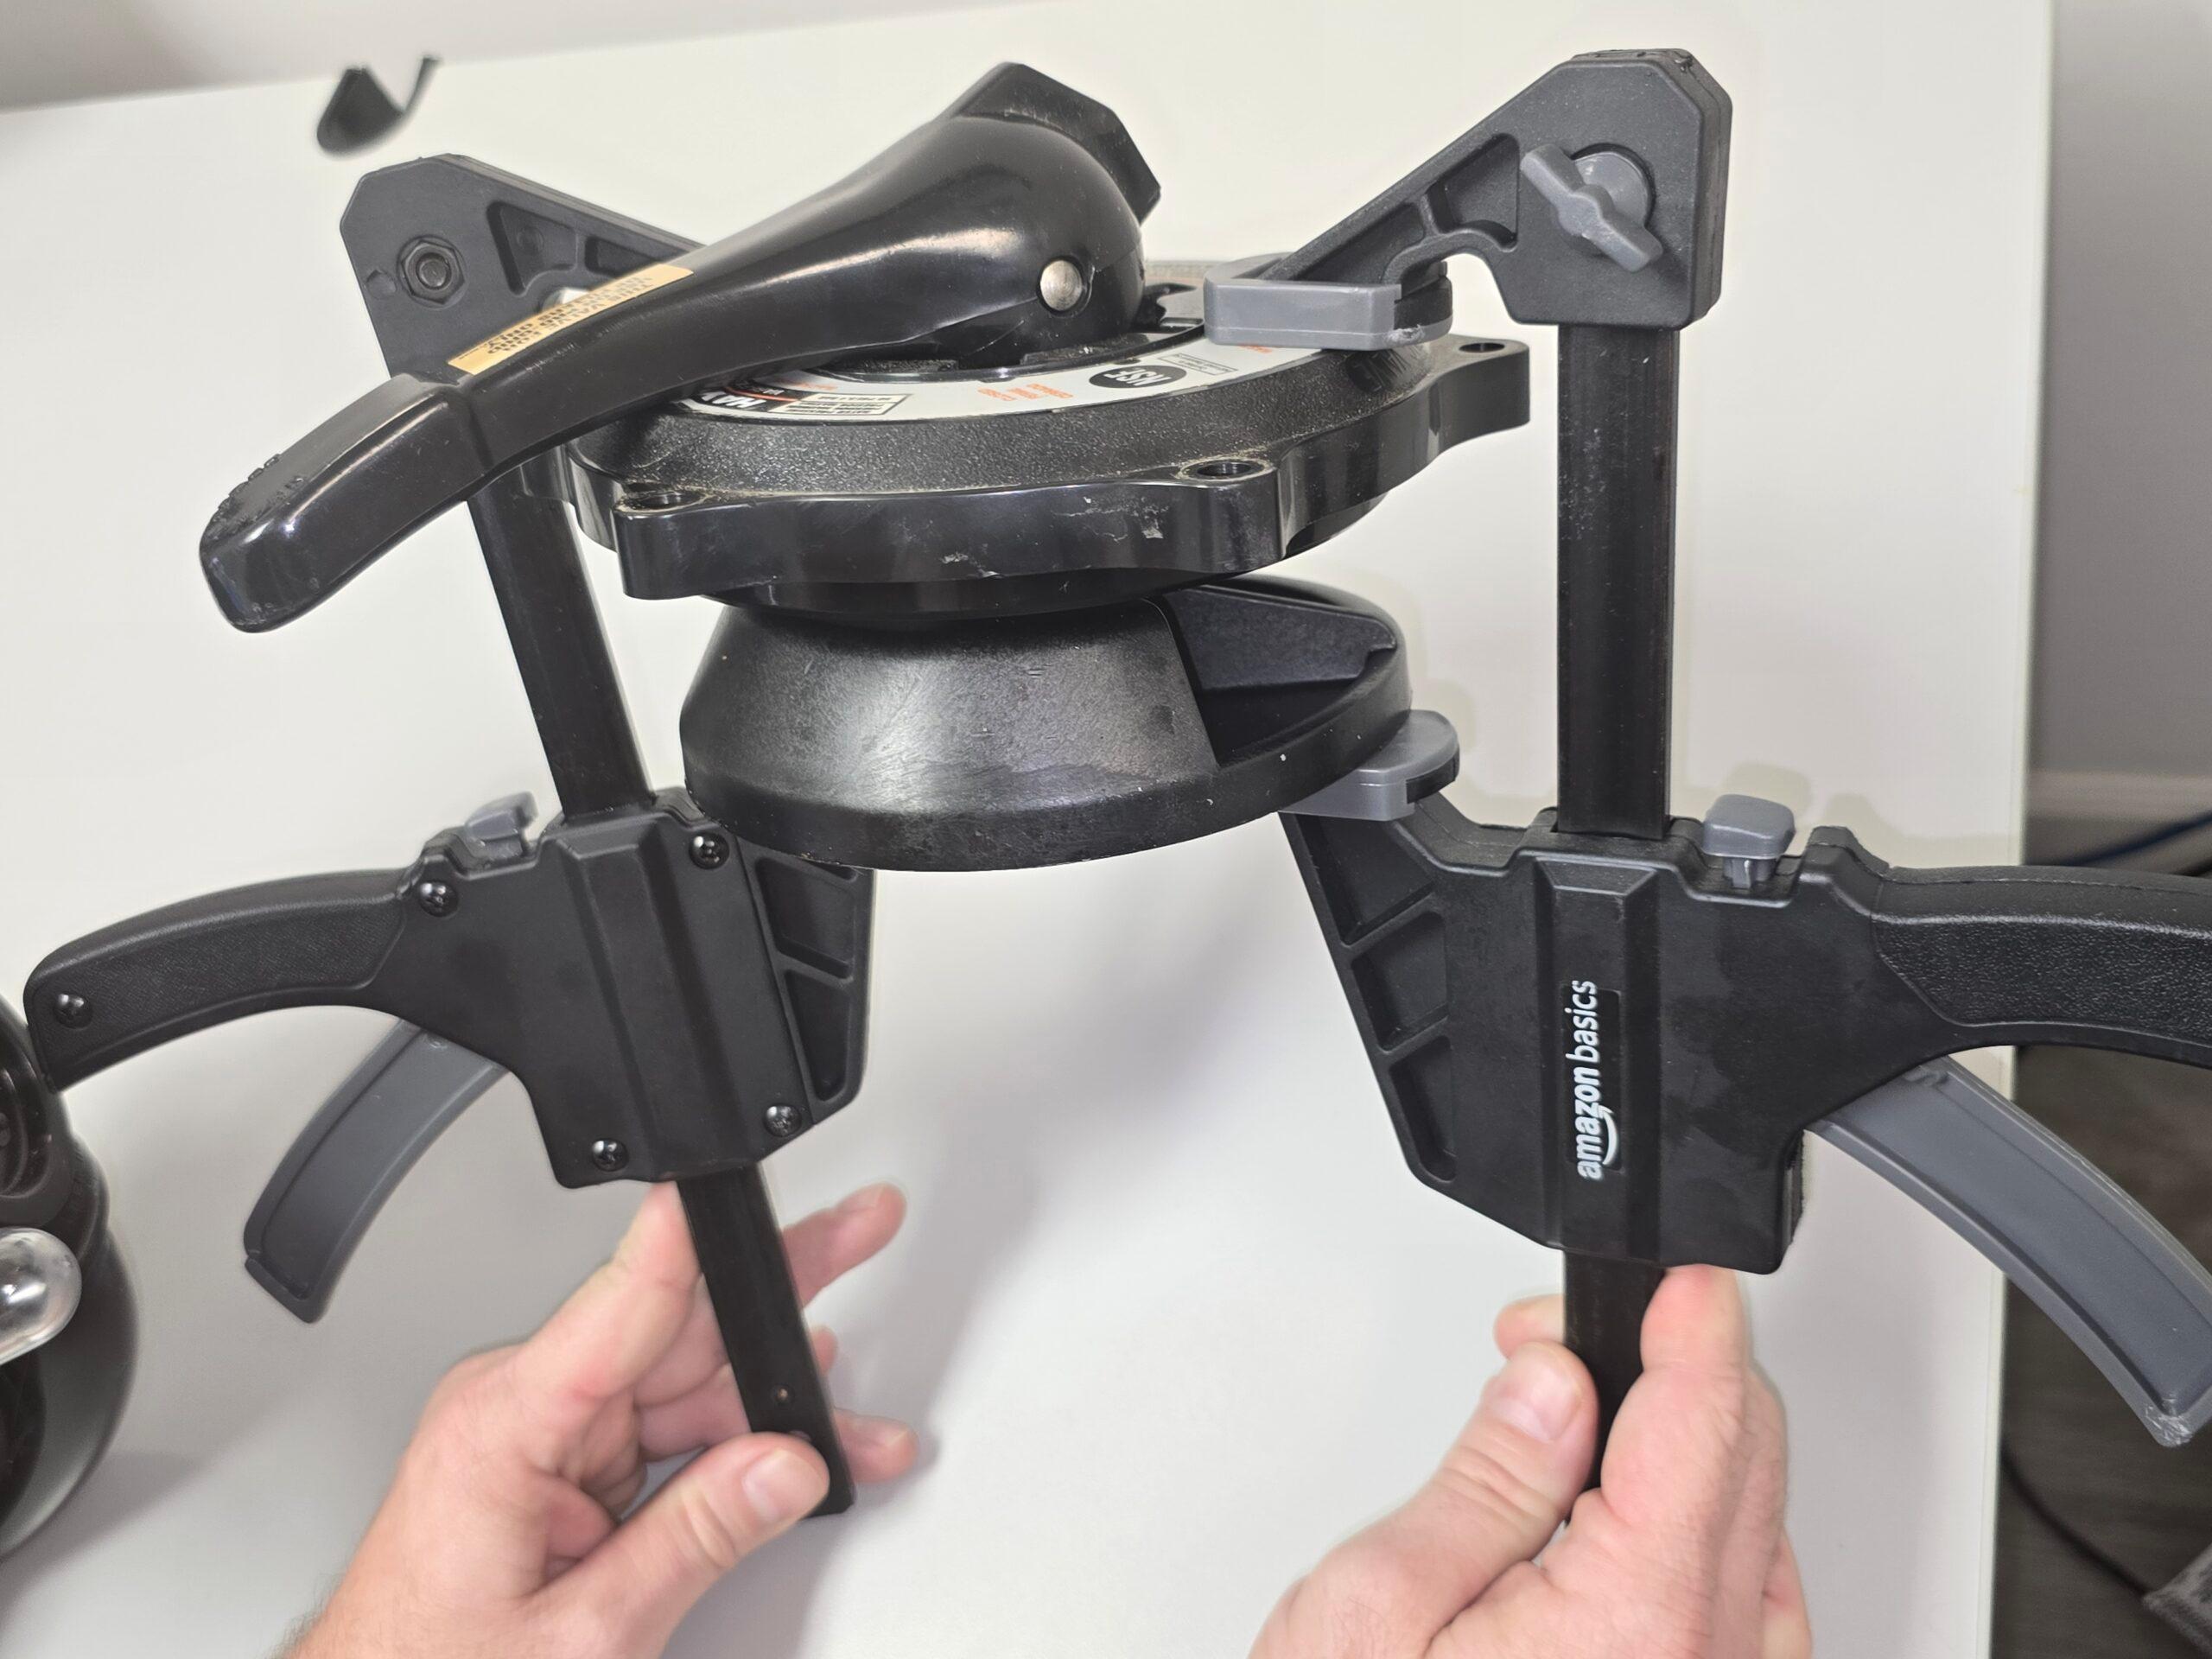
Install the Trigger Clamps

Use trigger clamps to keep the key cover compressed down.

Note: Make sure the clamps aren’t in the way of the handle pin.

Step 6

Remove the Pin from the Handle
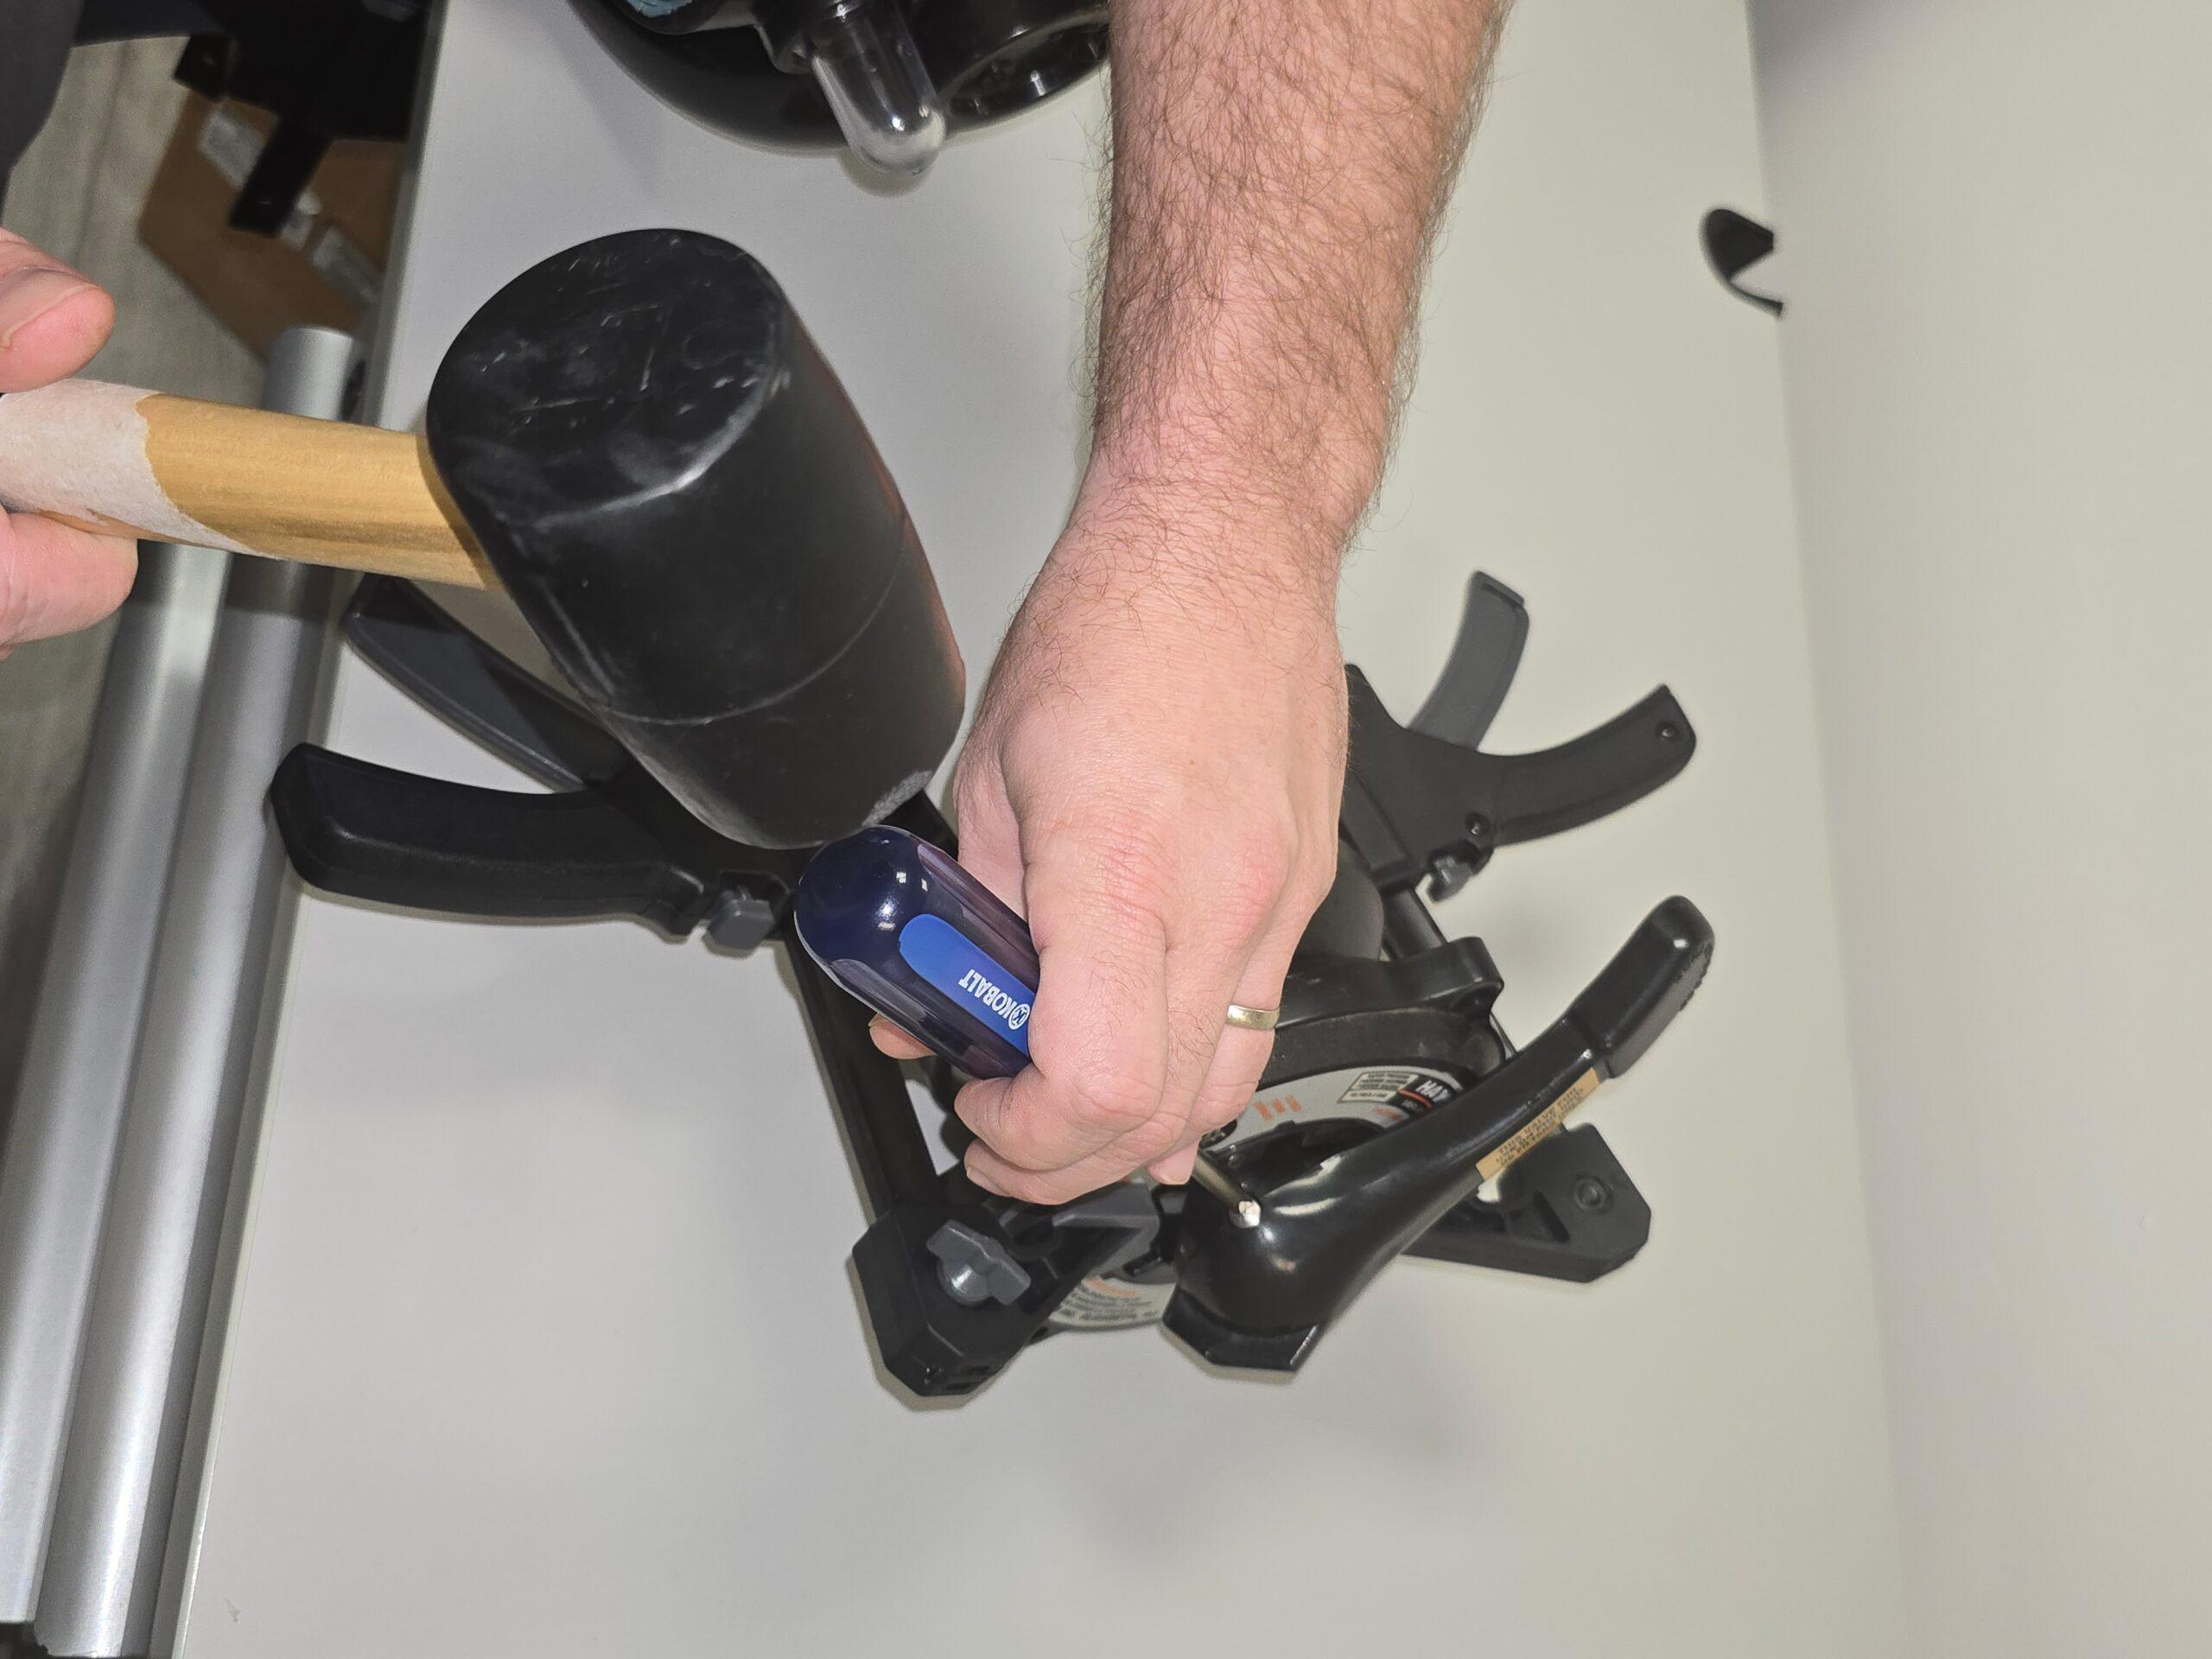
Use a Philips head screwdriver and rubber mallet to tap out the pin that holds the handle to the diverter. Make sure you do not lose the pin.

Step 7

Remove the Handle from the Diverter

Step 8

Remove the Trigger Clamps
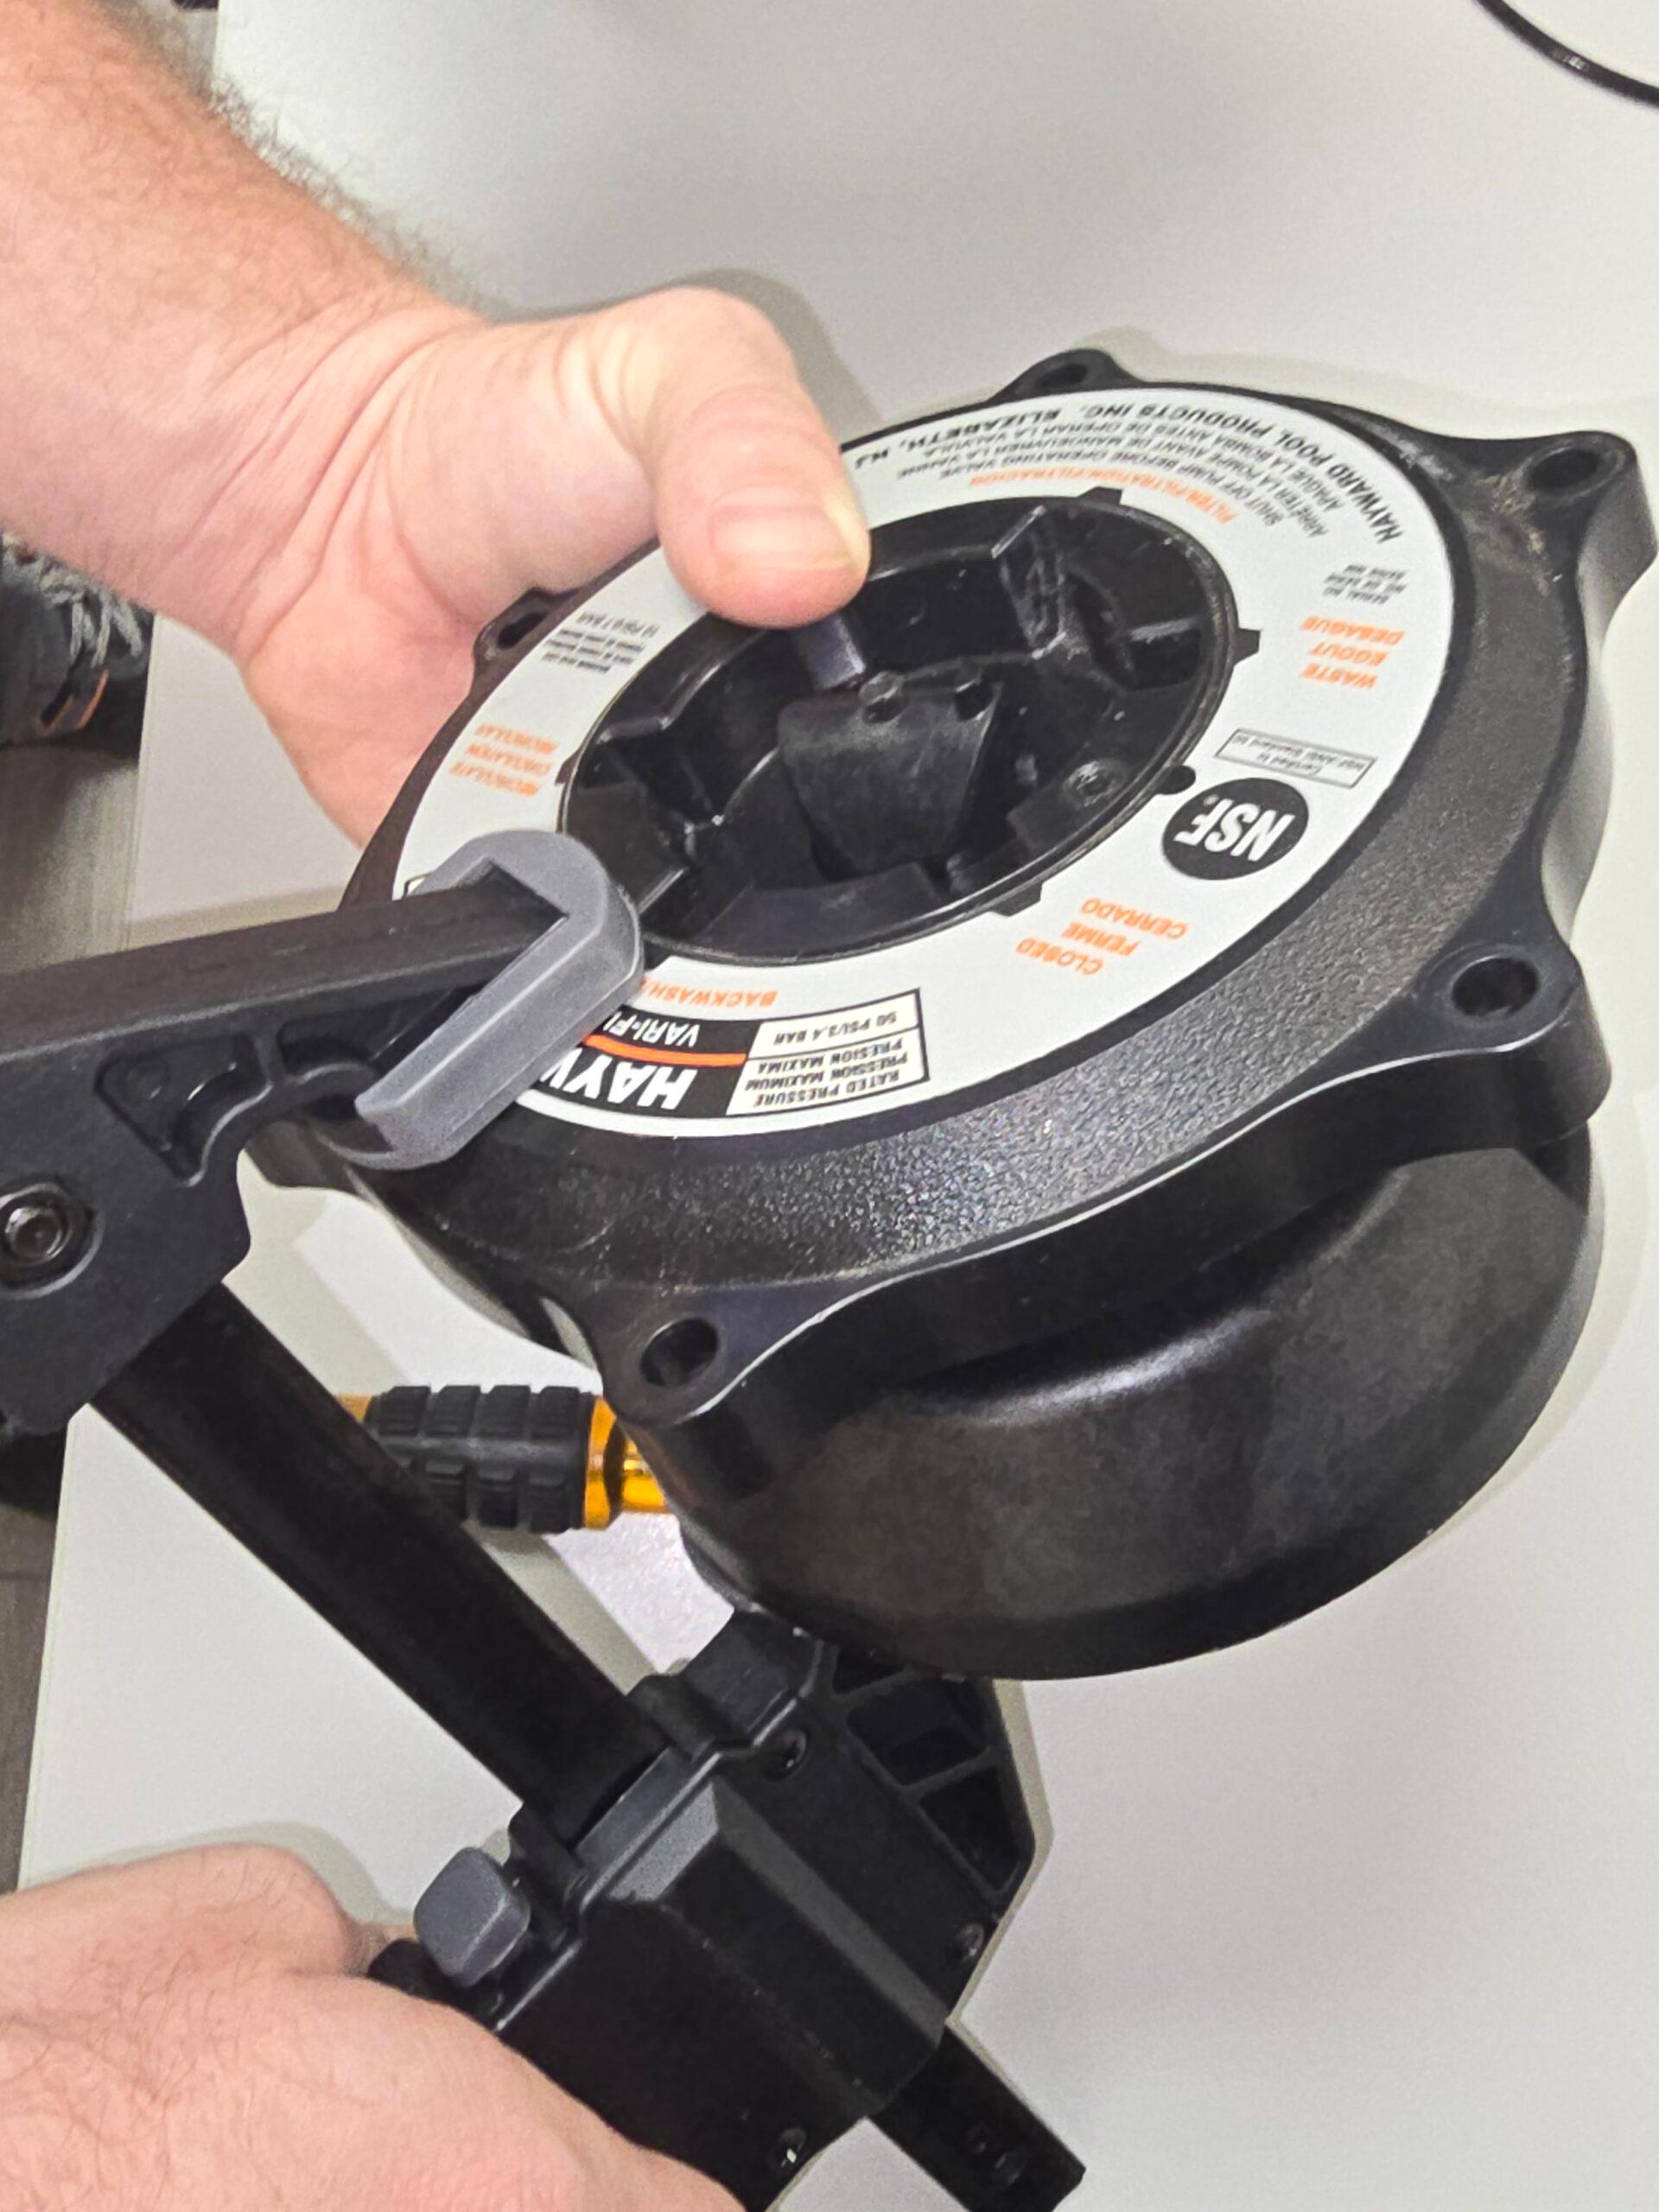
Carefully remove the trigger clamps.

Caution: There is a spring under the cover. Release the clamps slowly to avoid injury and loss of parts.

Step 9

Remove the Top Cover

Step 10

Remove the Old Spring and Washer
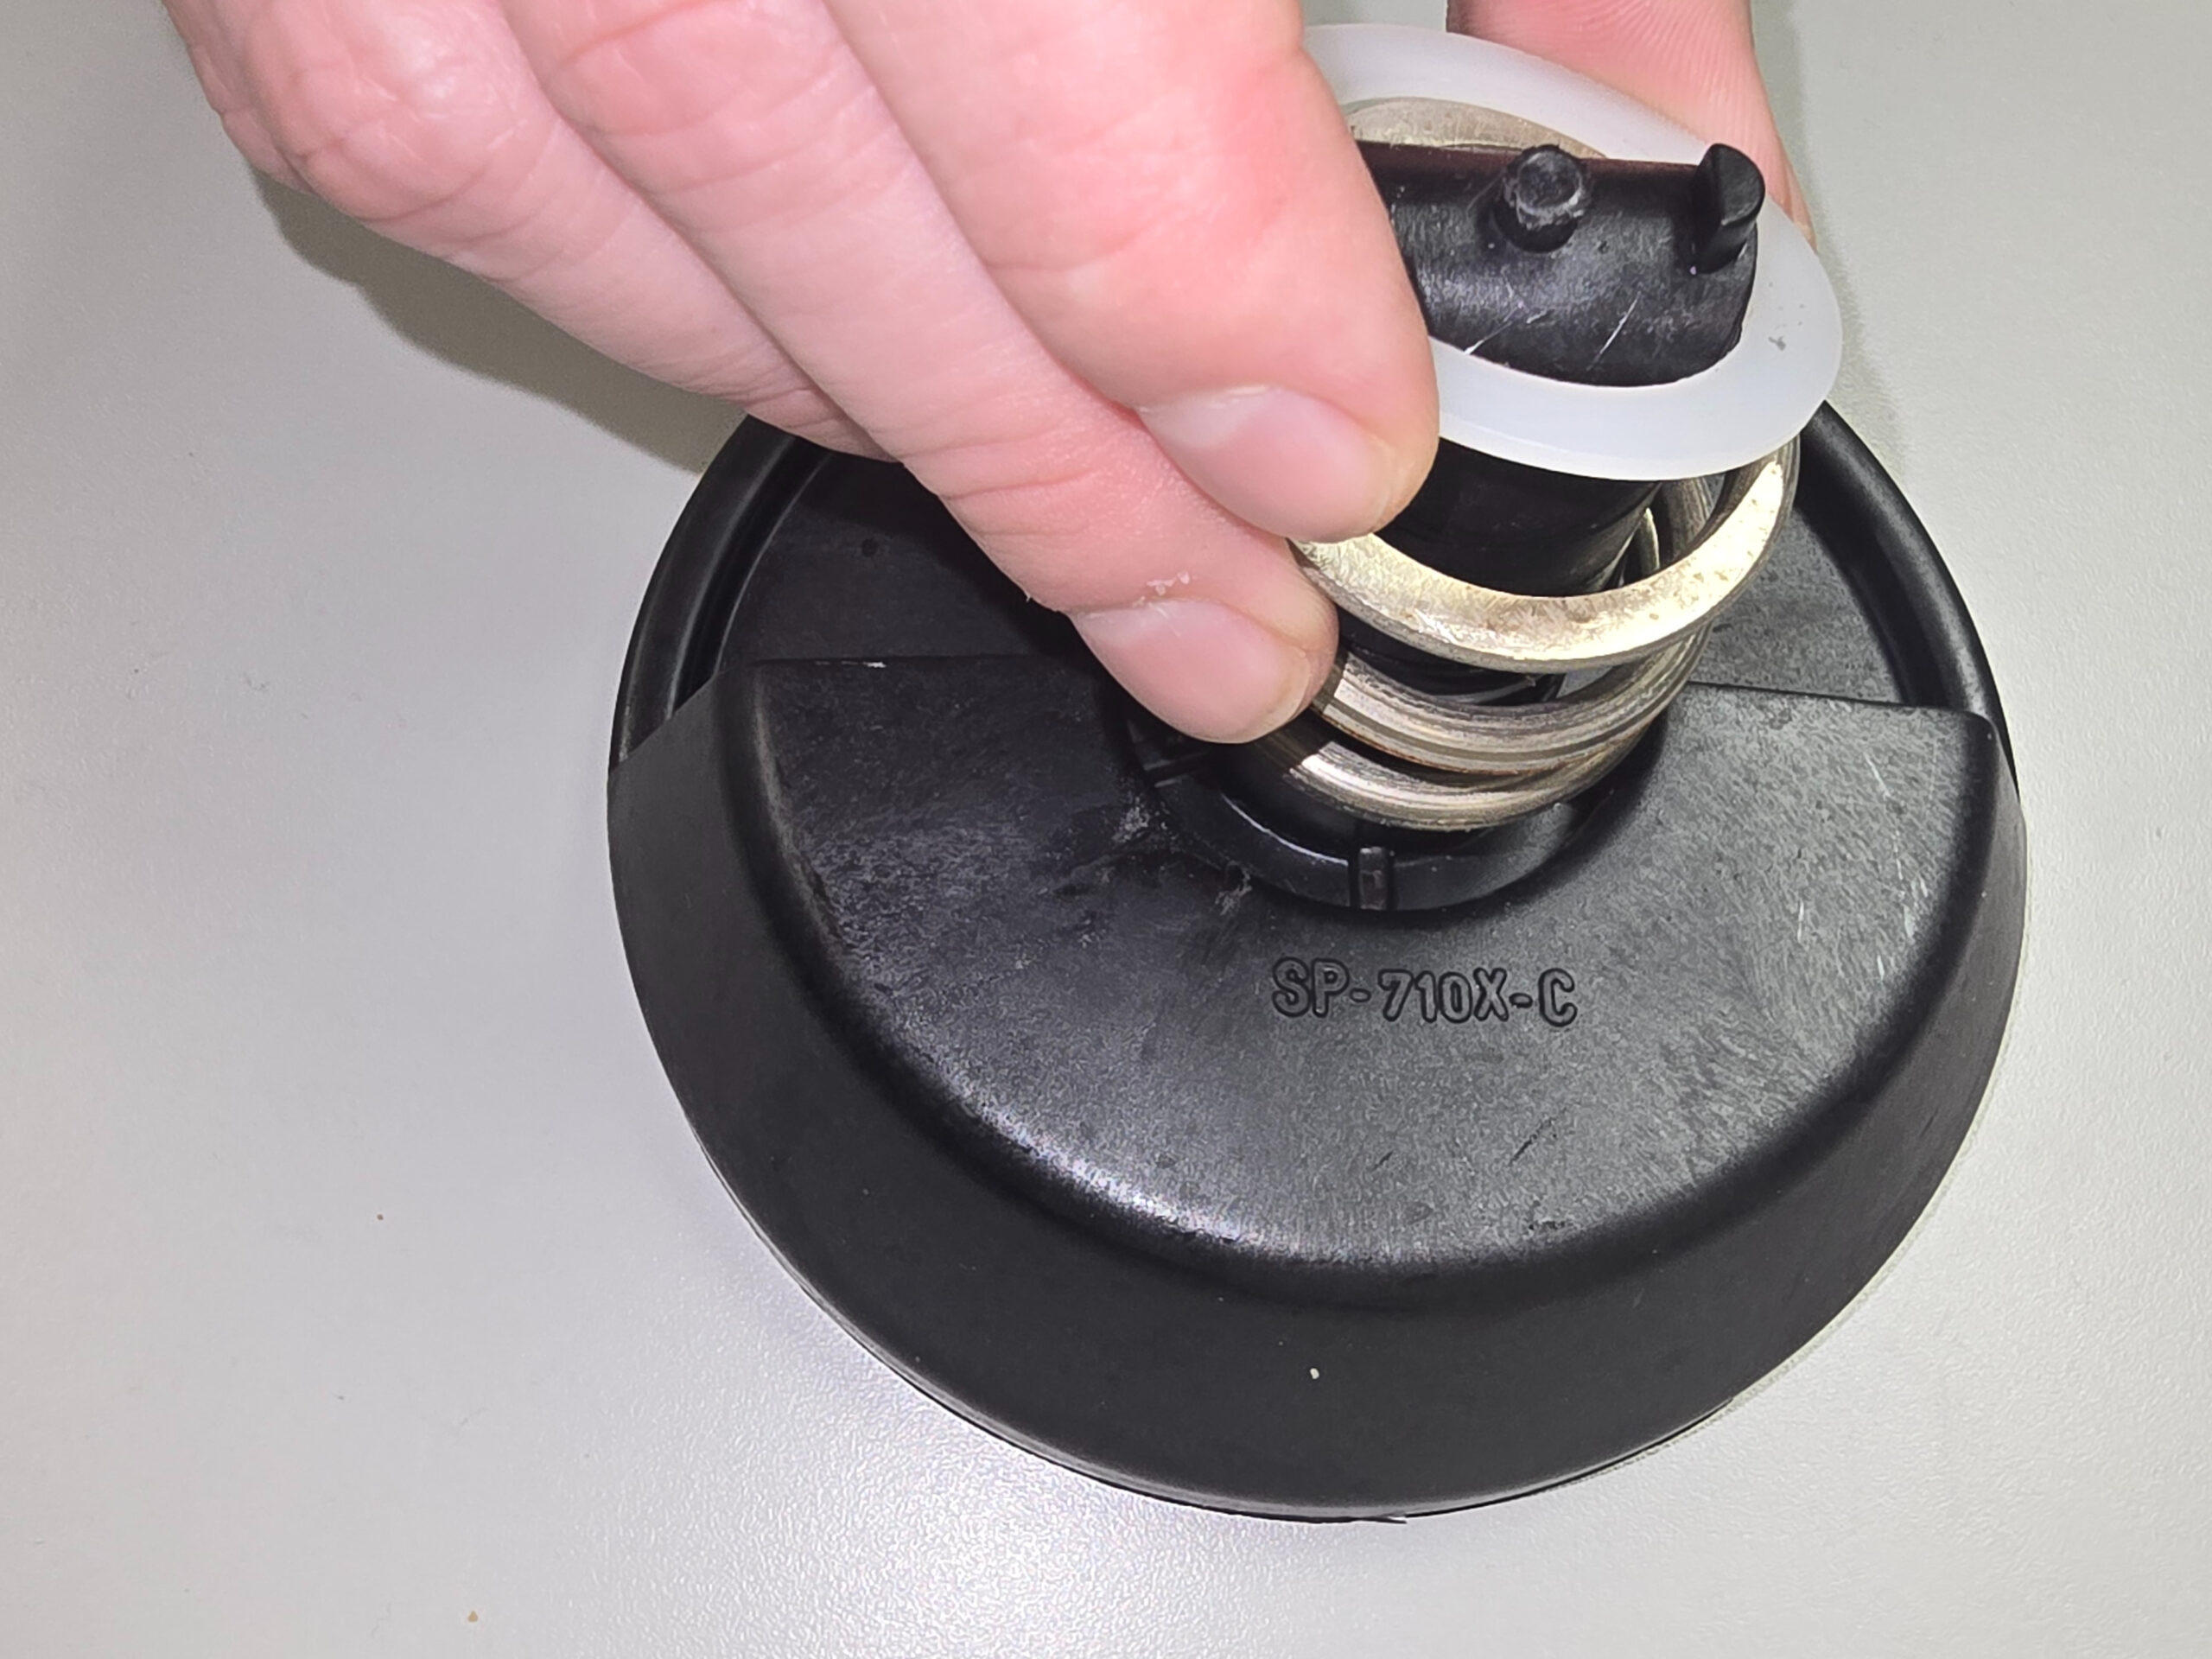
Step 11

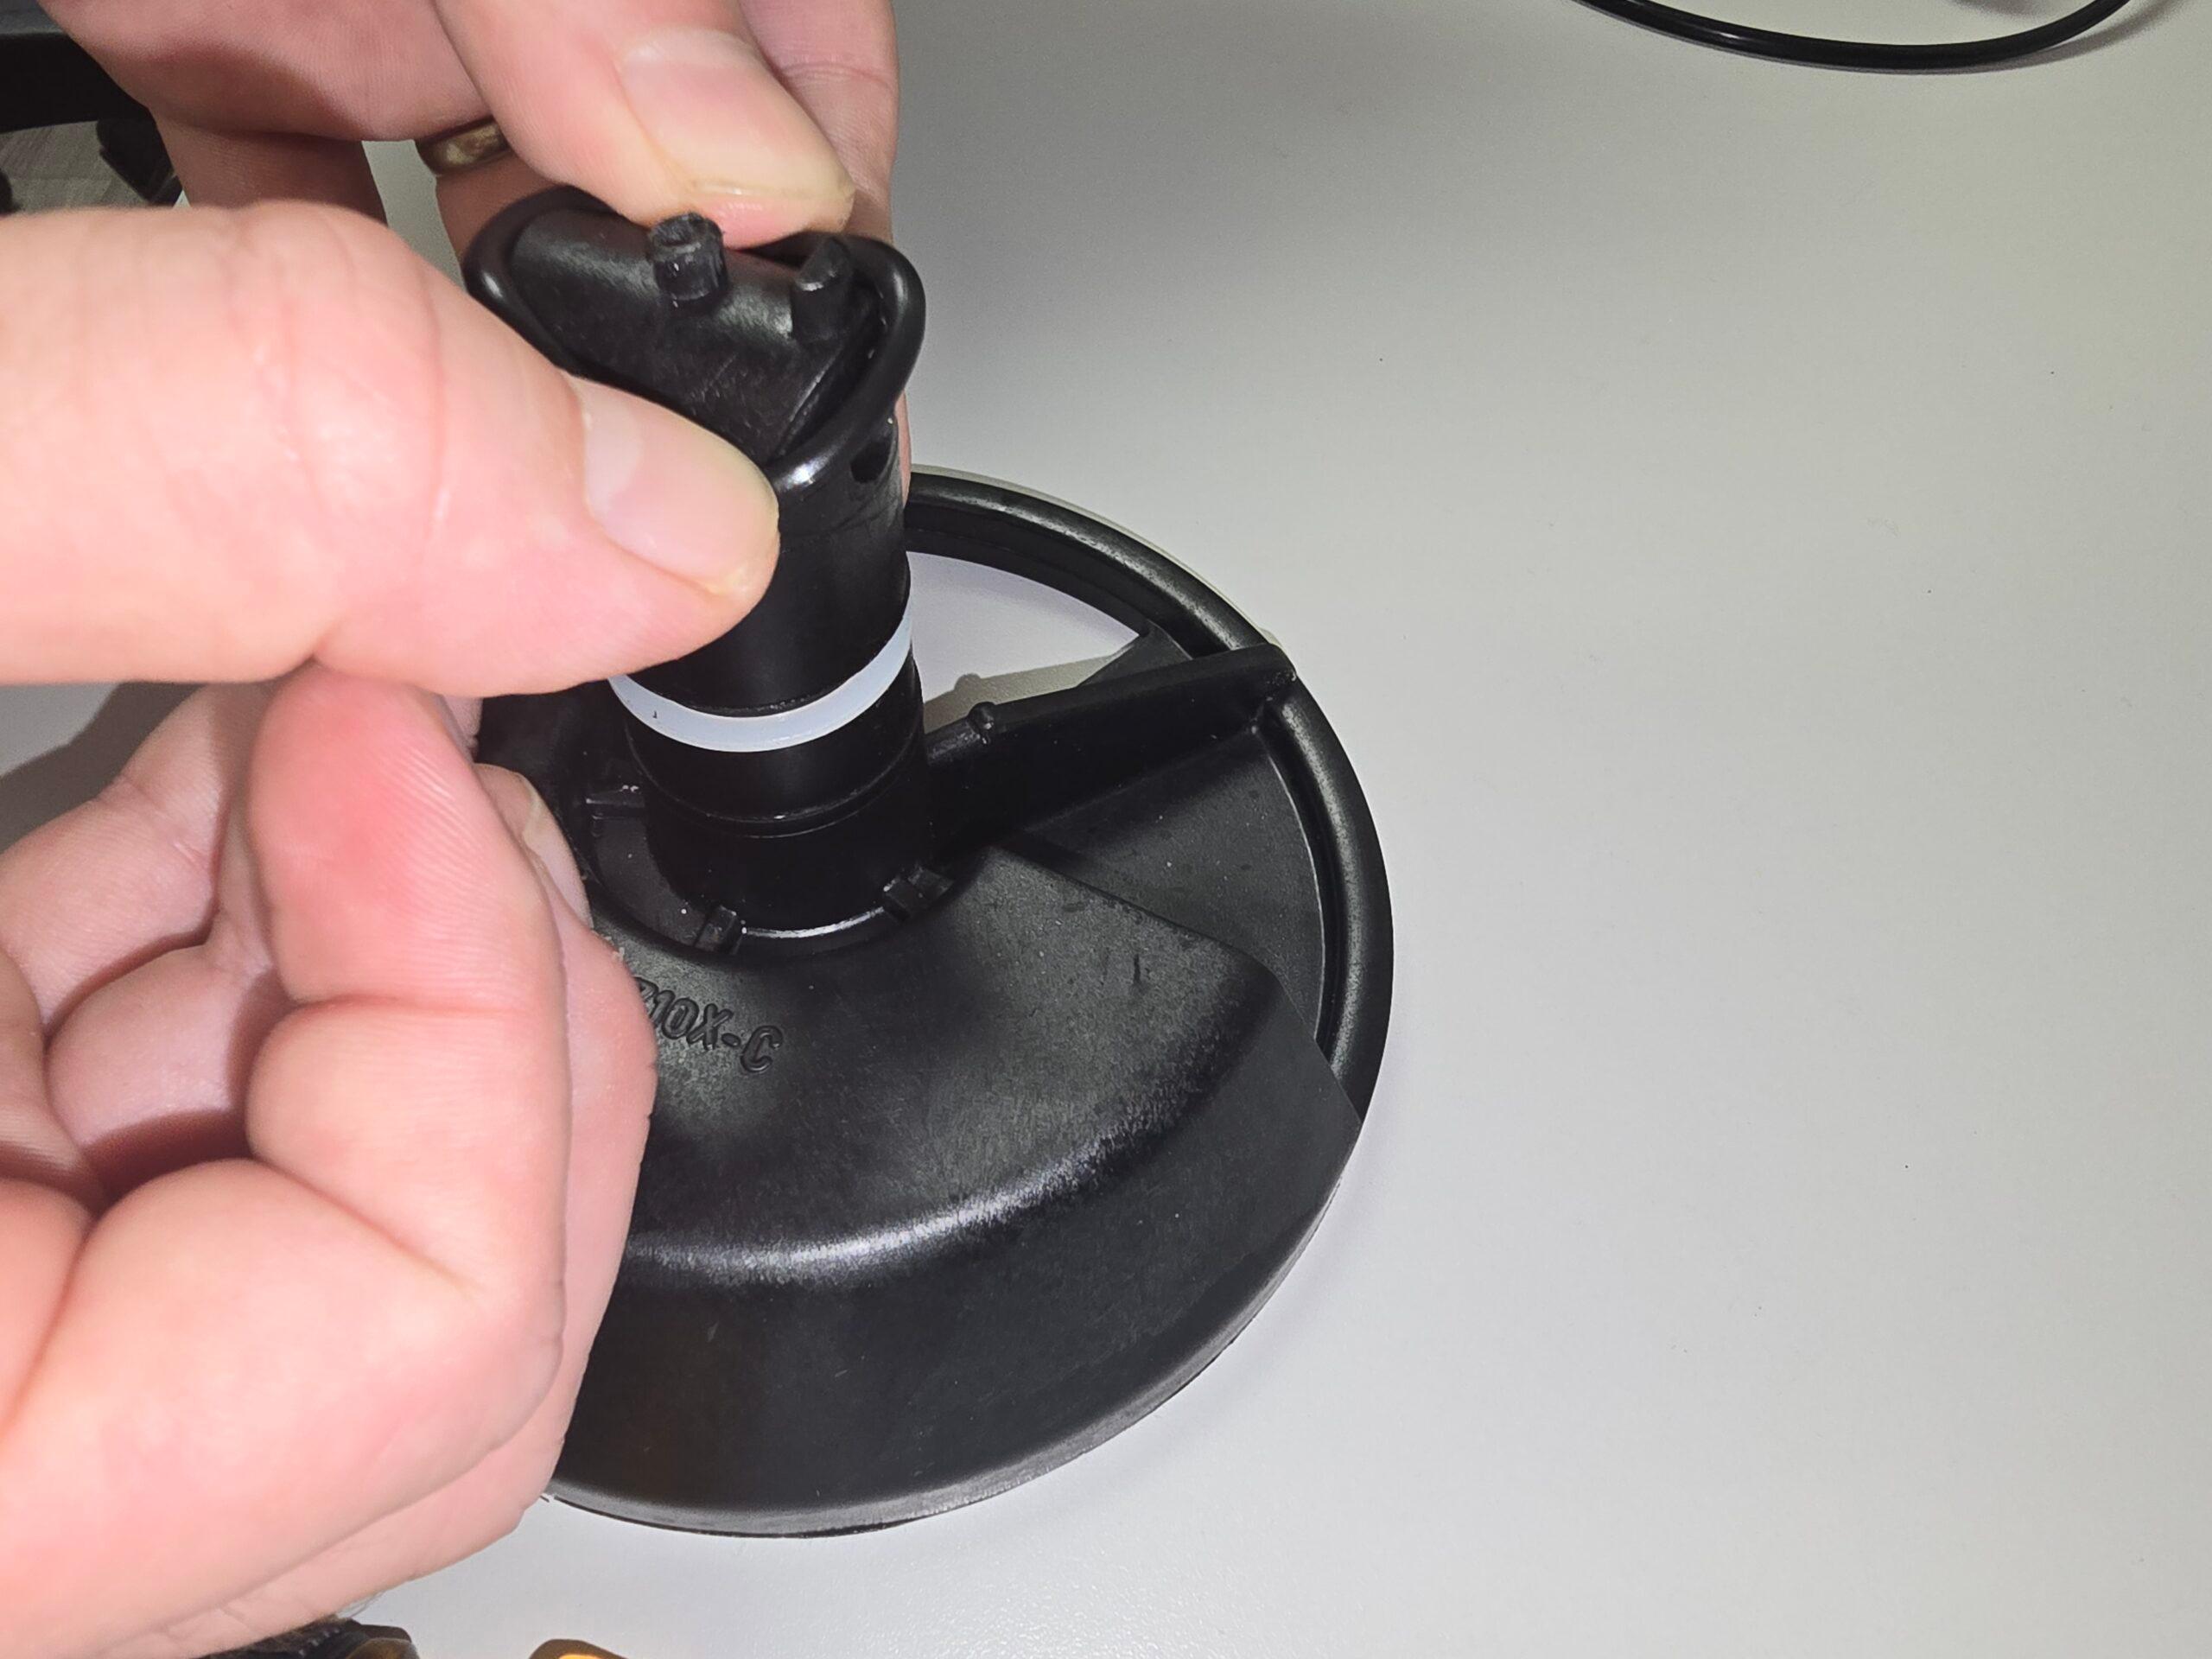
Remove the Diverter Stem O-rings
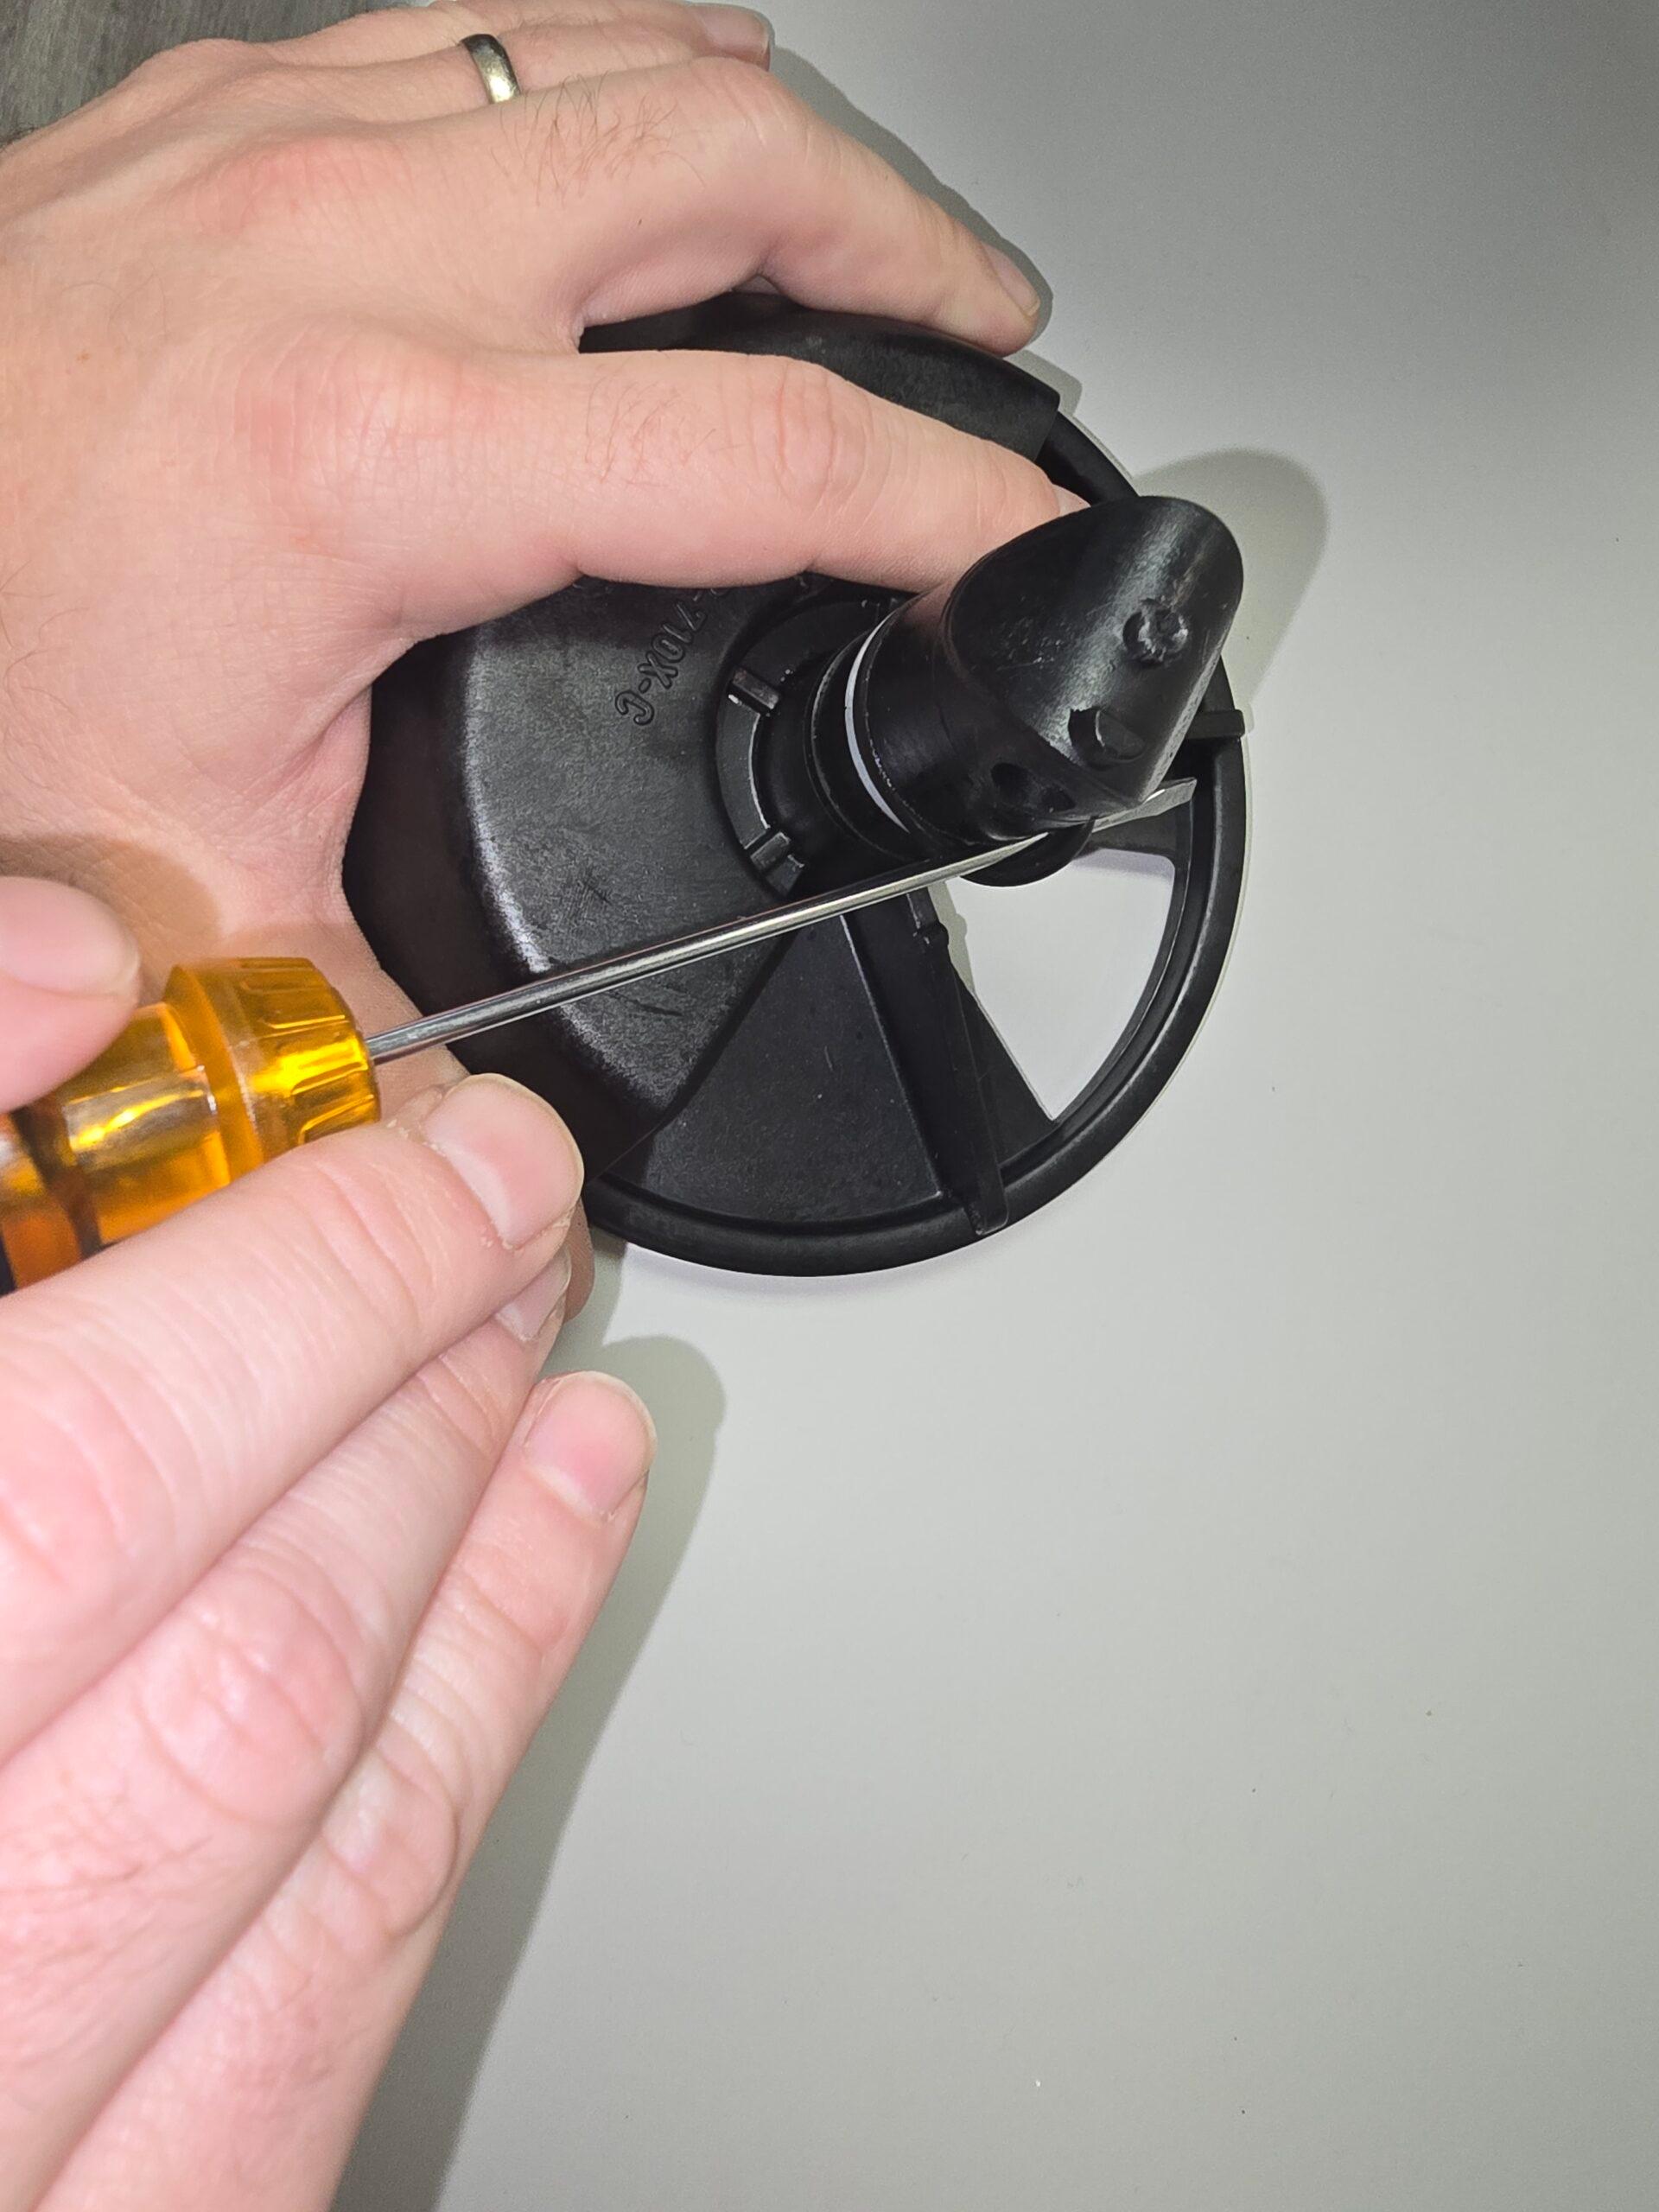
Use a flat-head screwdriver to remove the o-rings from the stem. 

Step 12

Install the New O-ring

Lube the new o-rings and slip them over the diverter into the notch.

Step 13

Install New Spring and Washer
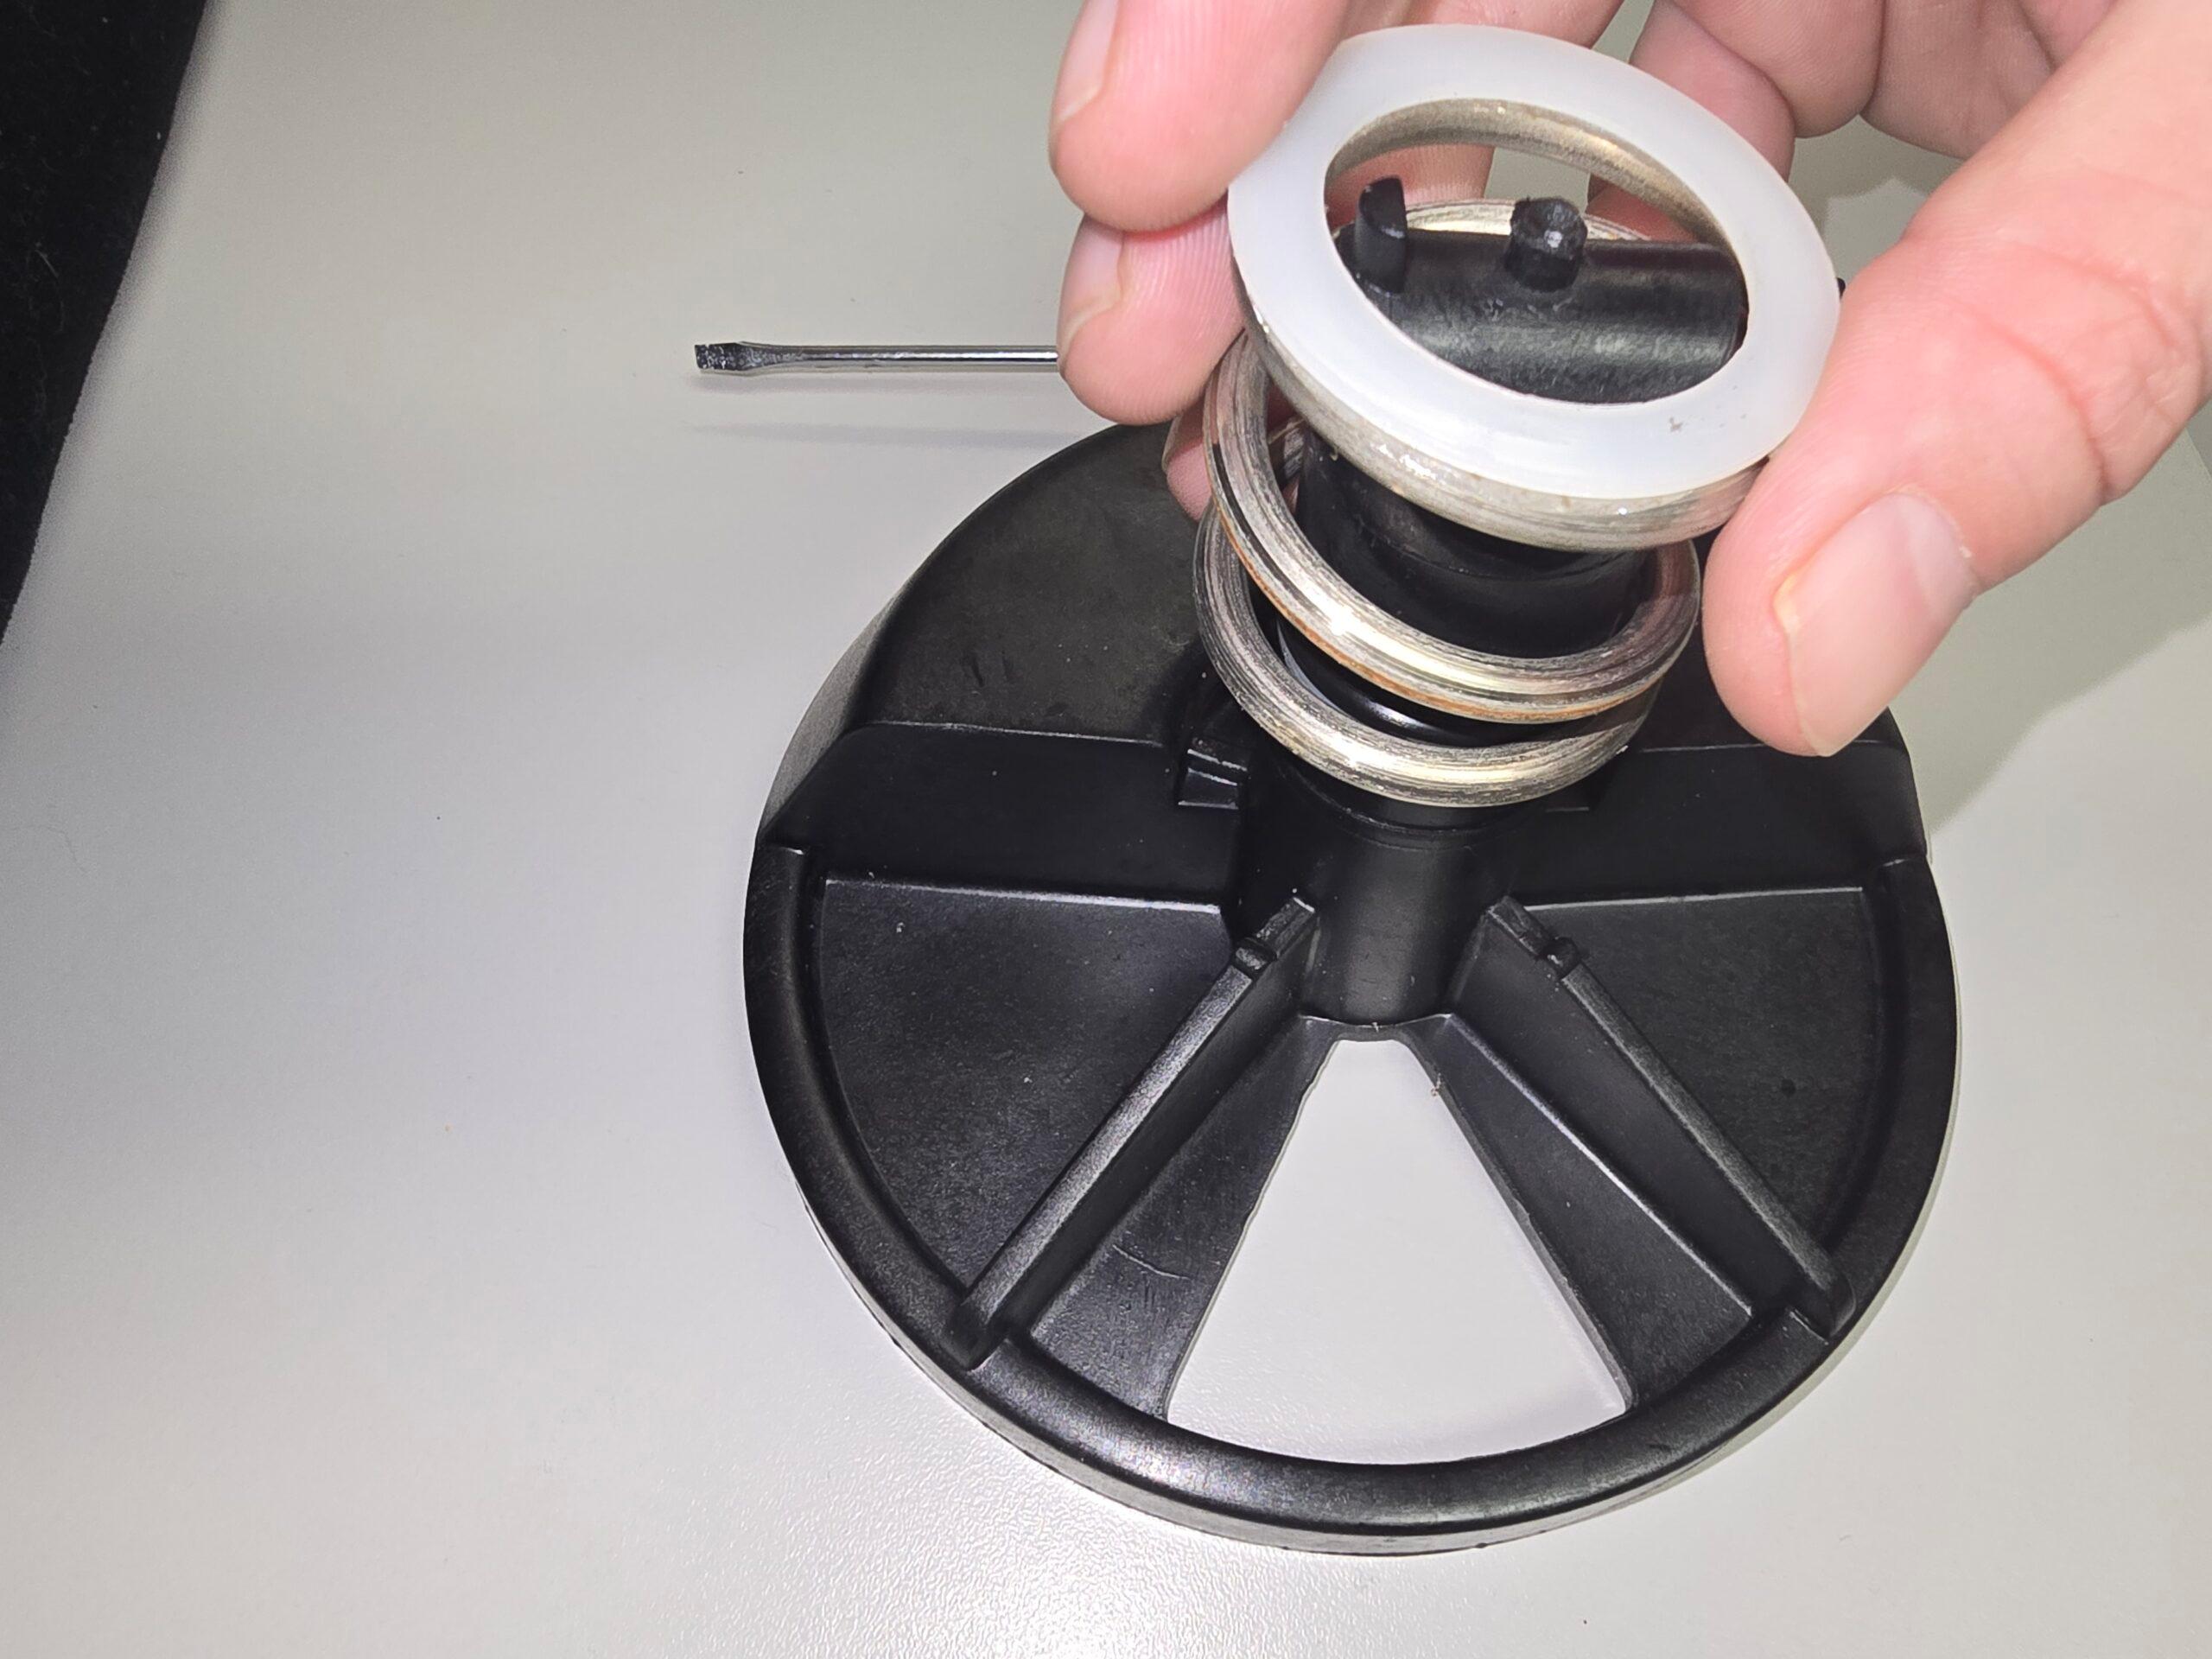
Step 14

Reinstall the Cover and New Washer Onto the Diverter.

Step 15

Reinstall the Trigger Clamps

Reinstall the trigger clamps to compress down the spring. 

Step 16

Reinstall the Handle Onto the Diverter

Step 17

Reinsert the Handle Pin
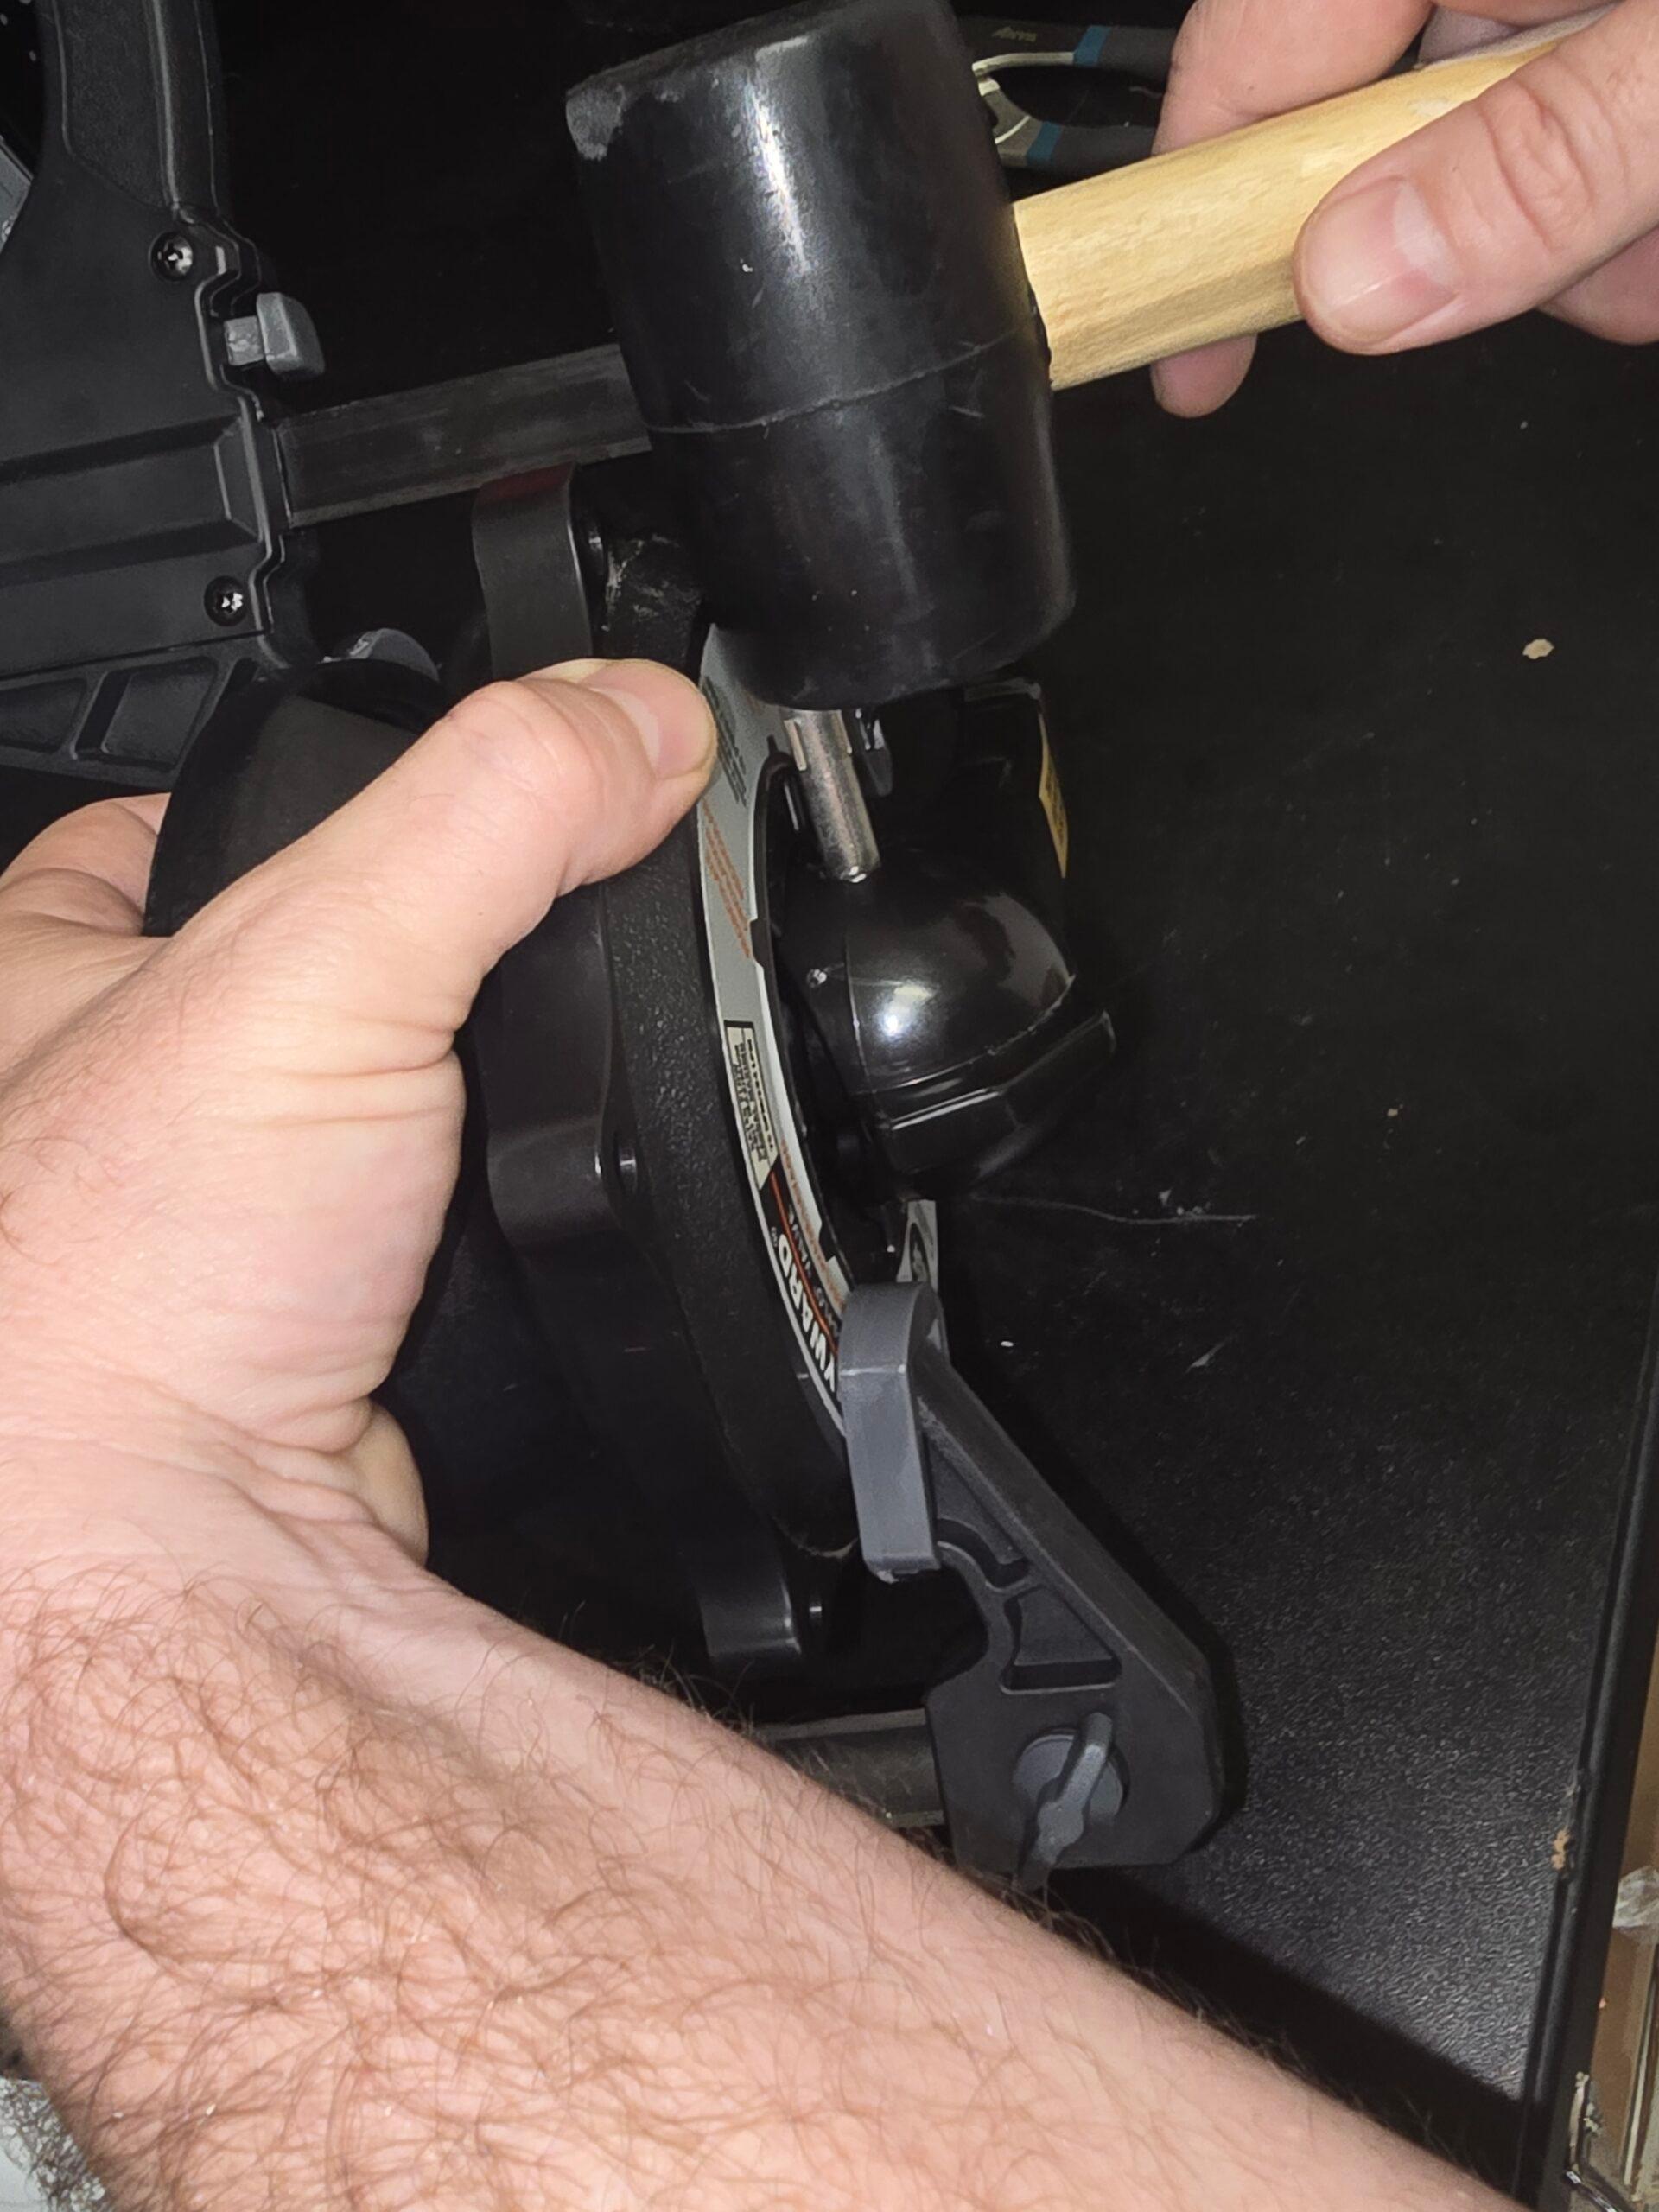
Line up the holes for the handle and the diverter and reinsert the pin by tapping it with the rubber mallet. 

Step 18

Release the Trigger Clamps

Slowly release the trigger clamps.

Step 19

Reinstall Key and Stem Assembly
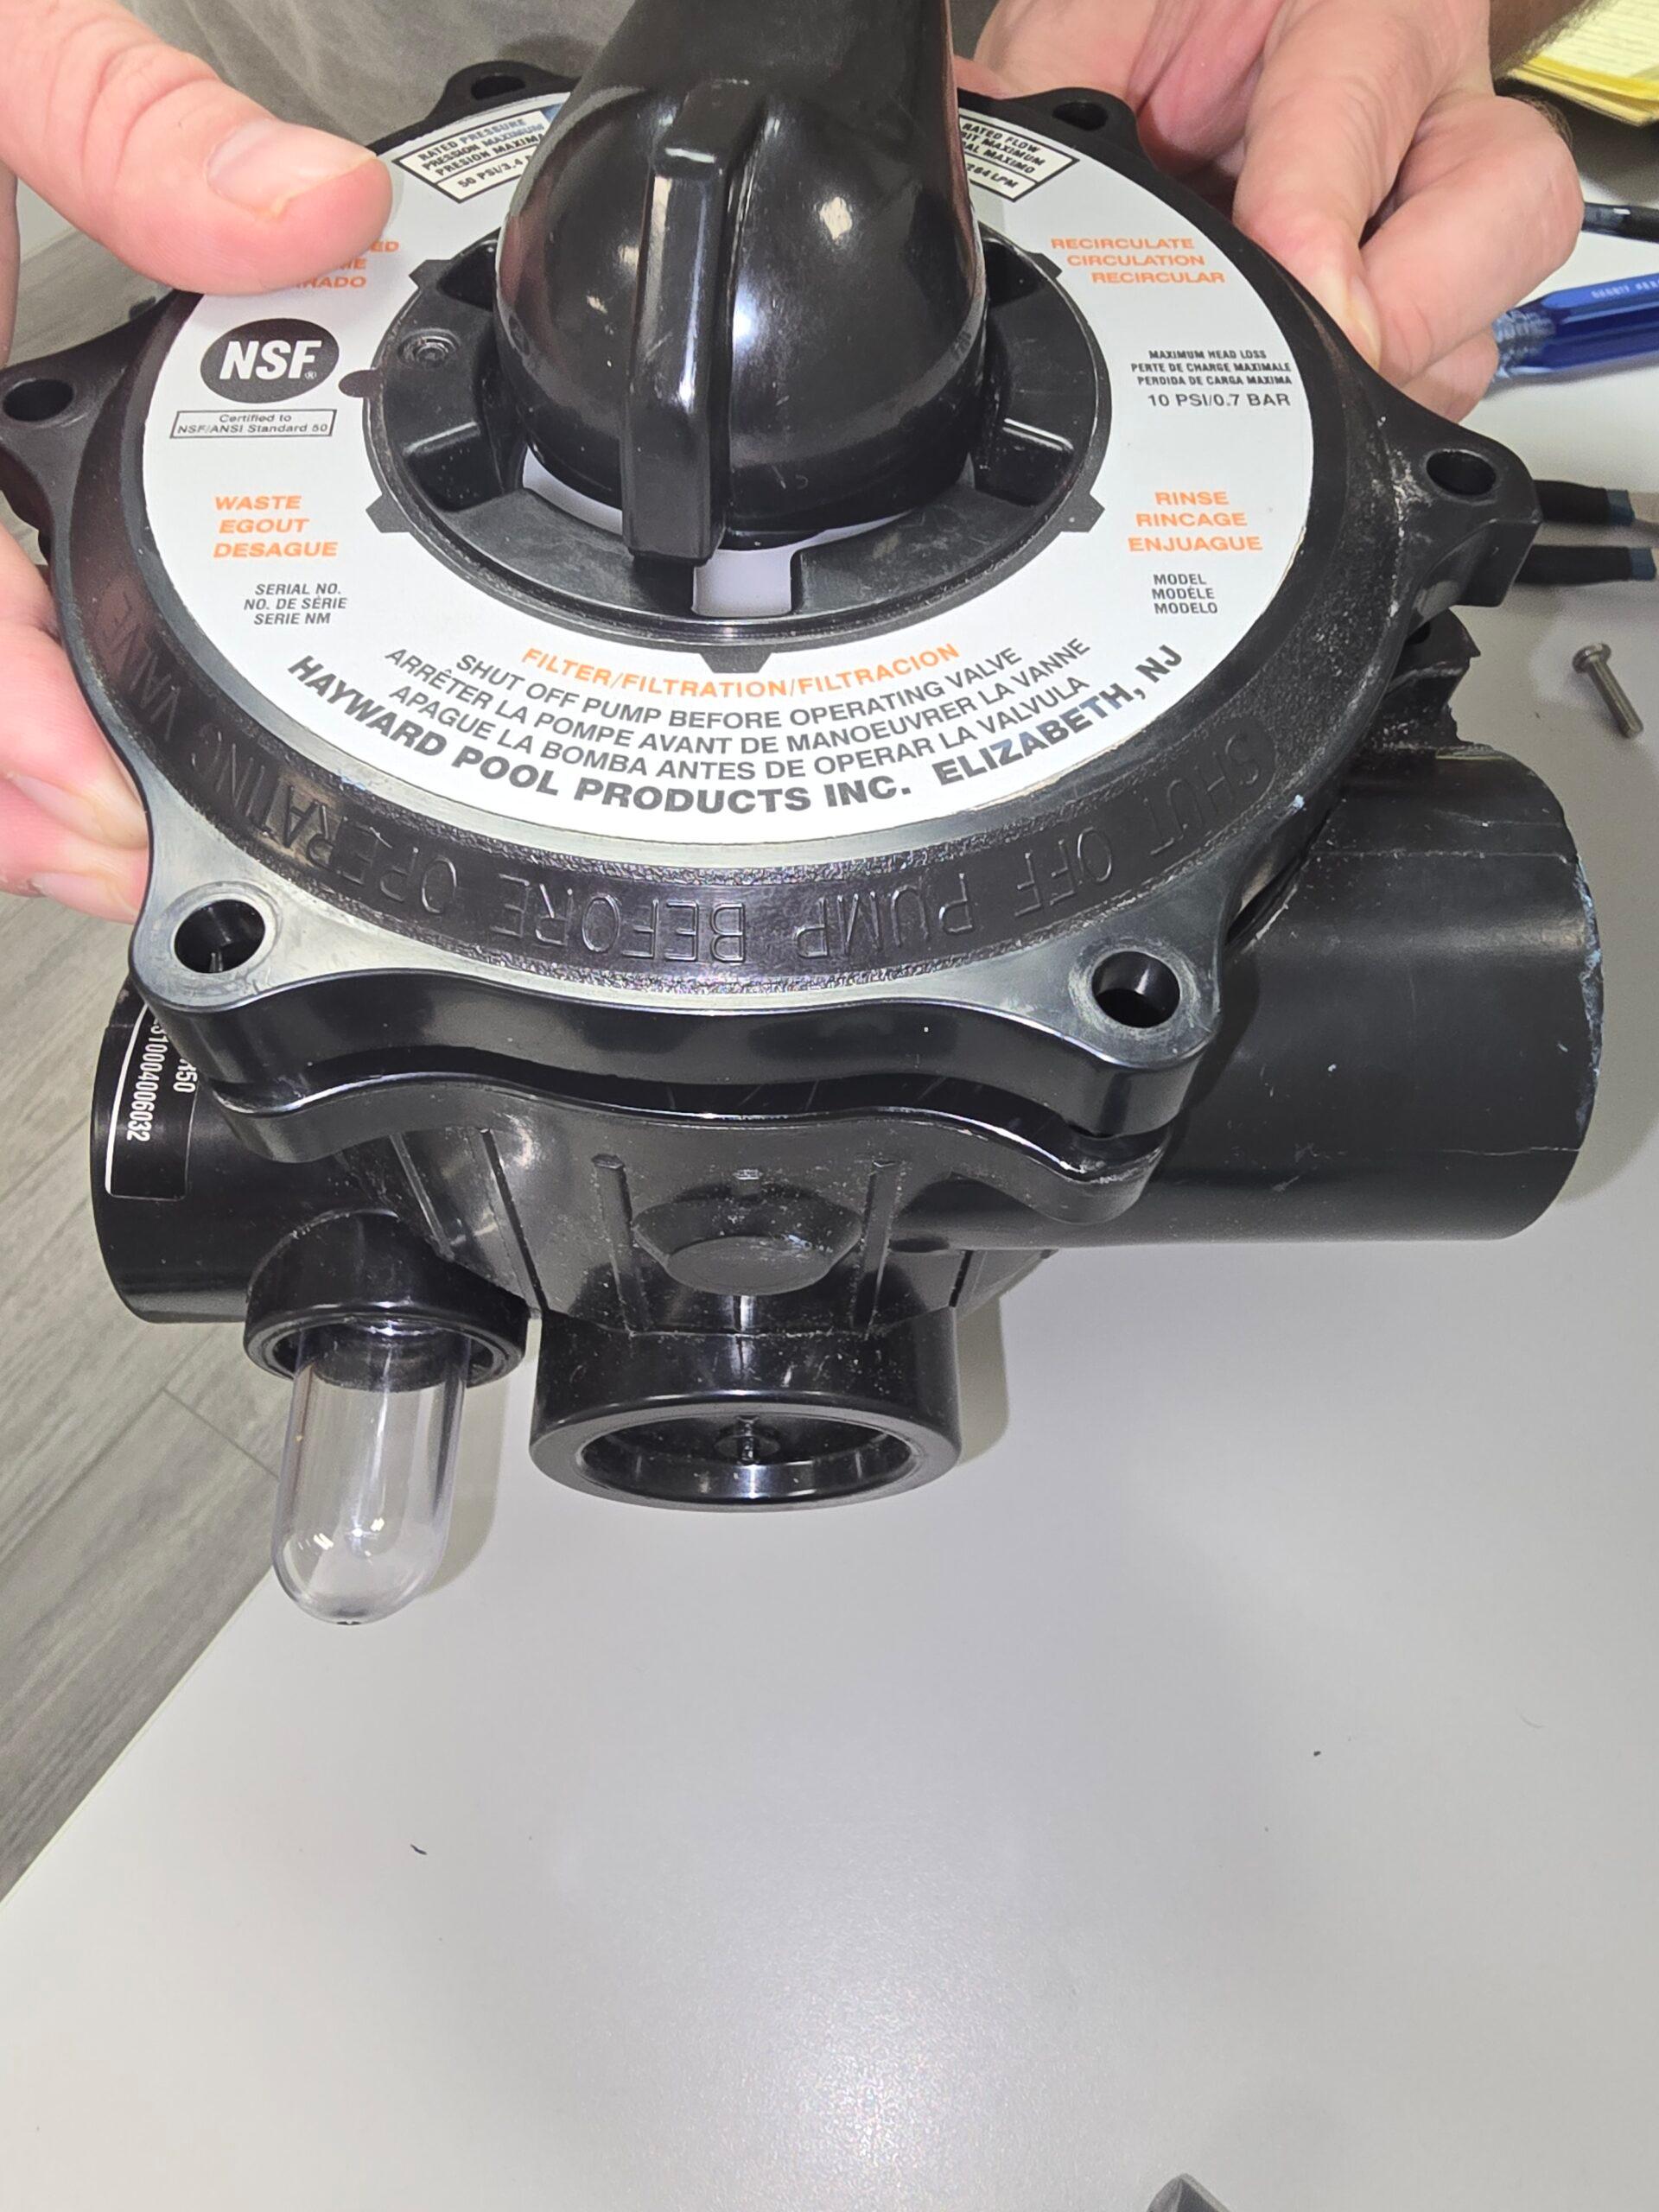
Reinstall the key cover assembly onto the base. 

Note: Make sure the notches on the cover and base line up.

Step 20

Reinstall the nuts and bolts

Use a Philips head screwdriver and pliers to fasten down the nuts and bolts.

Watch Video

No video available.

Related Videos

author avatar
Tyler Aviles

Leave a Reply

Your email address will not be published. Required fields are marked *