Chat with us, powered by LiveChat
Home / Pumps / Motors / How to Install the Pureline PL1116MKITASSY

How to Install the Pureline PL1116MKITASSY

Difficulty:

Beginner

The Pureline PL1116MKITASSY makes for an easy upgrade to the Super Pump or replacement motor for the Pureline Rapids pump. These drop-in replacement kits are only available in 1.5hp 230 volts. In this guide, we will show you how to install and wire the Pureline PL1116MKITASSY.

Tools Needed:

  • Needle Nose Pliers
  • ¼” Nut Driver
  • 9/16 and 11/32 Socket Wrench
  • Lube
  • Flat Head Screwdriver
  • Philips head screwdriver
  • Non-contact volt meter or Volt meter

Supplies Needed:

  • Pureline PL1116MKITASSY

Step 1

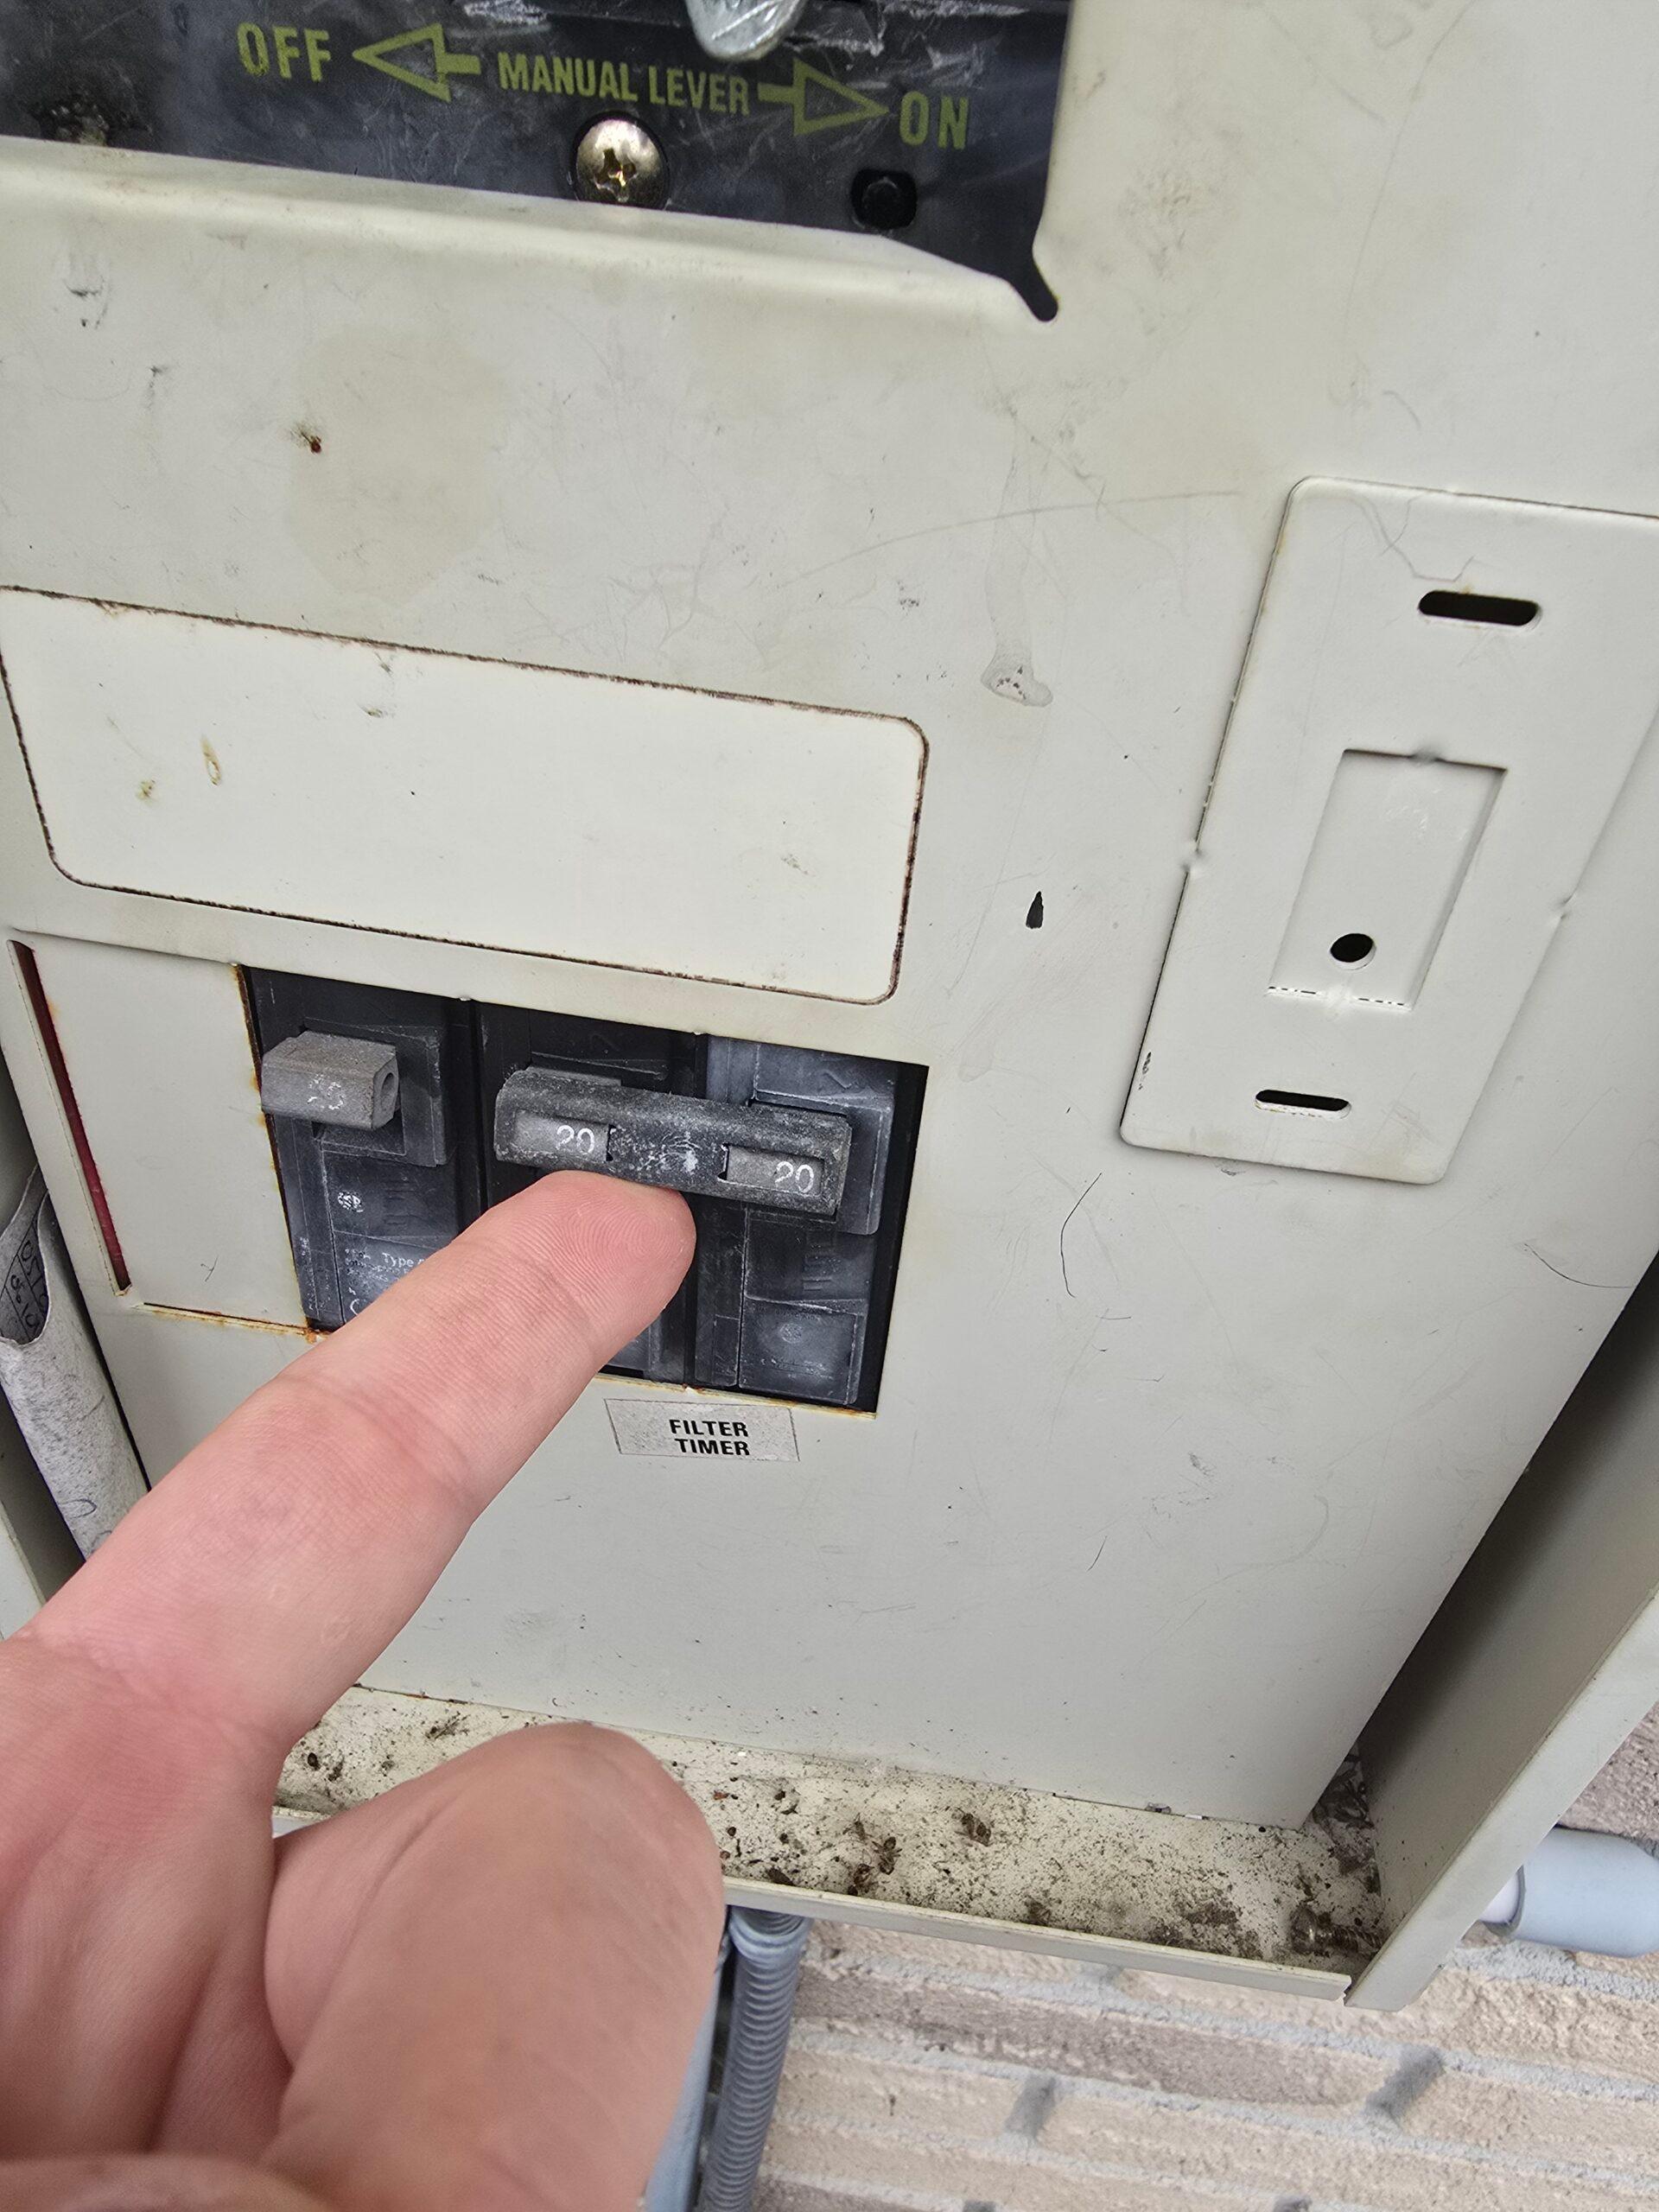
Turn Off the Breaker to the Pool System
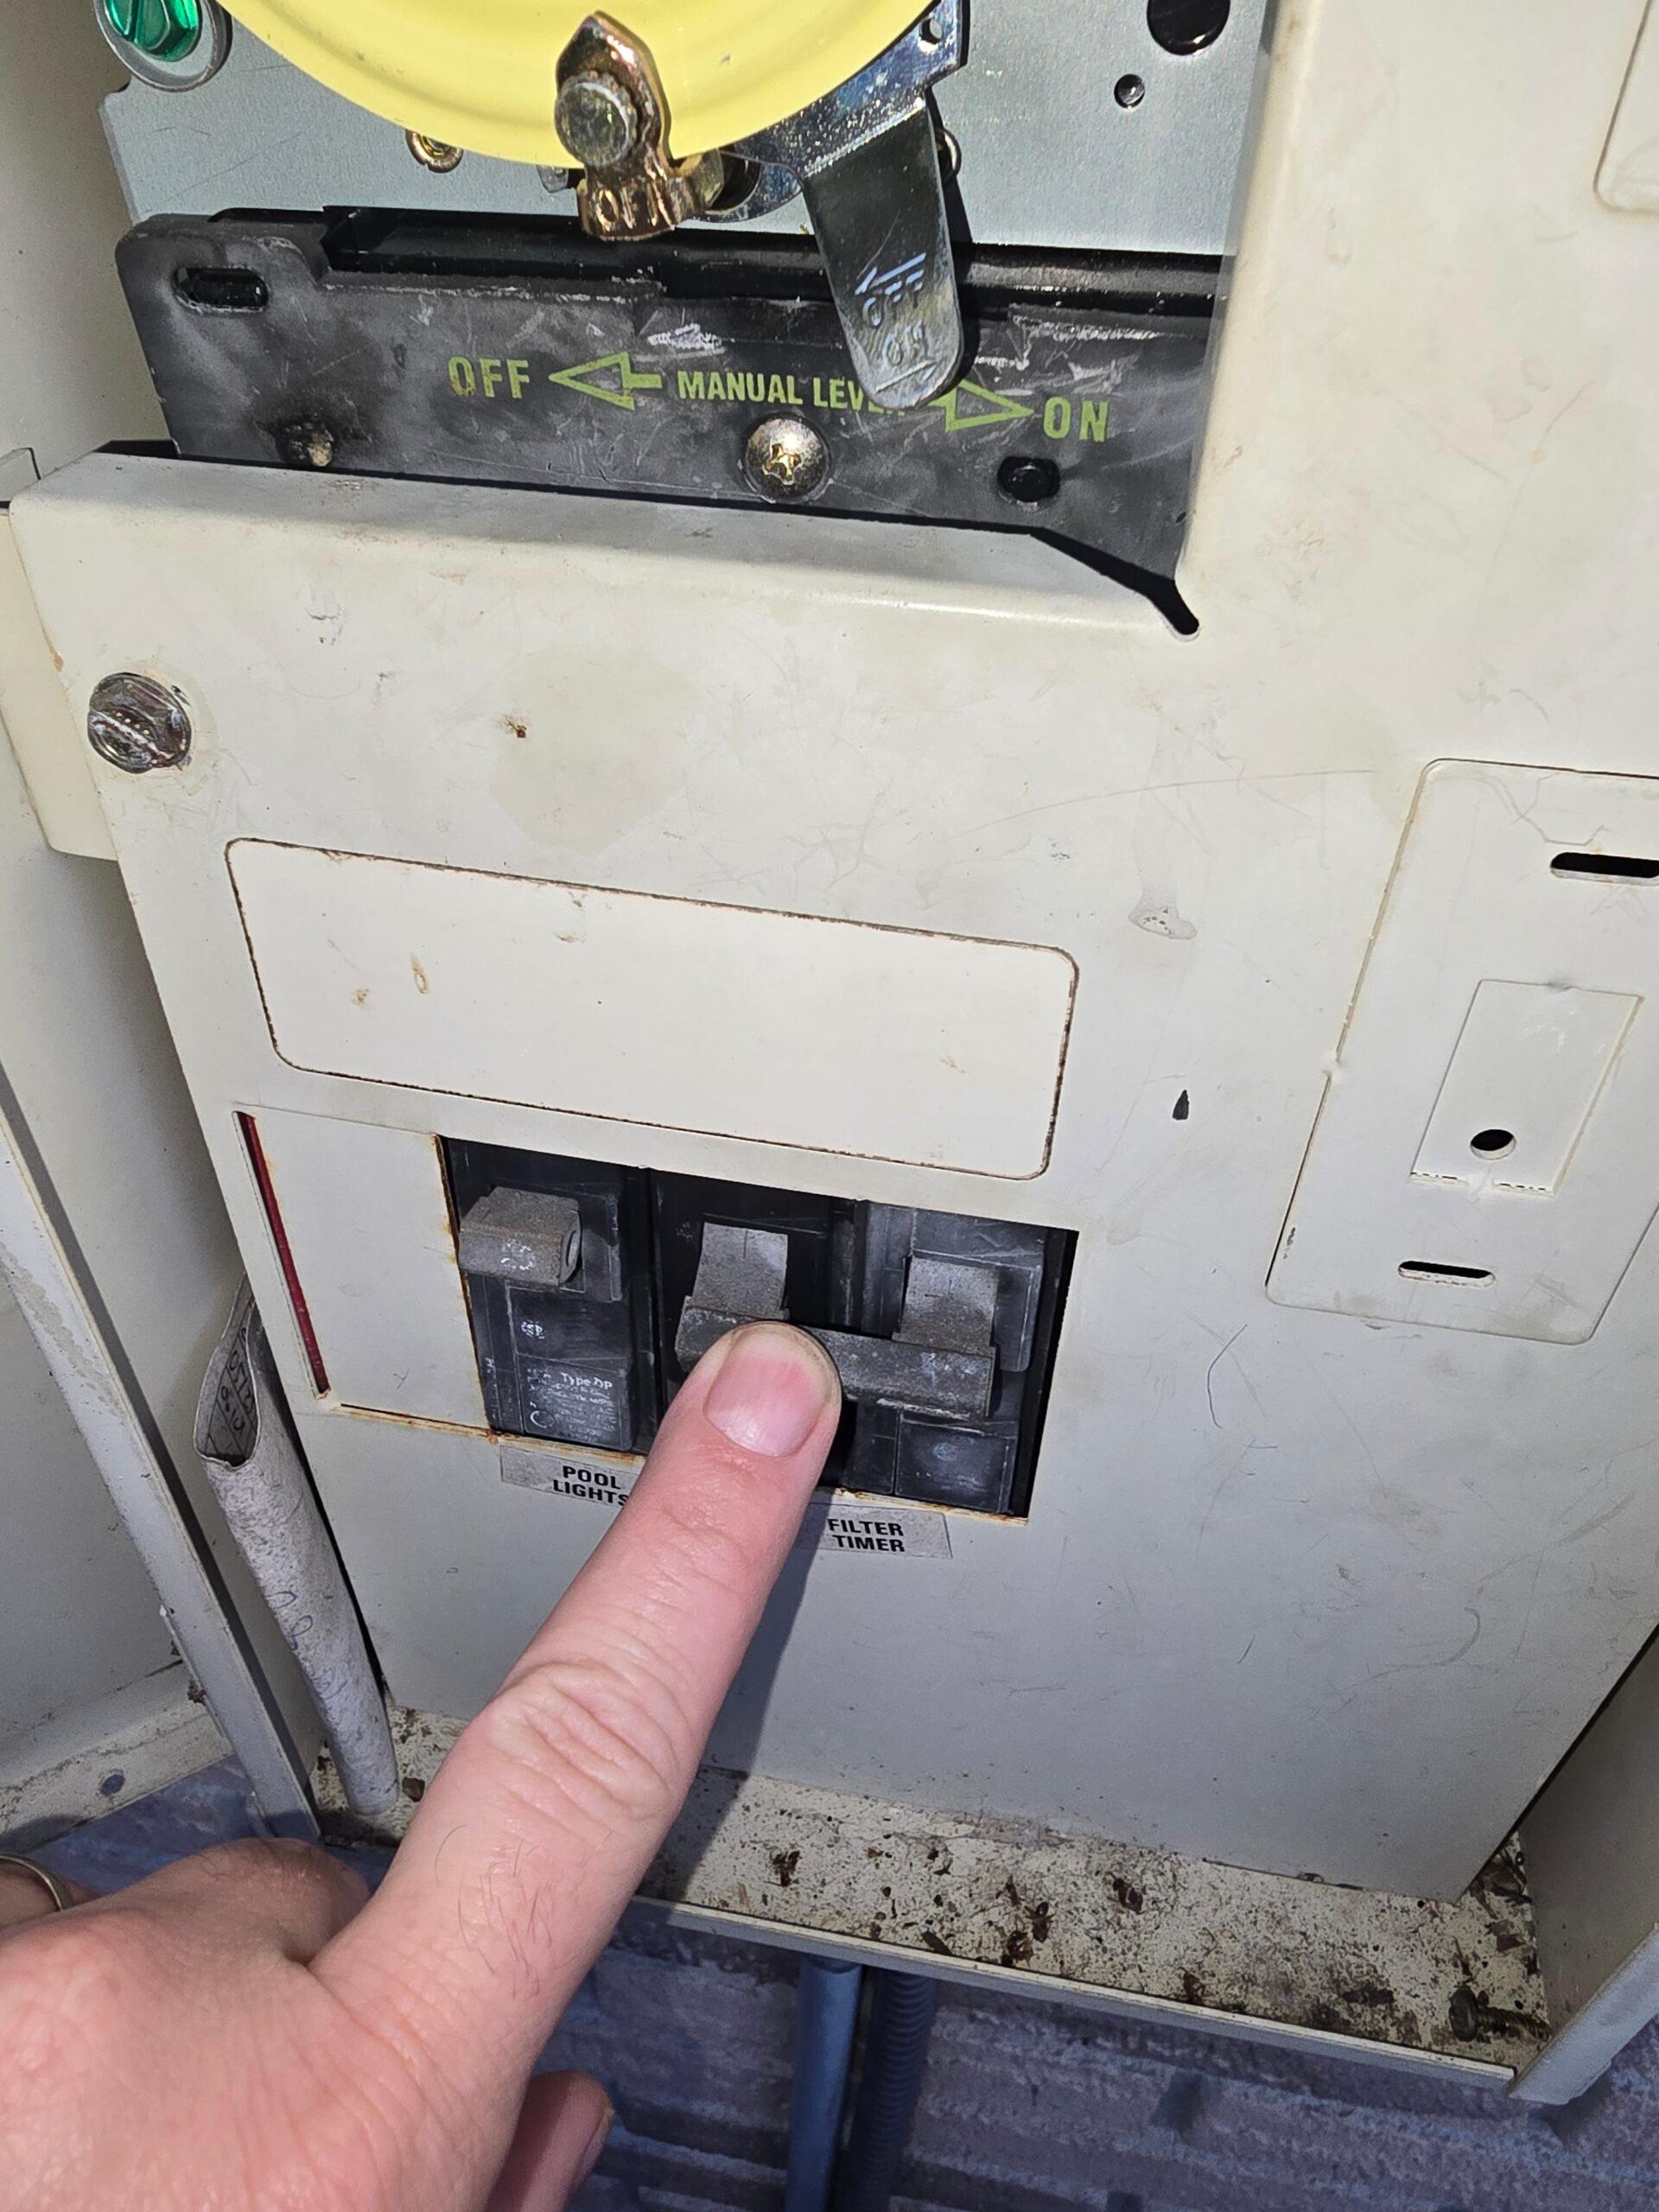
Shut down the power from the old motor by turning off the breaker.

Step 2

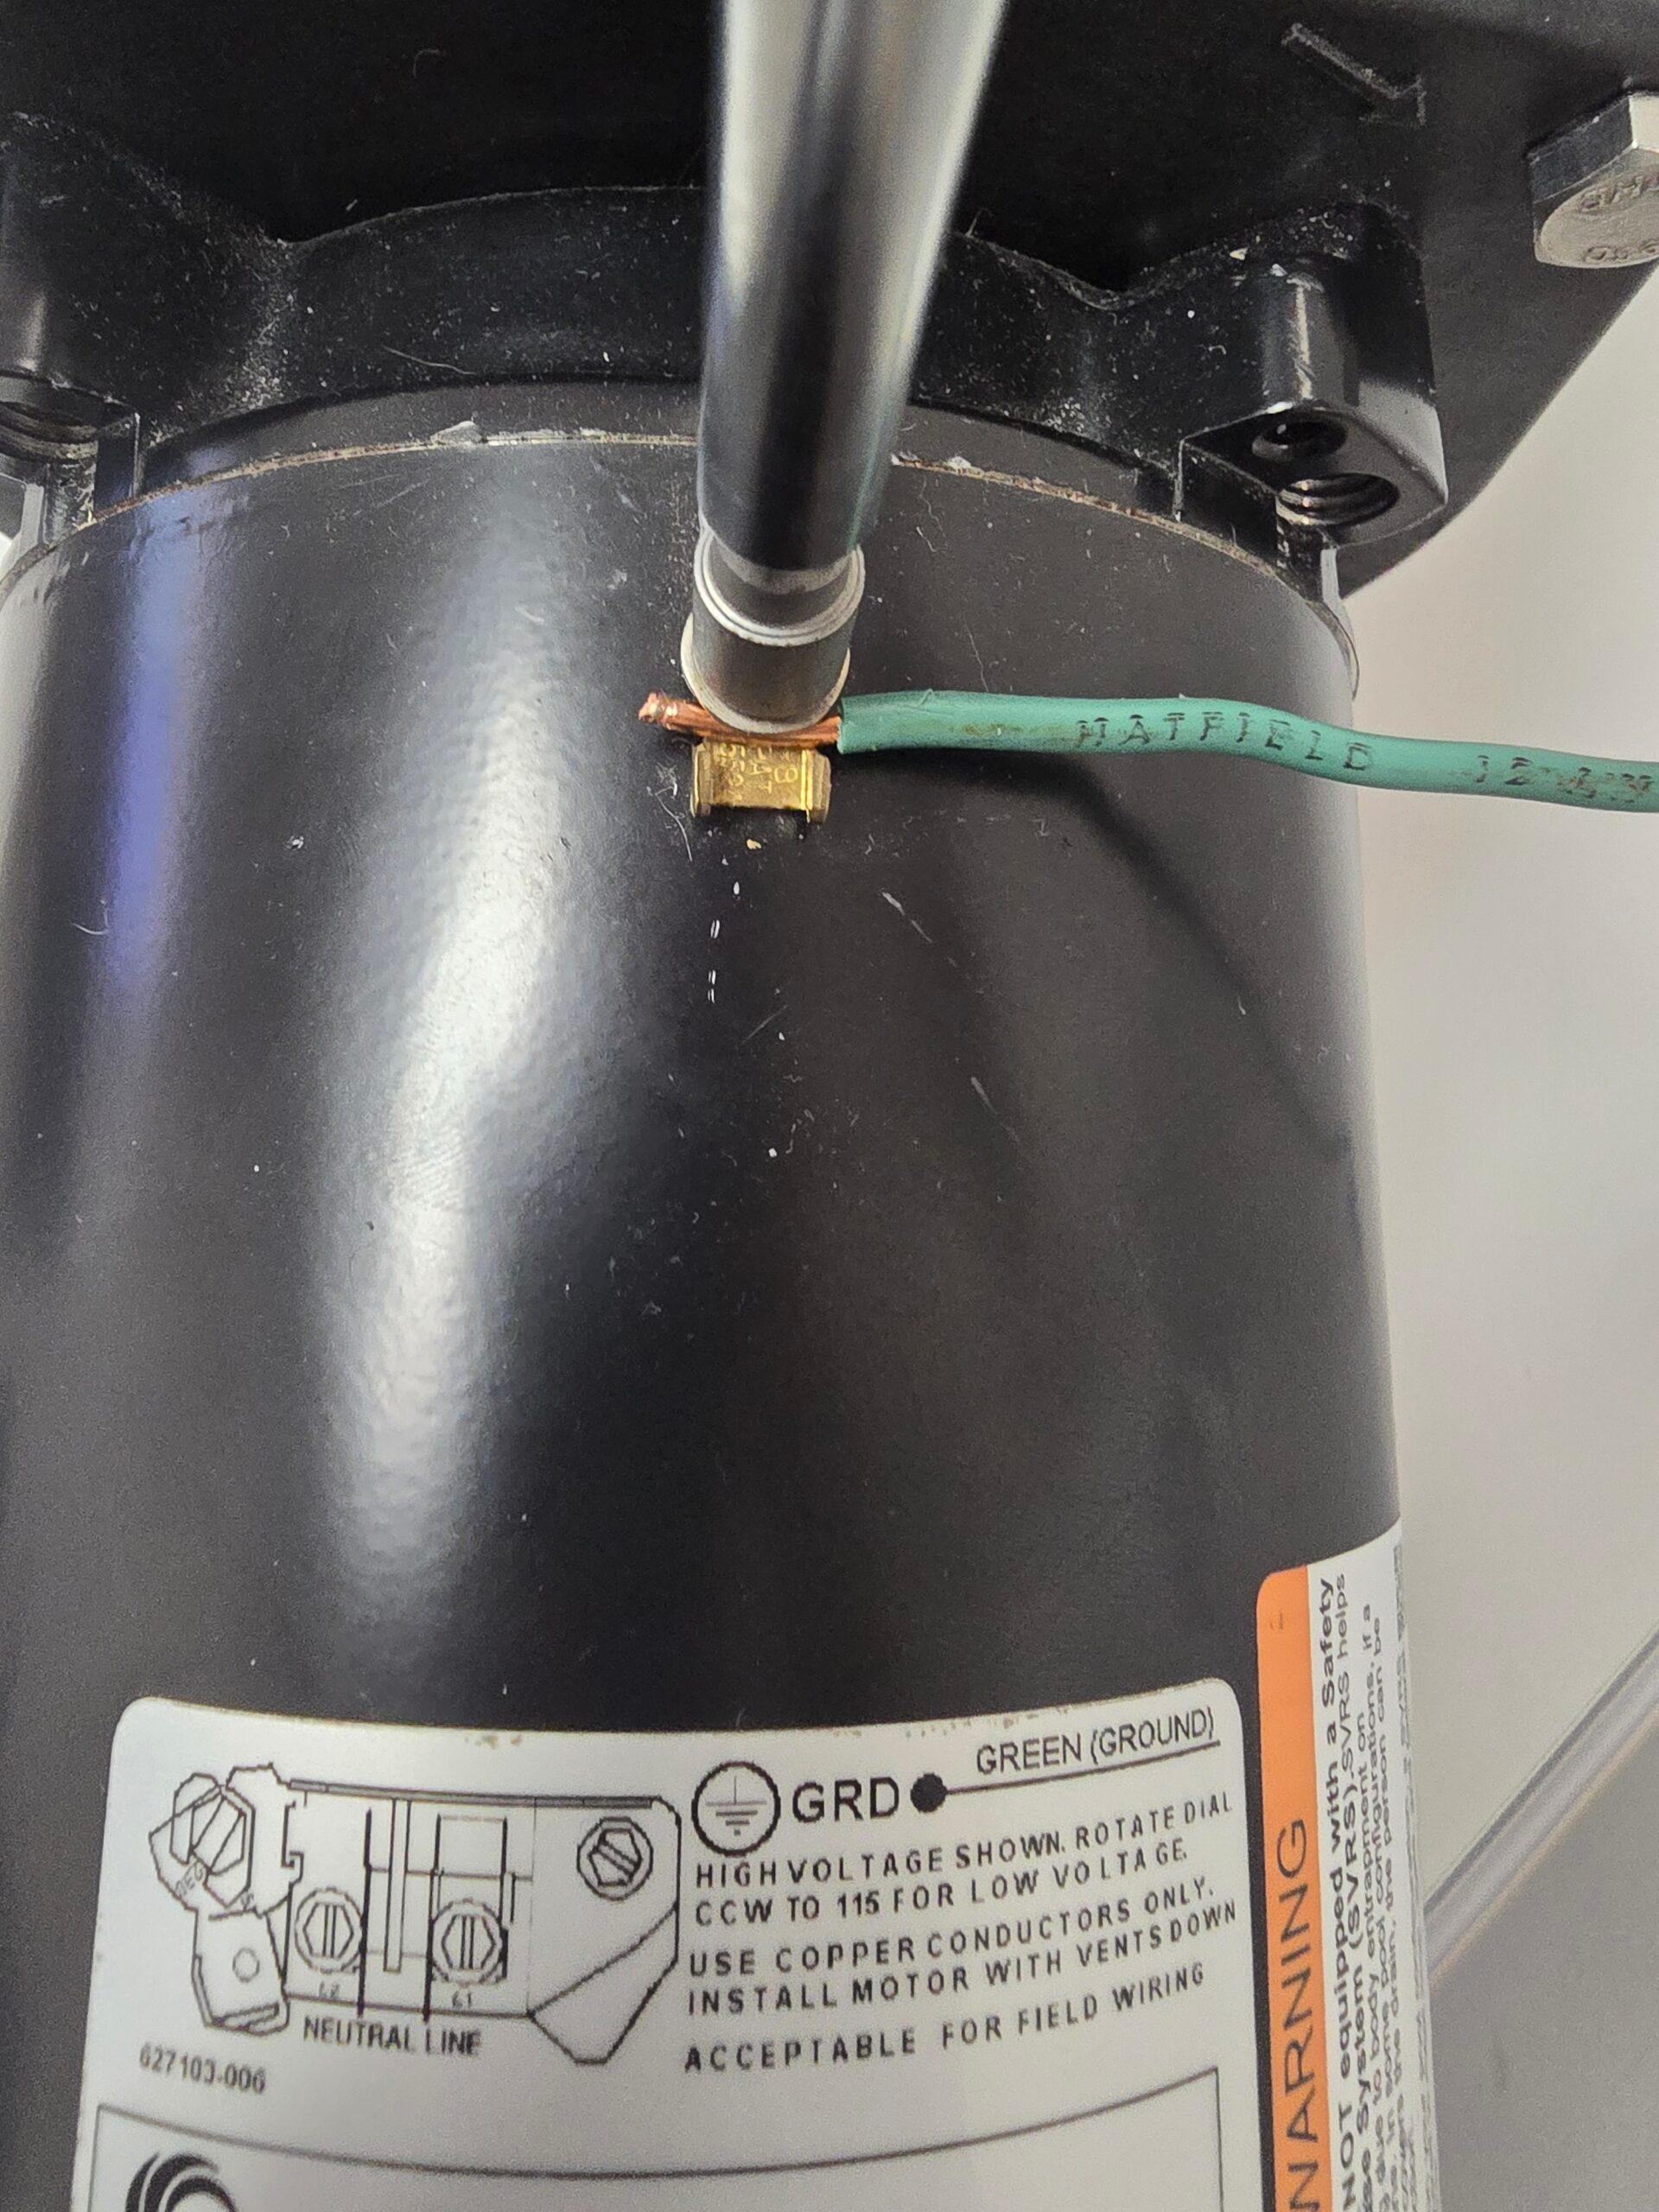
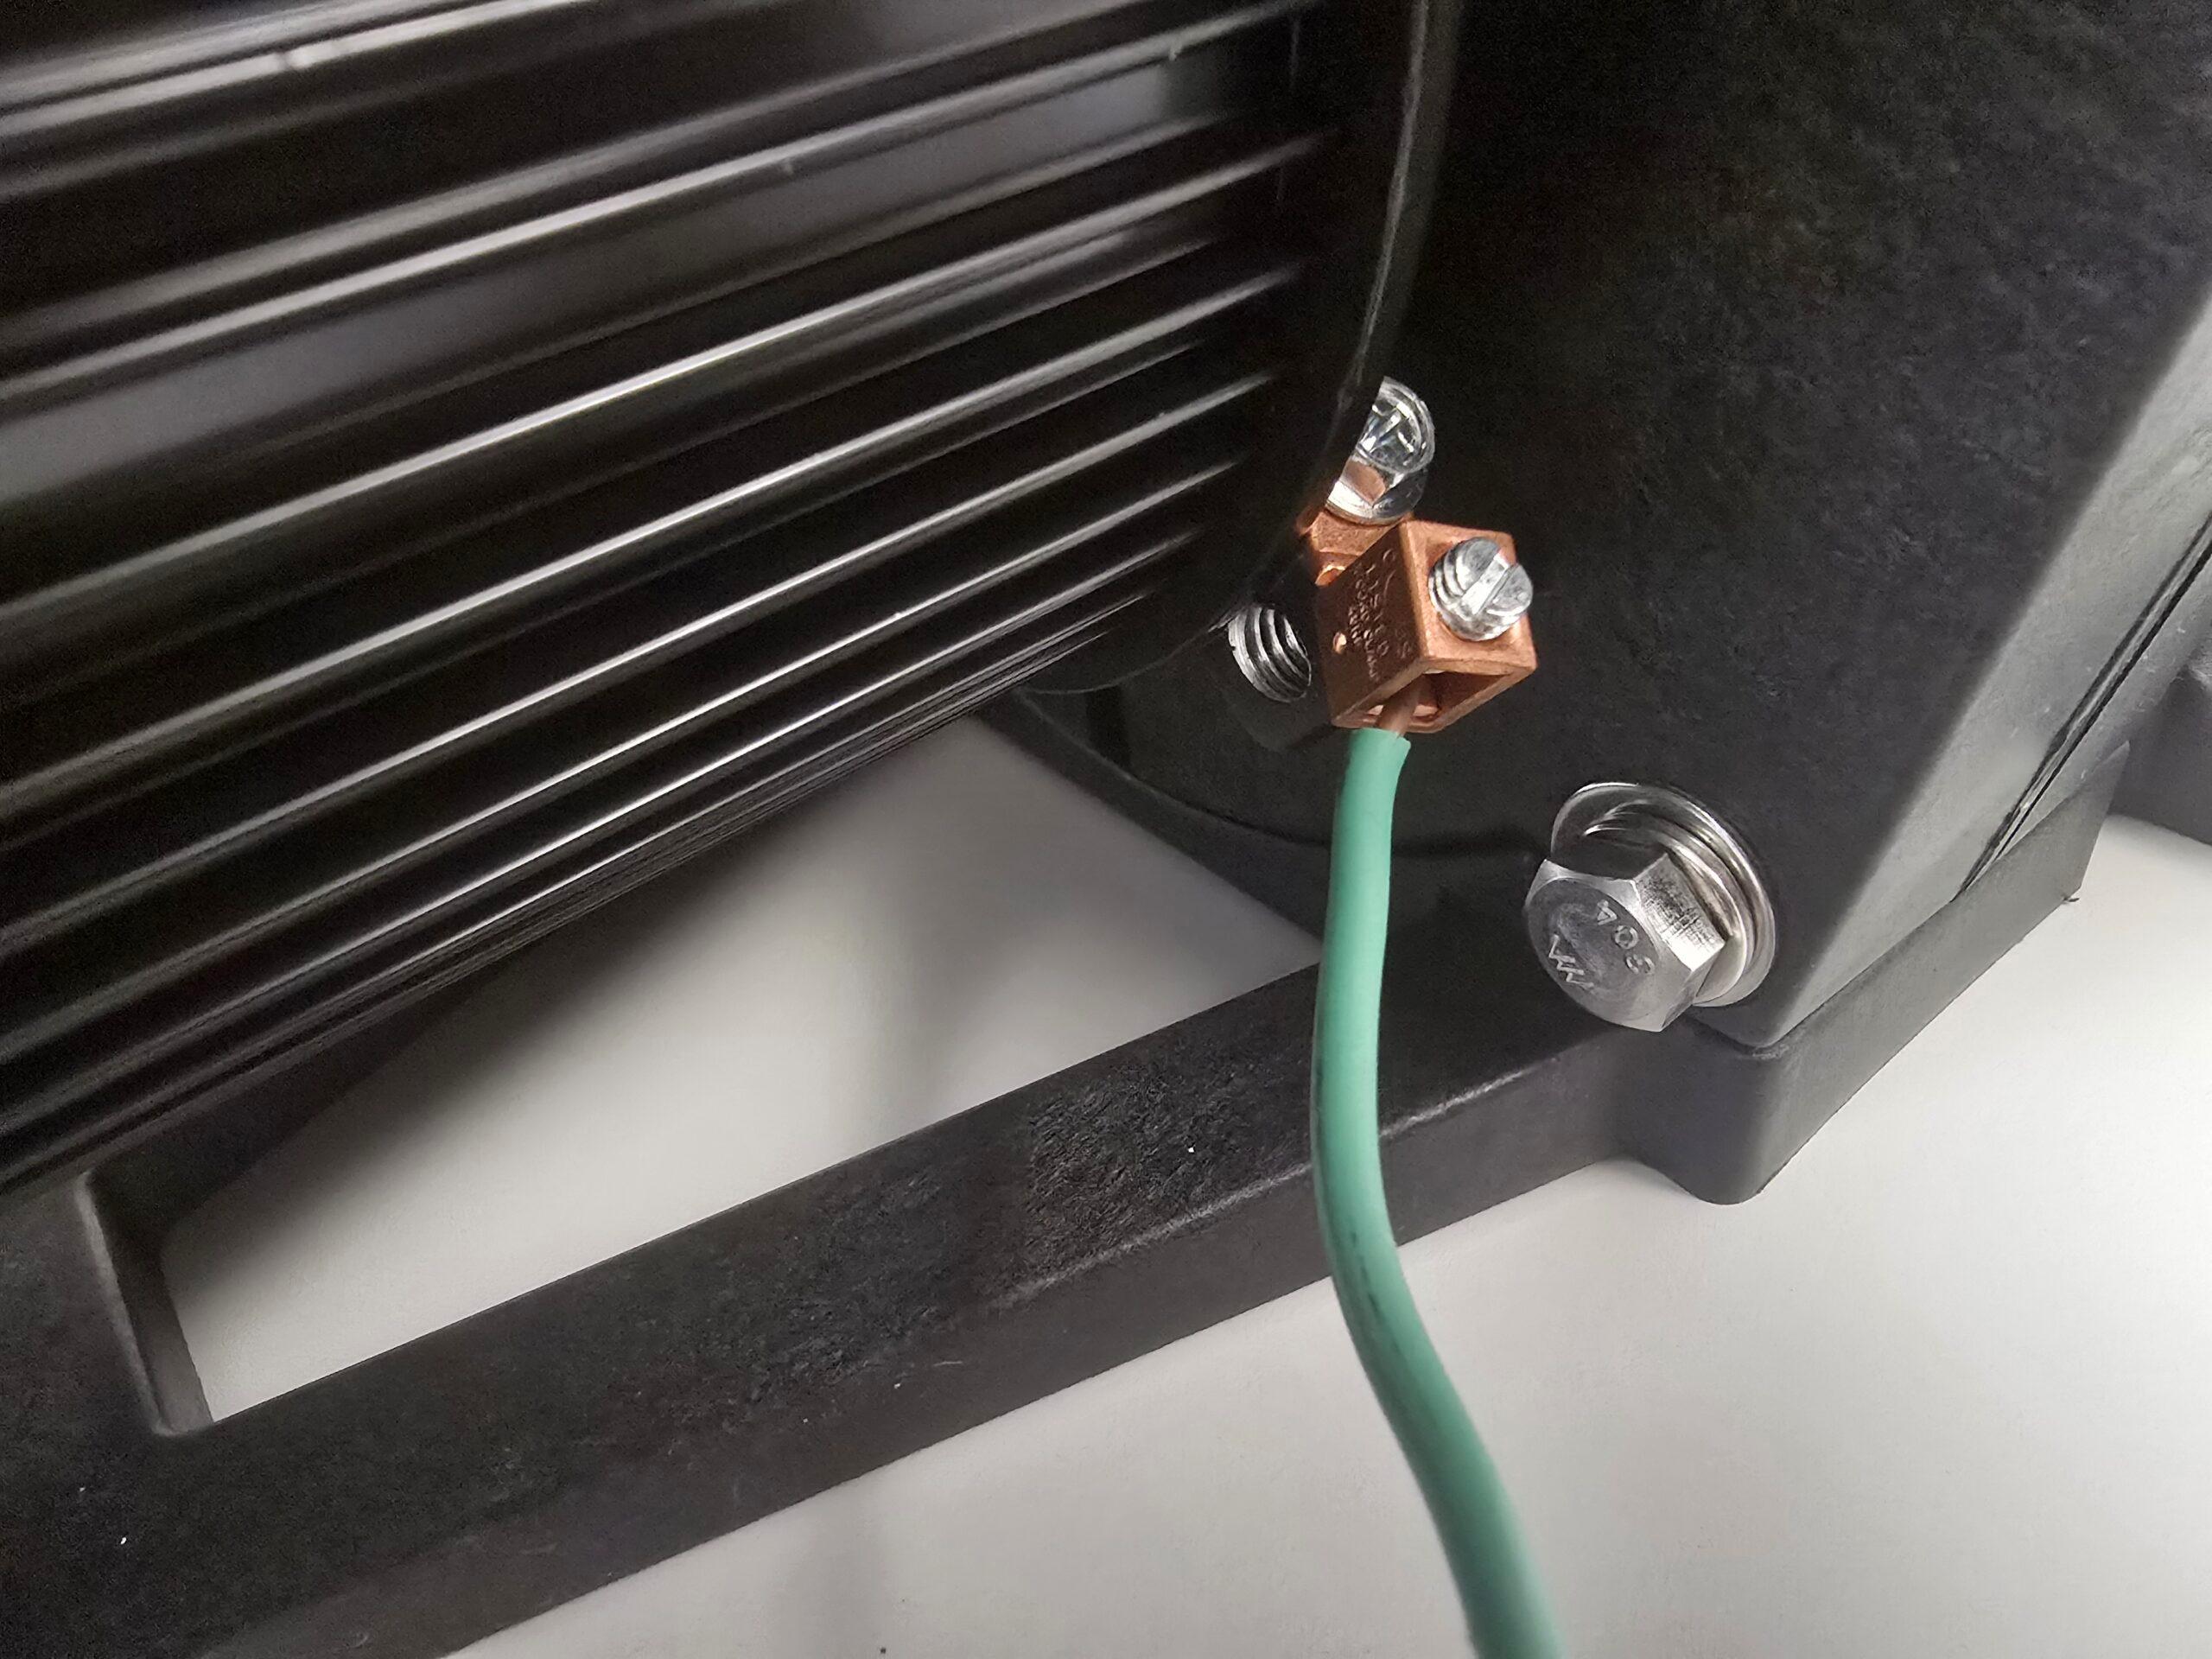
Remove the Bonding Wire

Use a nut driver or flat head screwdriver to remove the bonding wire on top of the motor and push it to the side so it does not get in the way.

Step 3

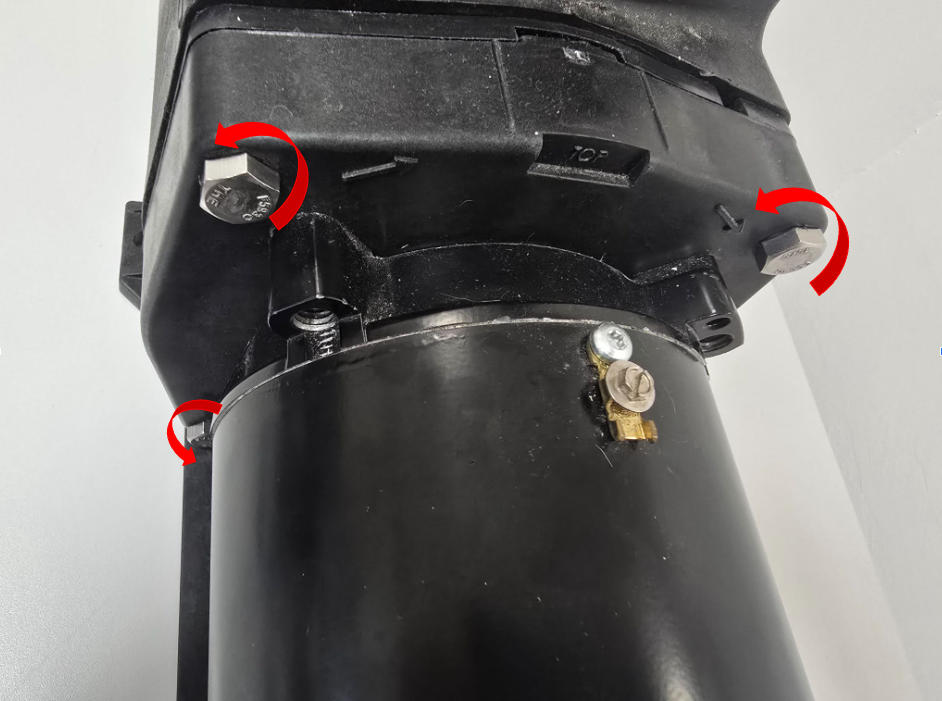
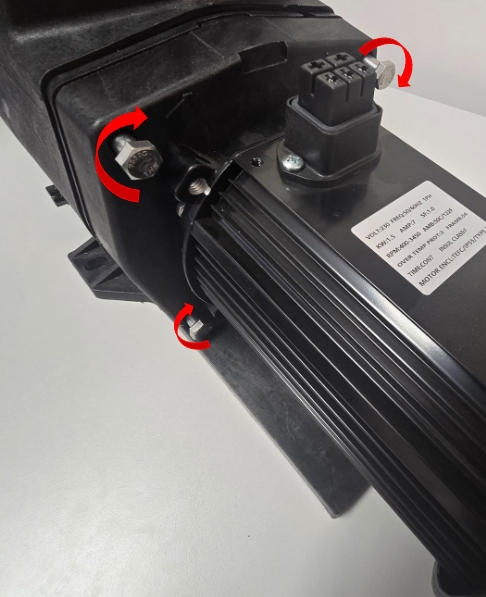
Remove the Housing Bolts

Remove the four bolts connecting the motor half to the housing/wet end using a 9/16-inch socket wrench.

Step 4

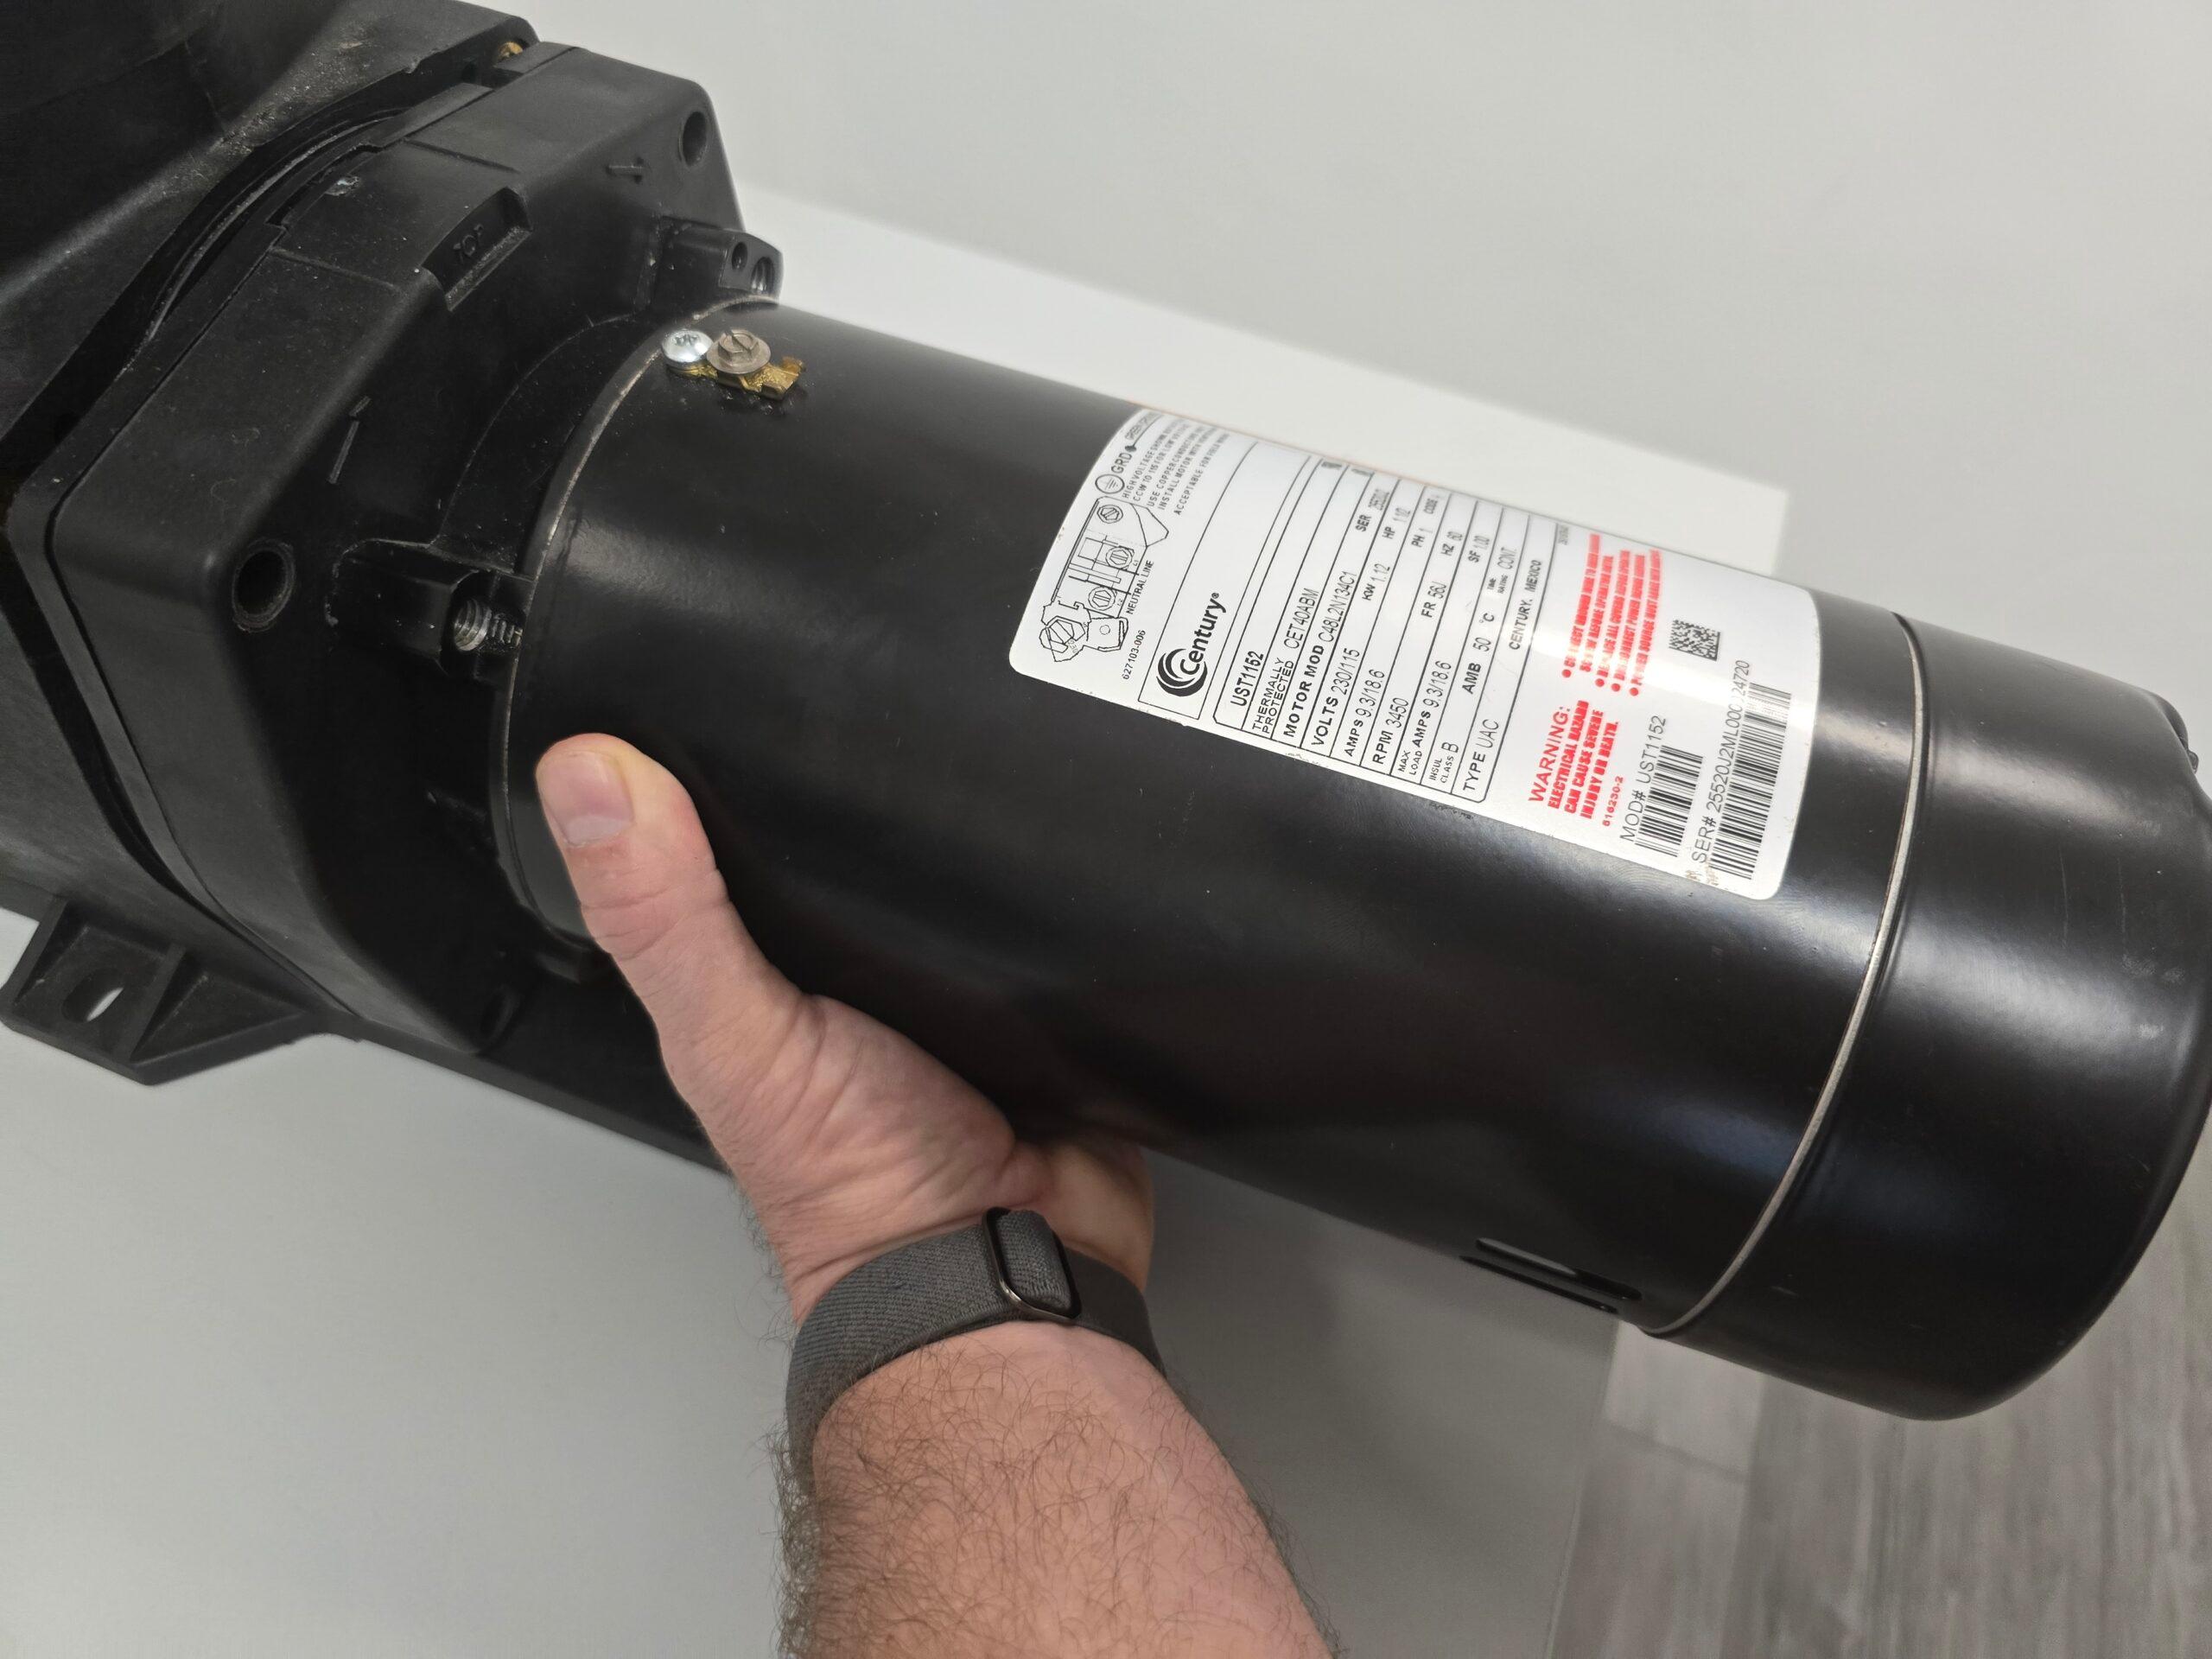
Pull the Old Motor Out

Remove the motor half by pulling it straight back. If there is not a lot of room behind the motor, you can pull it up at an angle.

Step 5

Remove the Back Cover of the Old Motor
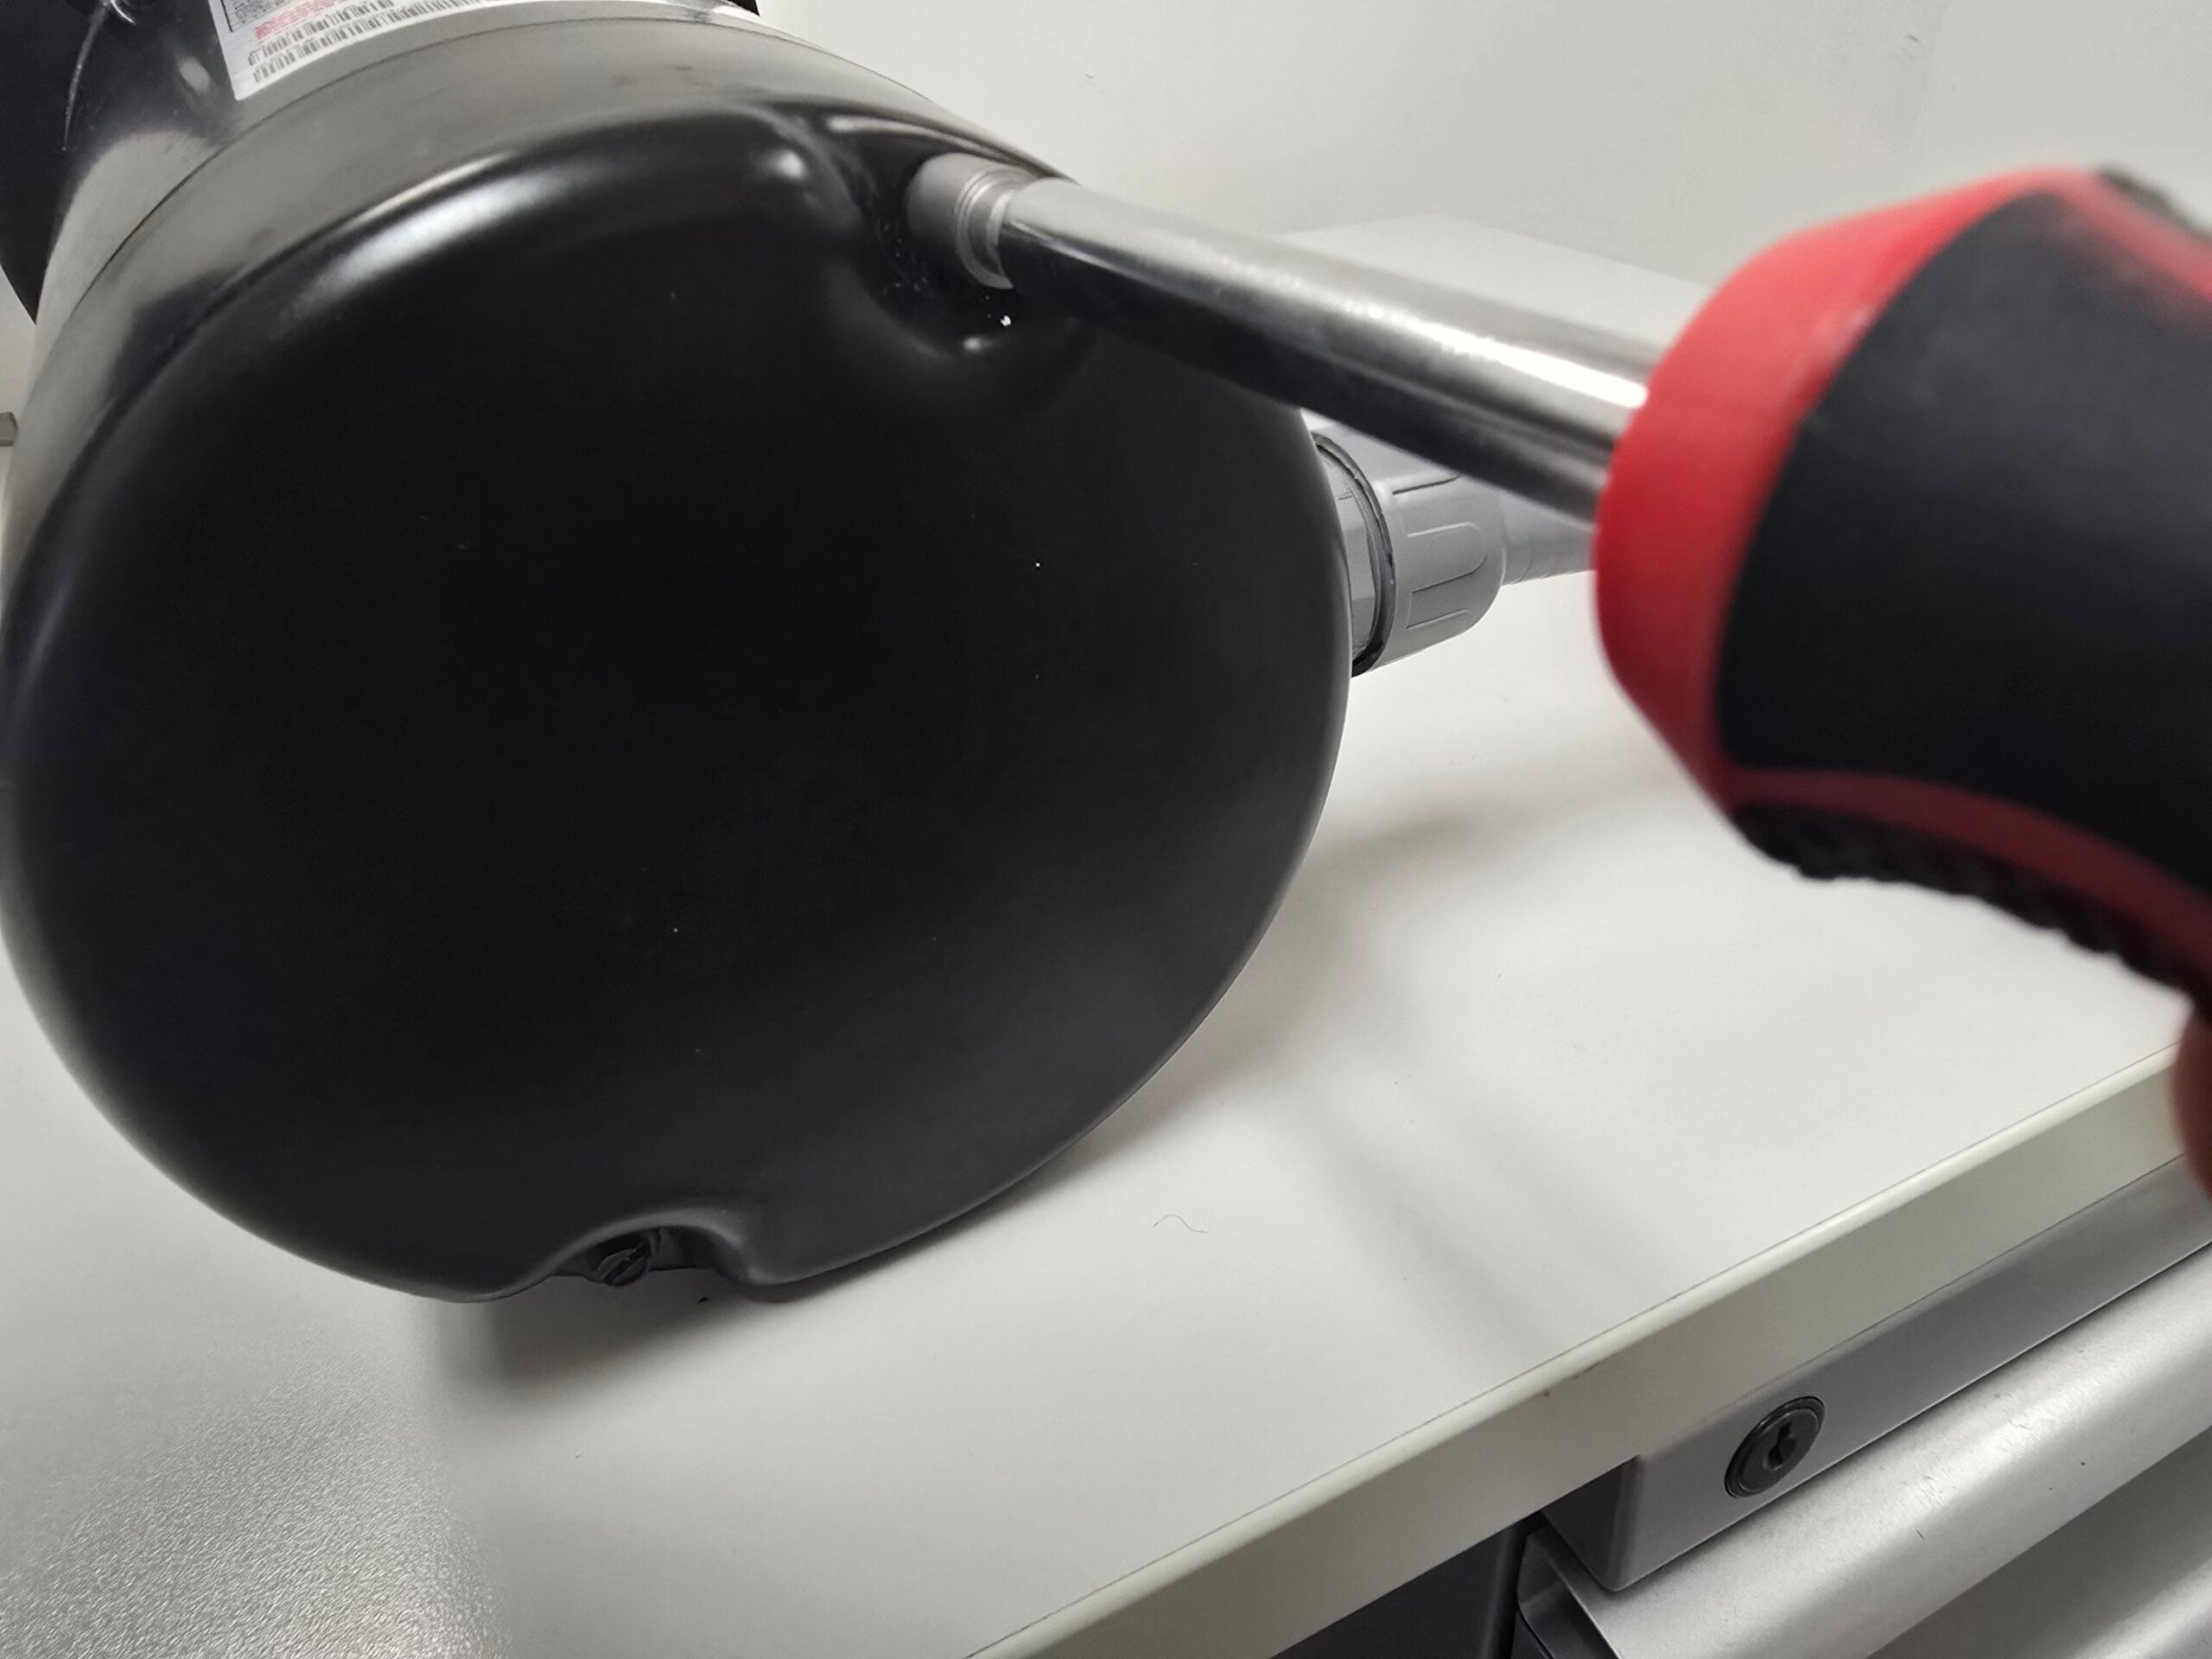
Use a nut driver or flat head screw driver to remove the back cover to the old motor.

Step 6

Check to Make Sure no Power is Going to the Old Motor
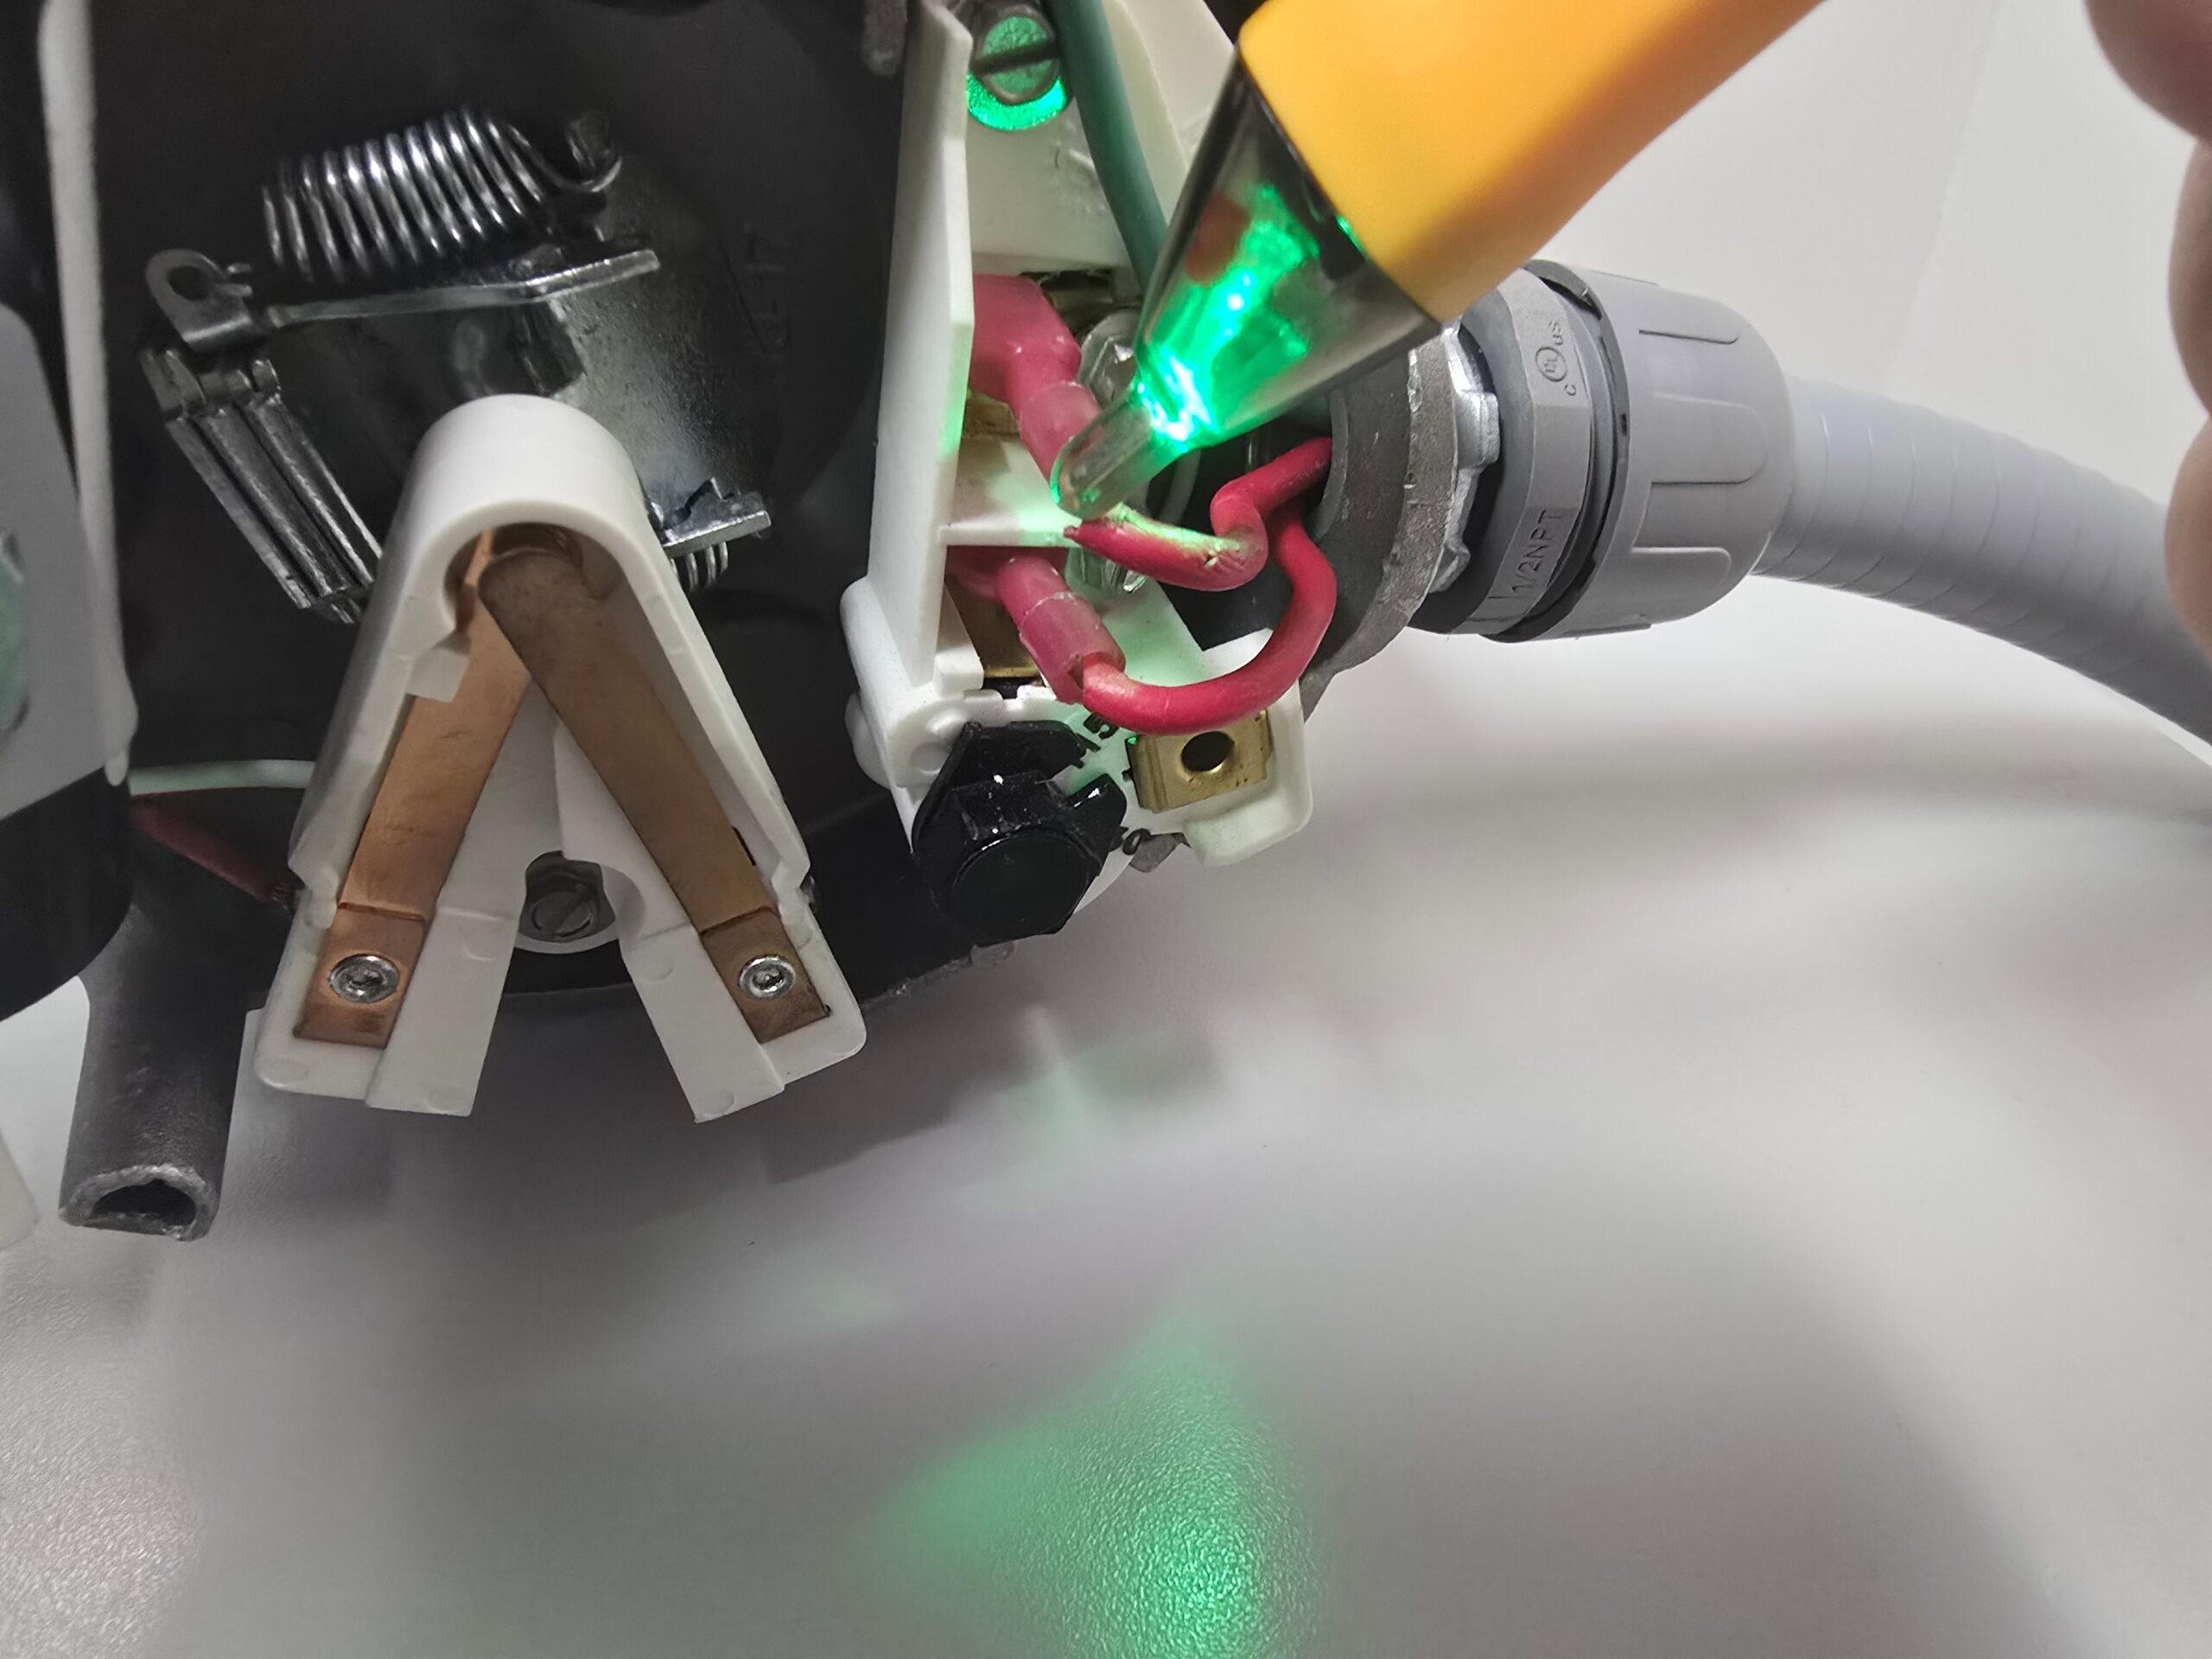
Use your non-contact volt meter or volt meter to ensure the motor’s power is shut off.

Step 7

Remove the Wires Harness From the Old Motor
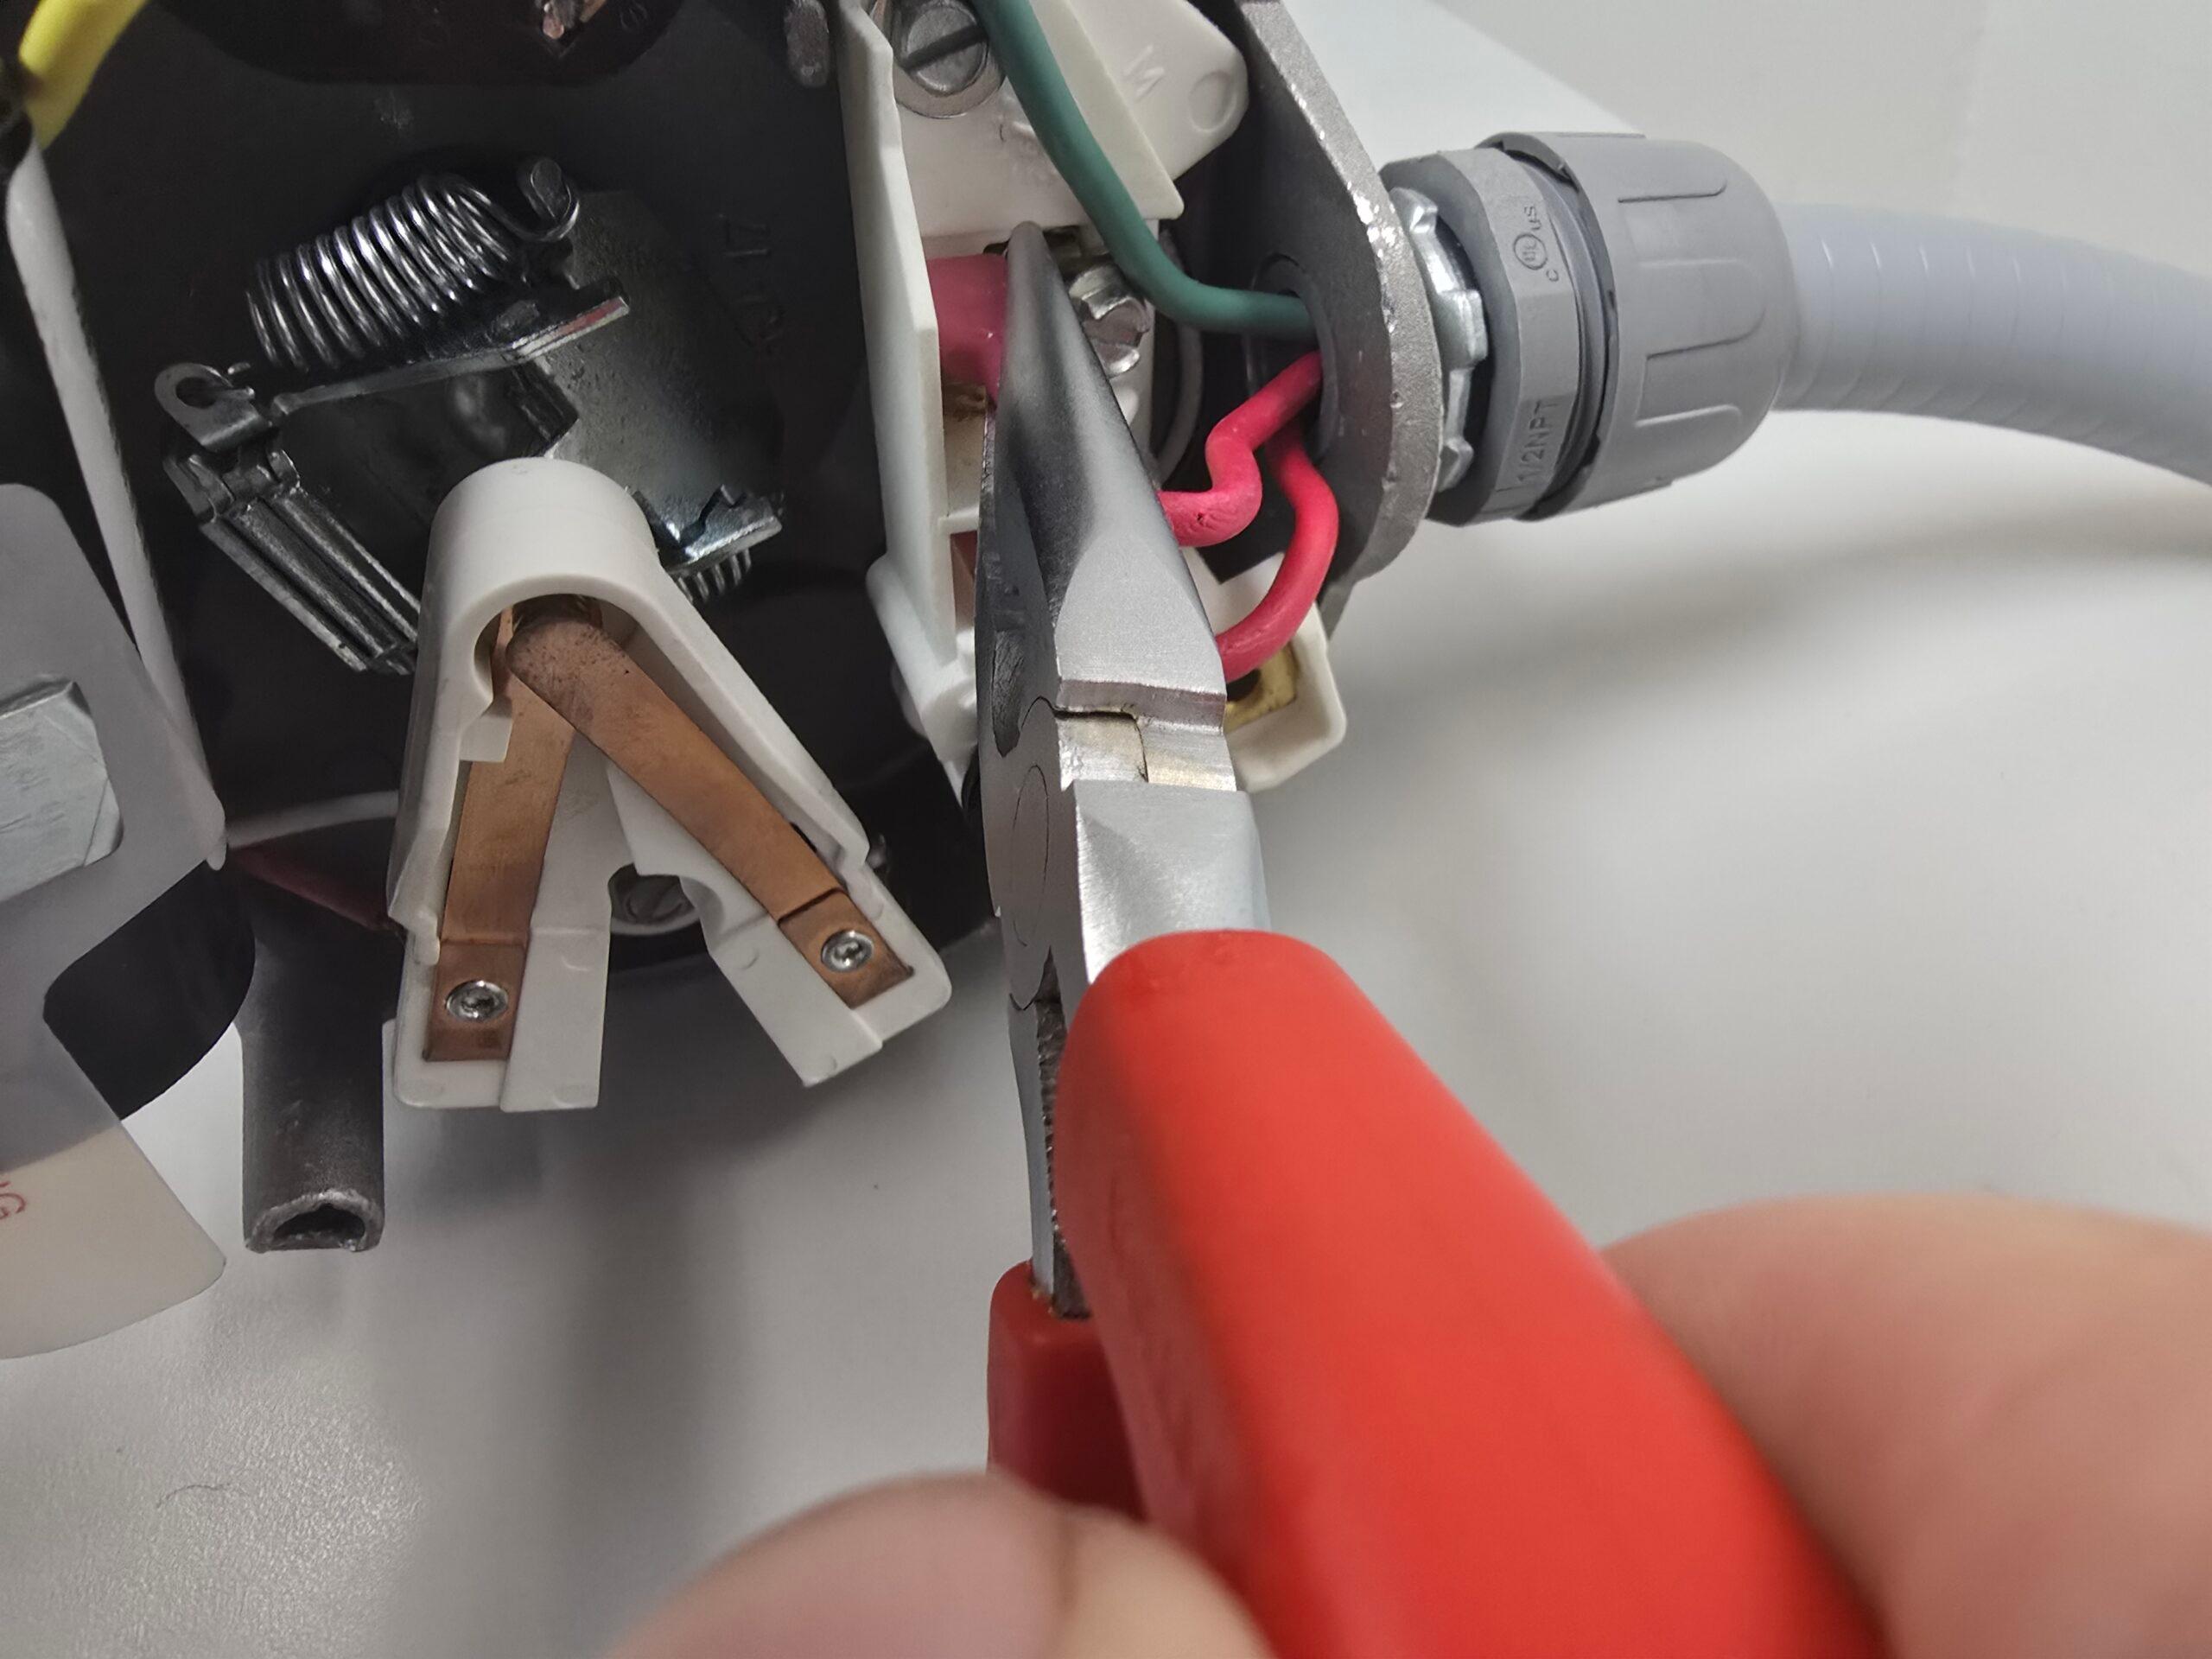
Use the nut driver or flat head screw driver to remove the wires from the old motor. If you have quick disconnects, use a pair of pliers. 

Note: Inspect the wires to make sure there is no damage before reusing them.


Step 8

Prep the New Motor for Installation
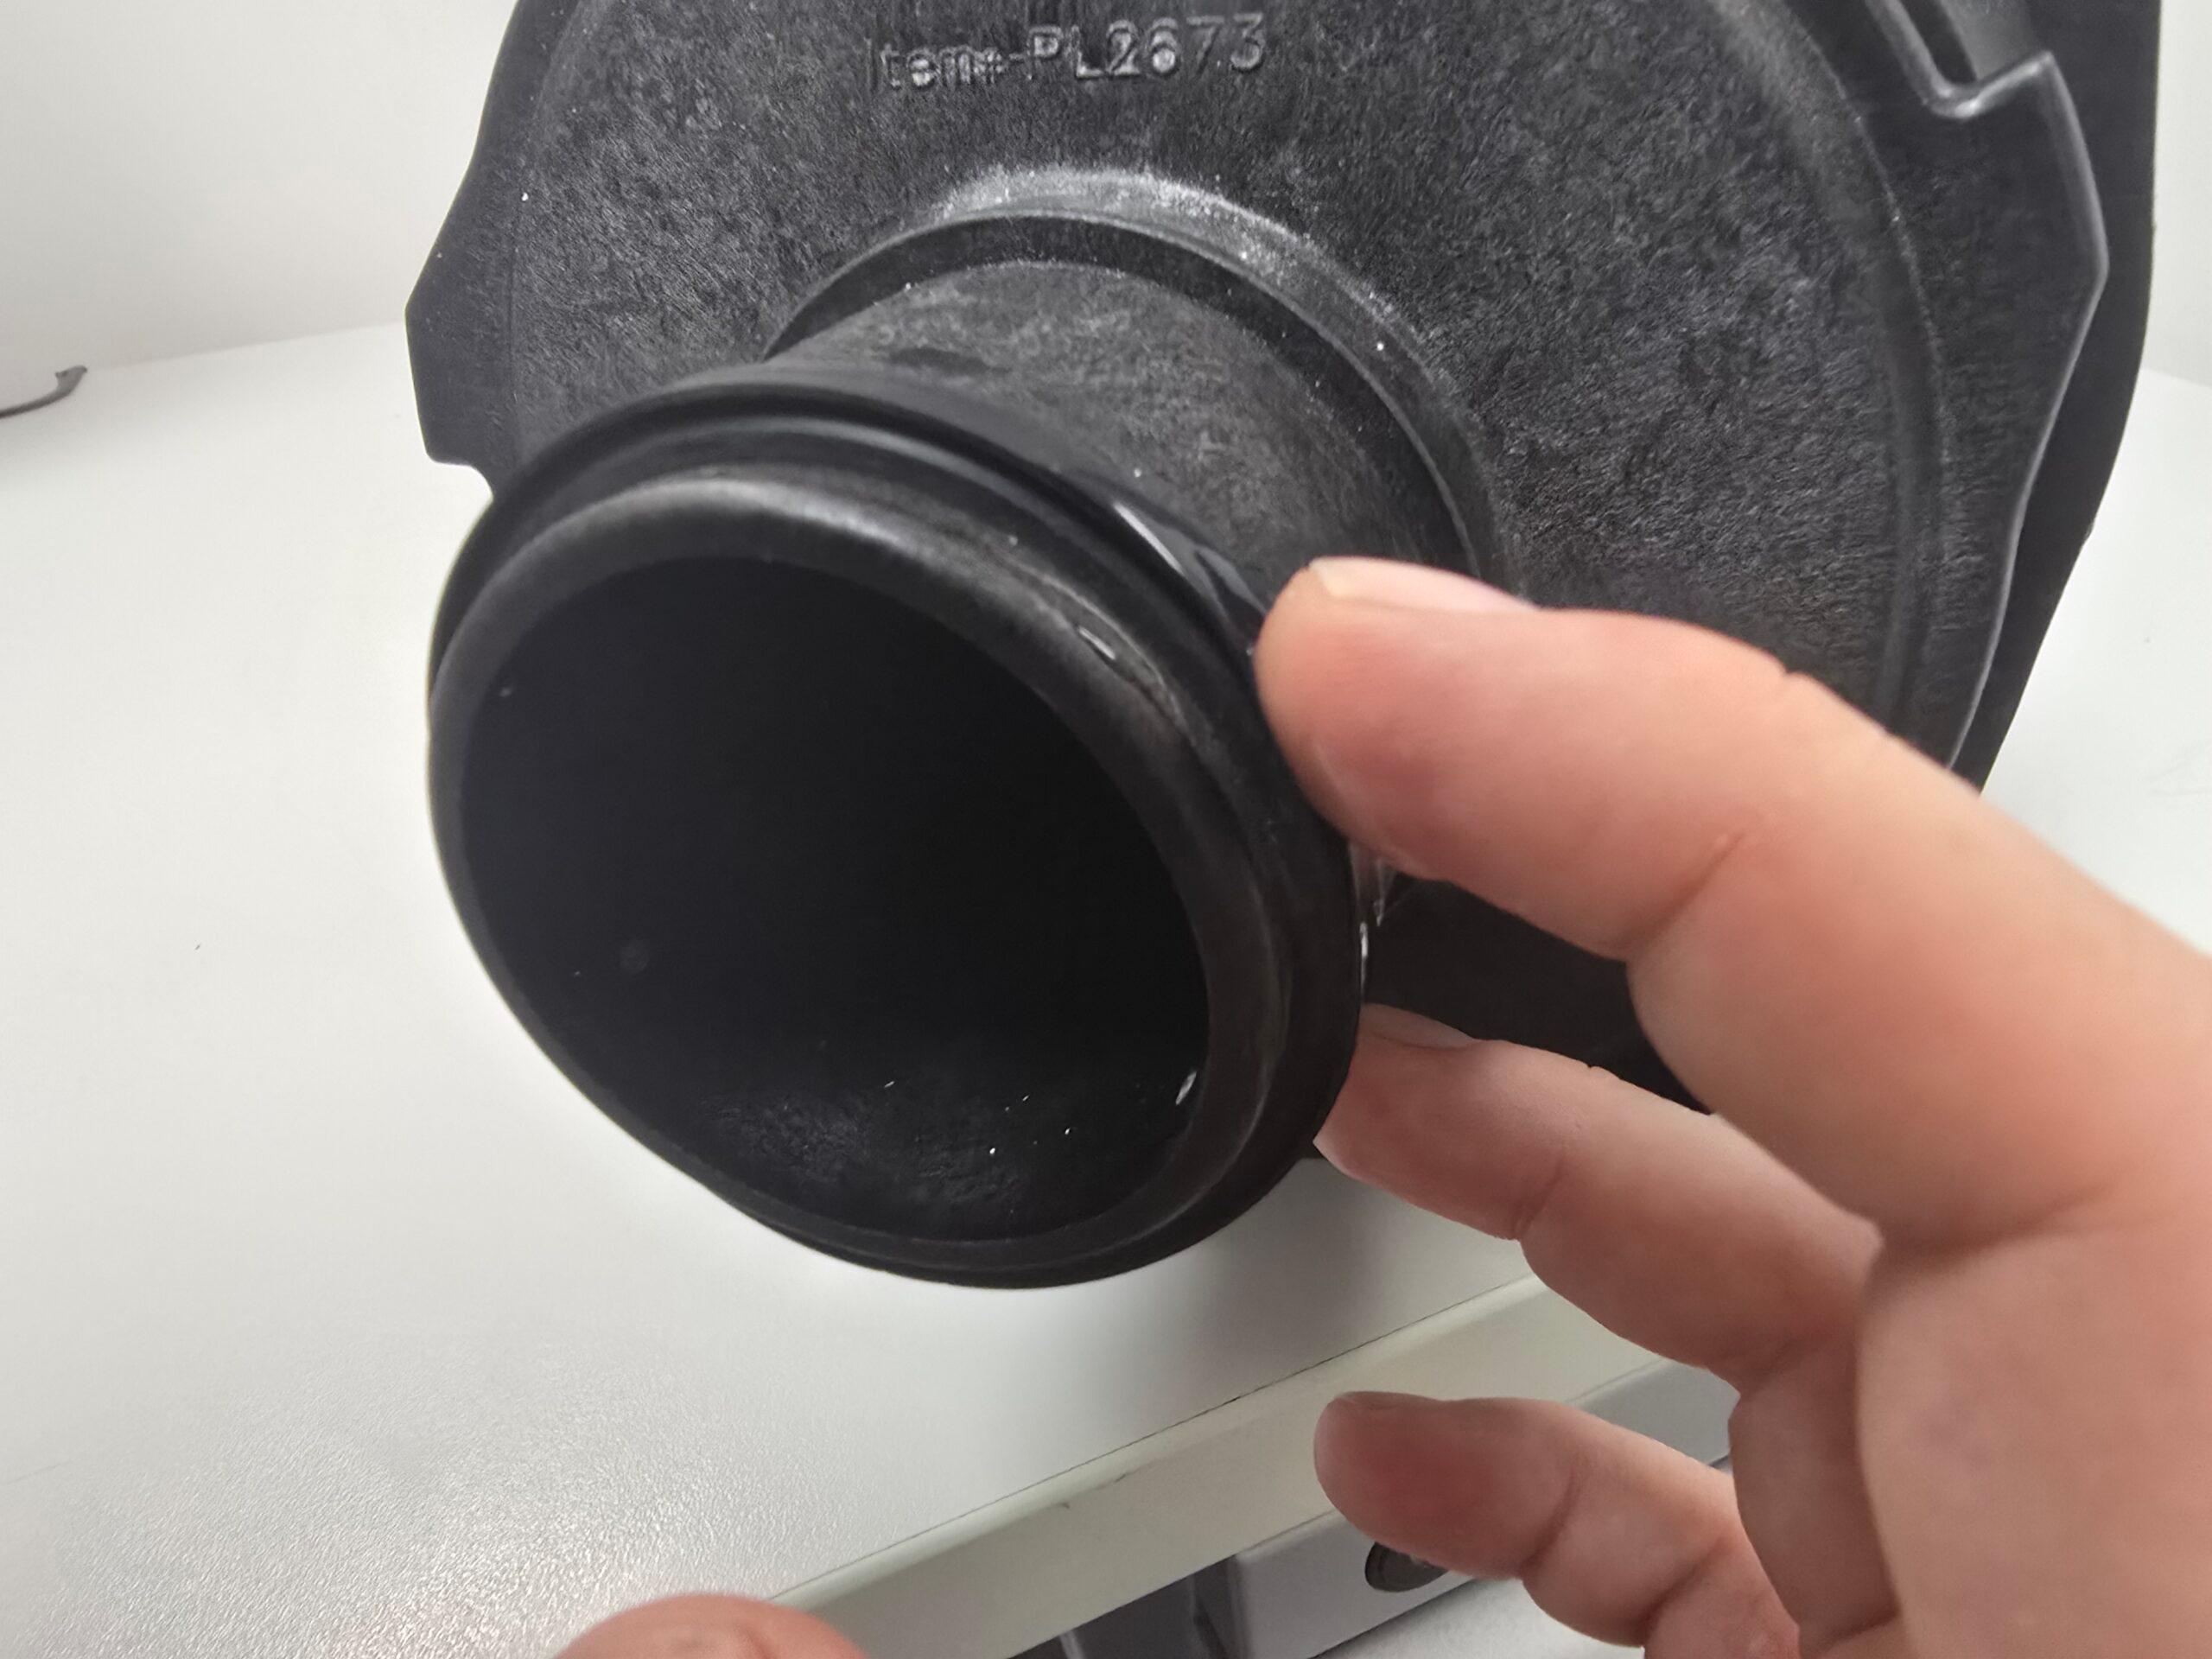
Lube the housing oring and diffuser oring to make for easy installation. 


Step 9

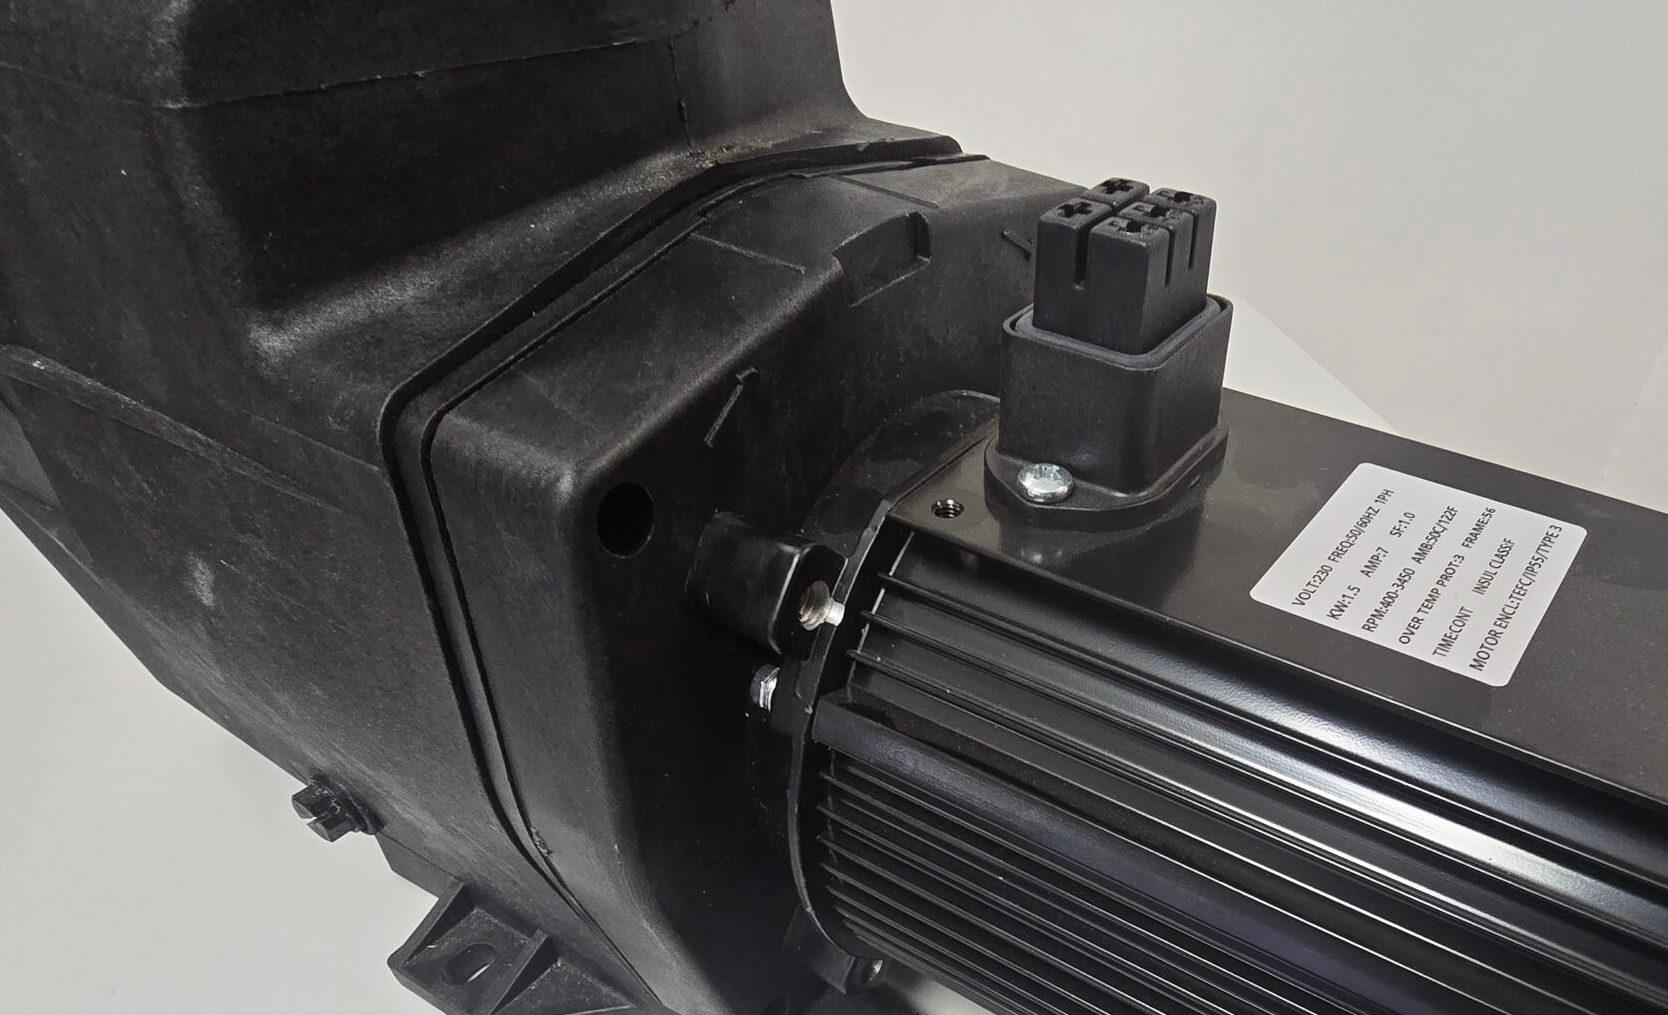
Install the New Motor Kit

Slide the New Motor Kit into the Super Pump Housing.


Step 10

Install the Housing Bolts

Install the four housing bolts going in an opposite pattern.

Note: If you start at the top right bolt, the next one should be the left bottom bolt, and make sure to not over torque the bolts.

Step 11

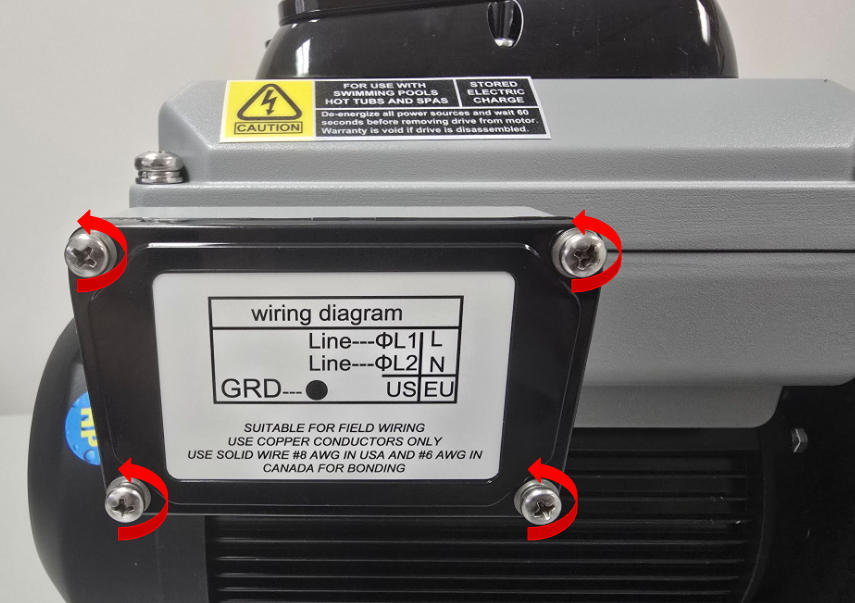
Remove the Power Box Cover

Undo the four screws from the power box using a philips head screwdriver

Step 12

Connect the Wiring Harness

Note: If you used quick disconnects on your old motor, you will need to remove them. This motor does not require quick disconnects. 

Step 13

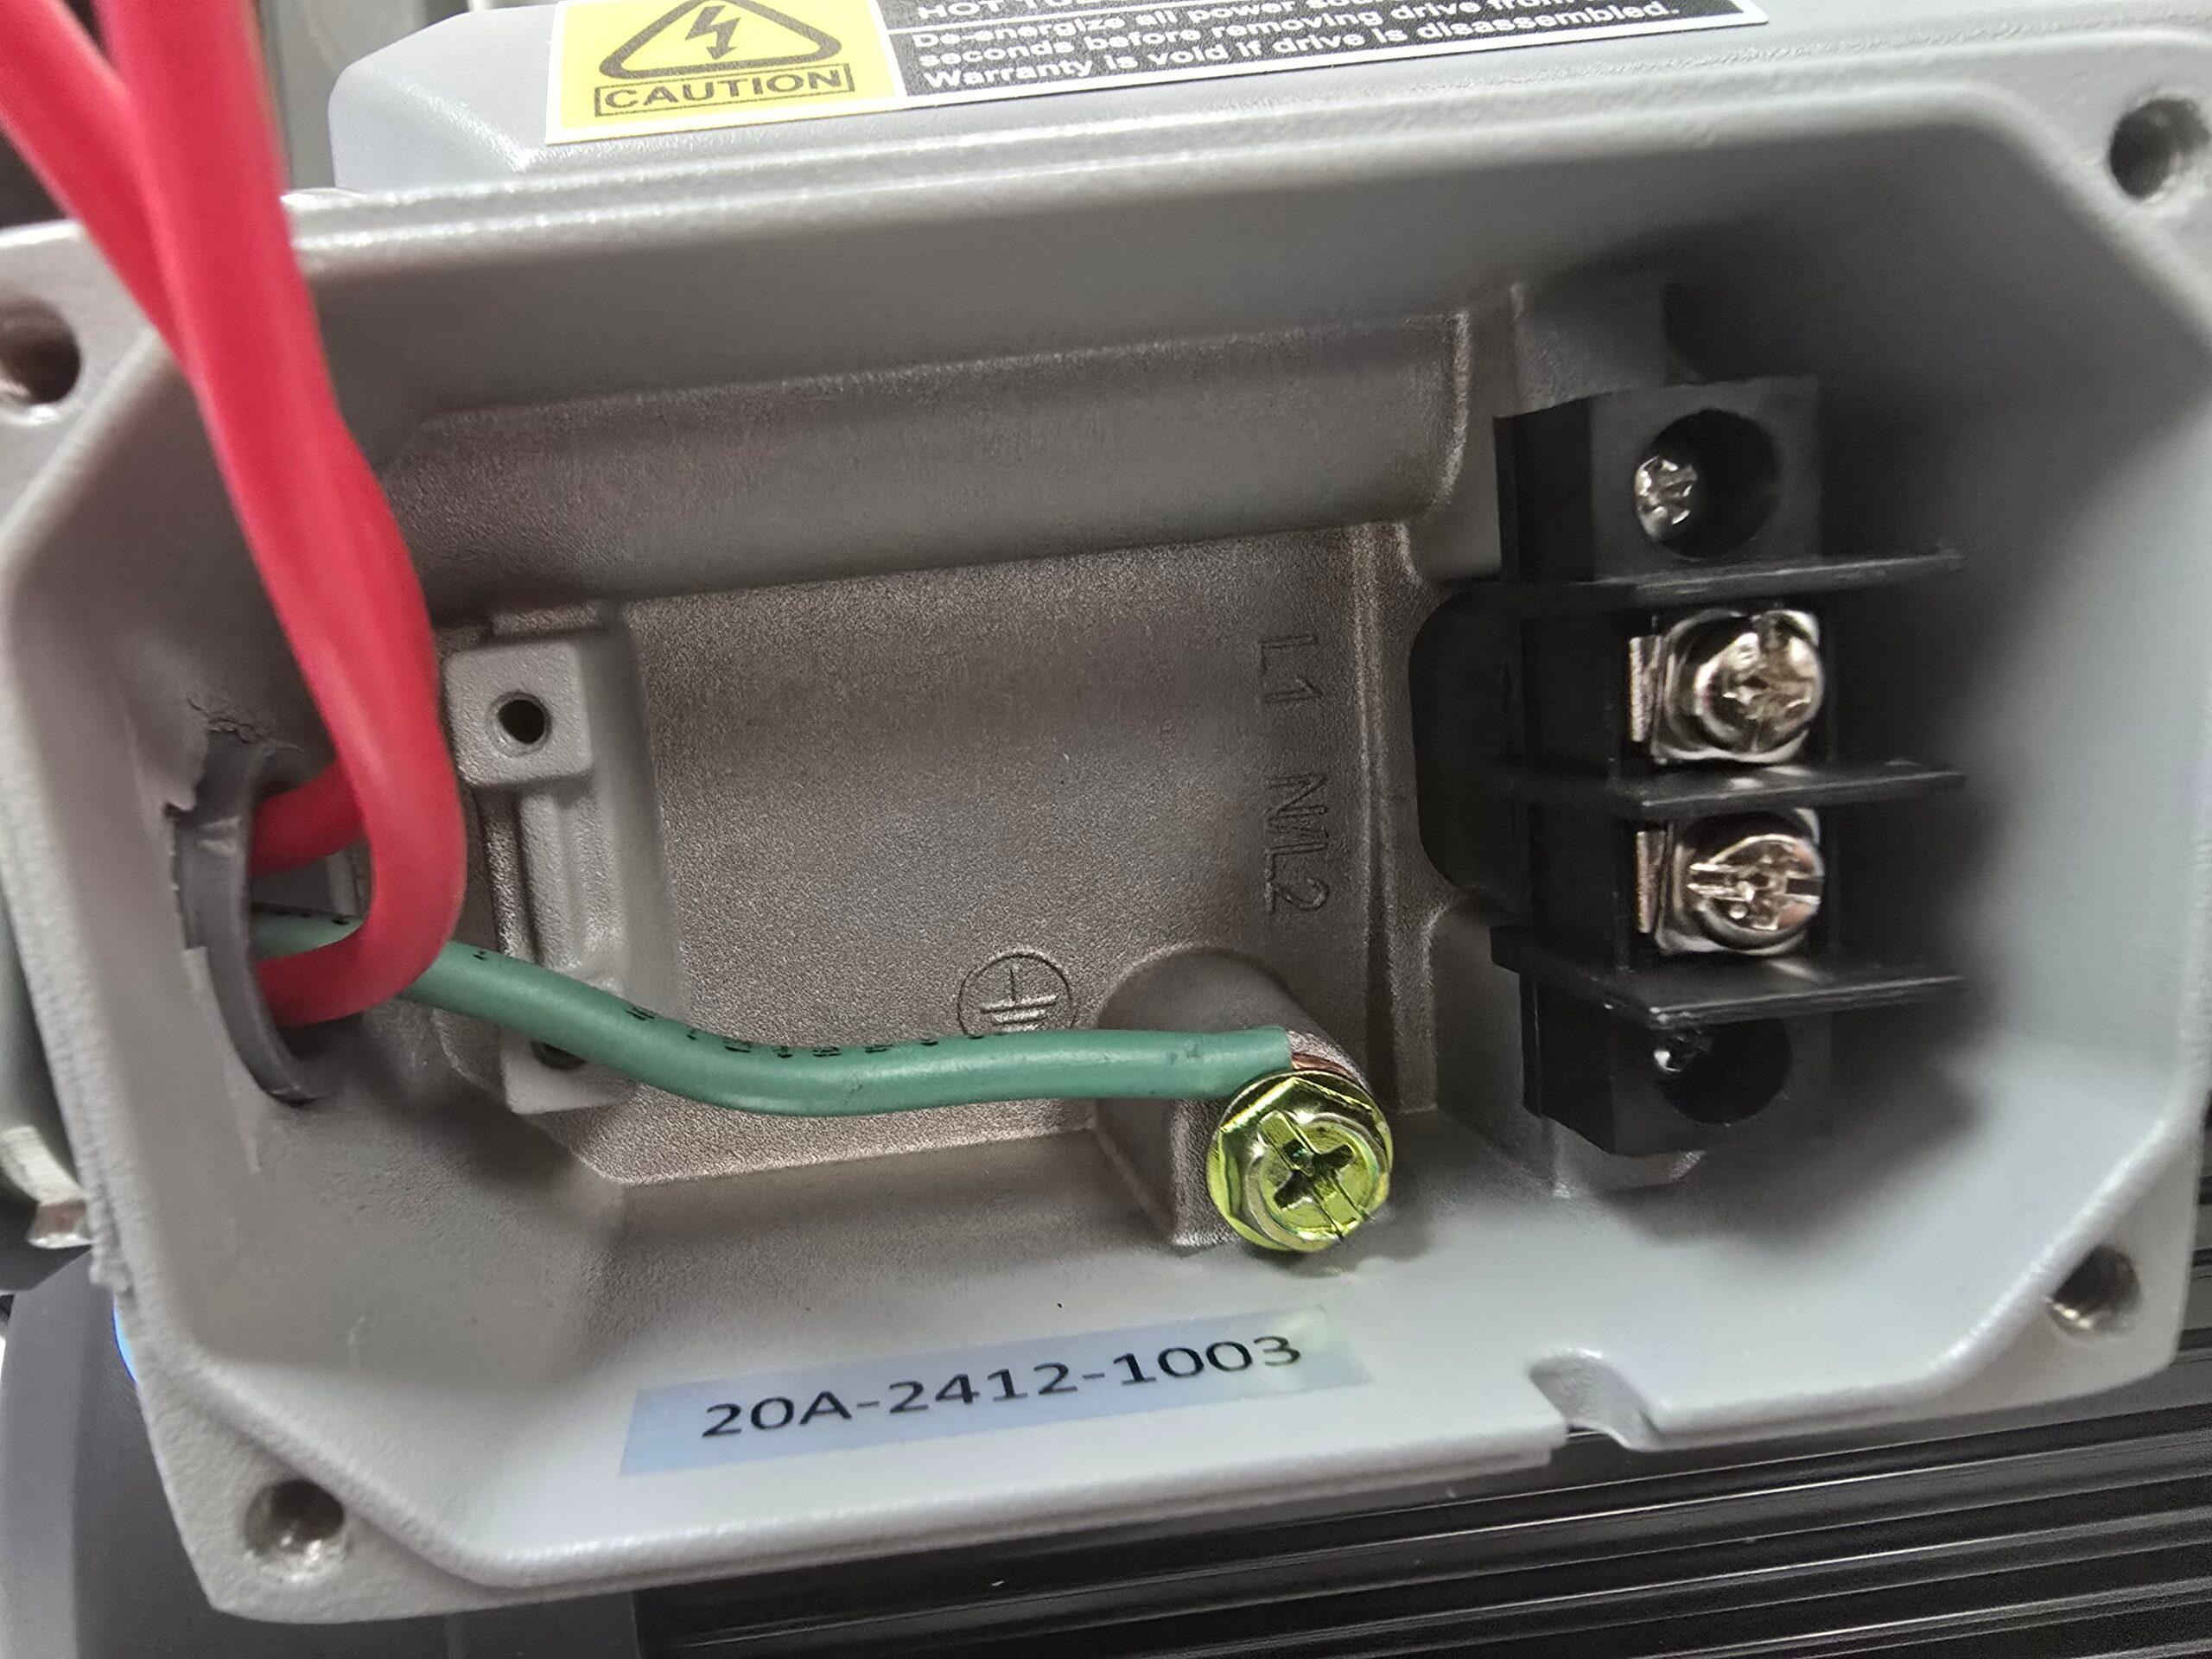
Connect the Ground Wire

Make a candy cane shape, bend to the right, attach your ground wire using a Phillips head screwdriver to the green grounding screw. 


Step 14

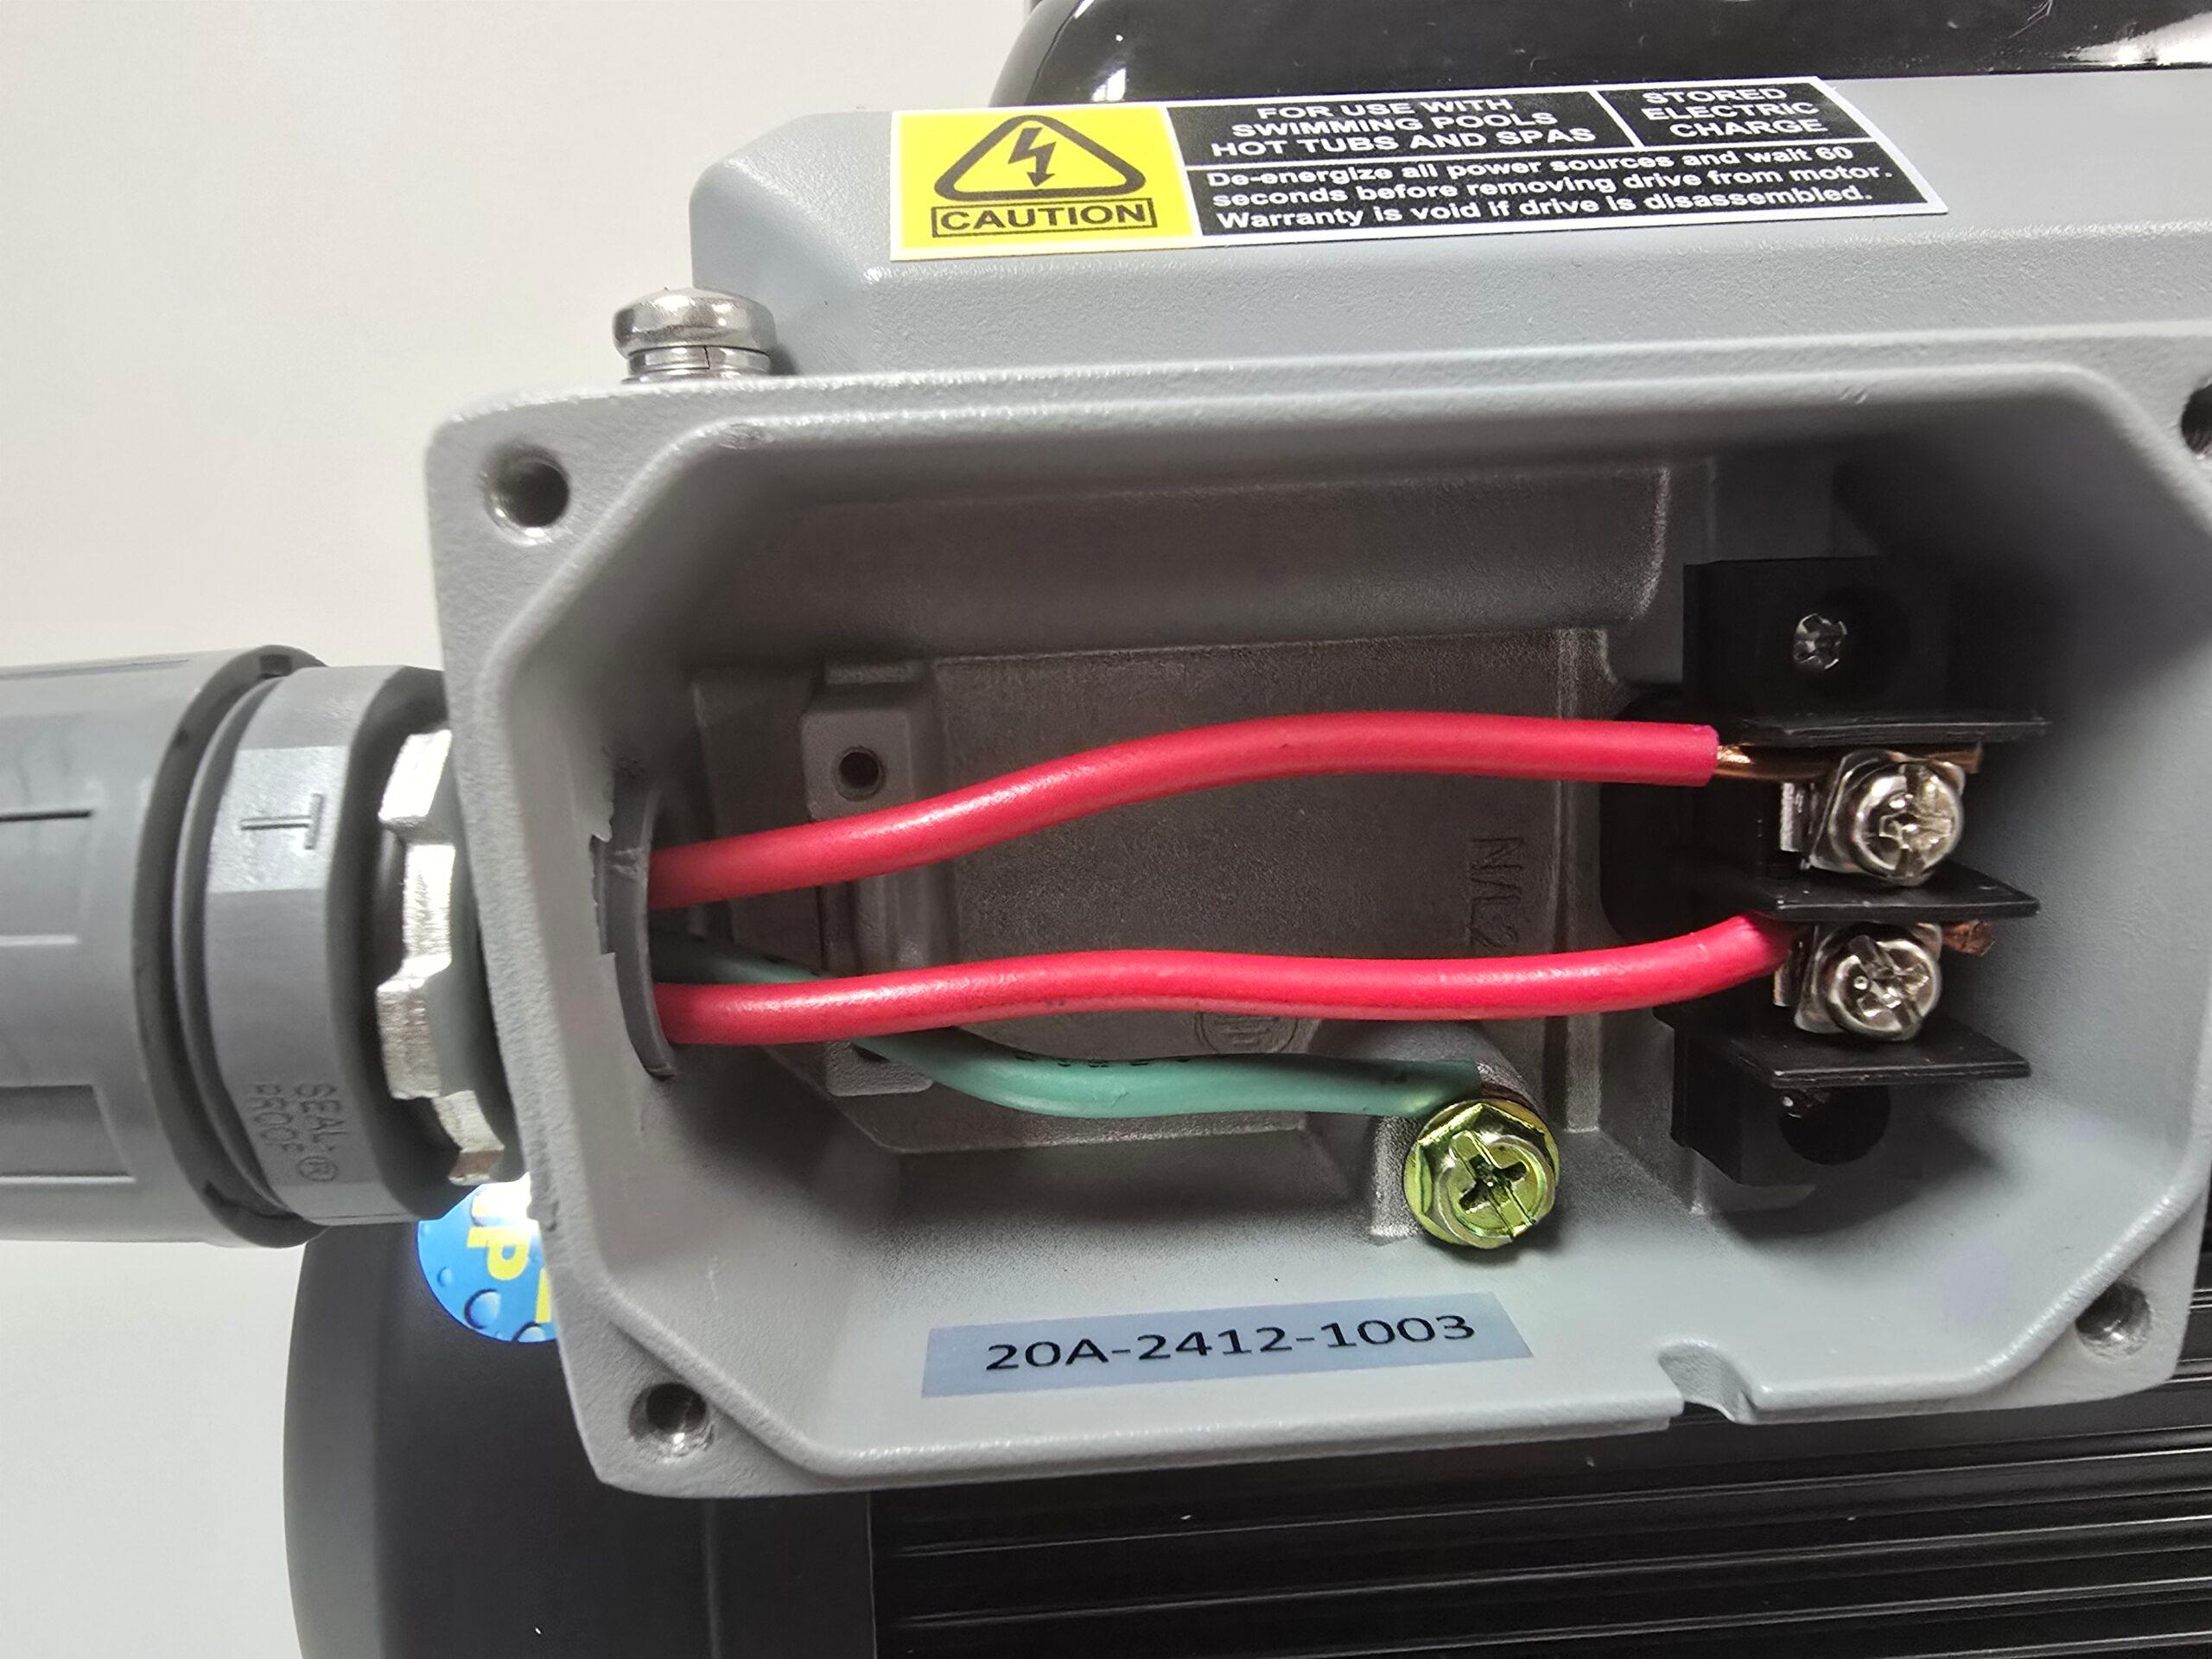
Connect the Voltage Wires

Using a Phillips head screwdriver, attach the voltage wires.

Note: There is no specific wire for the line hook ups. One wire to L1 and the other to L2.

Step 15

Reinstall the Power Box Cover
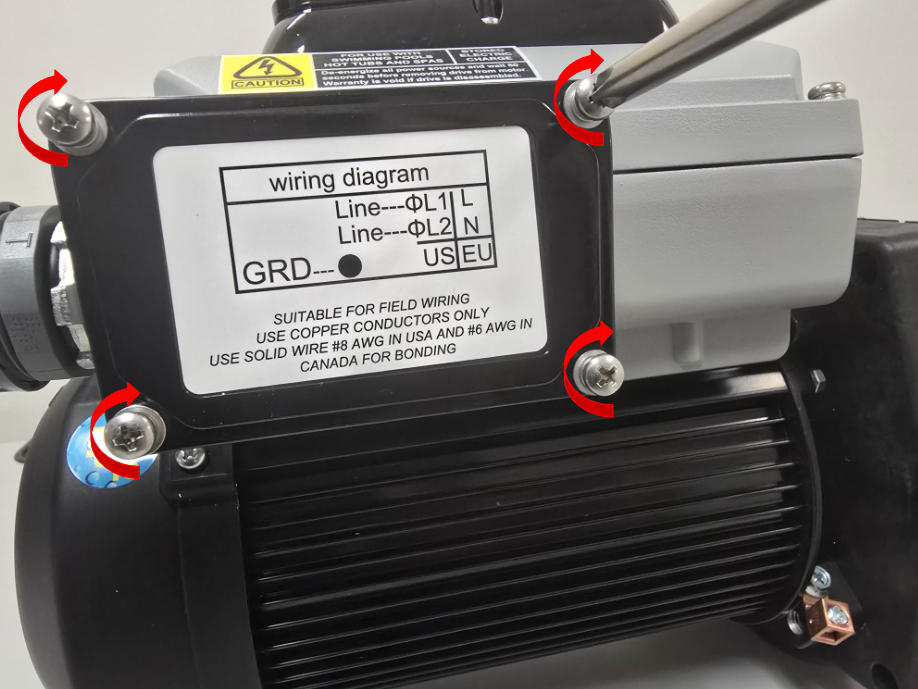
Using a Phillips head screwdriver, reinstall the power cover.

Step 16

Install the Bounding Wire

Use a flathead screwdriver to install the bounding wire.

Step 17

Turn the Breaker Back On

If you need help programming your new motor, please check out How to Program the Pureline Rapids PL2515, Titan PL2516, and PL1116MKITASSY

Watch Video

No video available.

Related Videos

author avatar
Tyler Aviles

Leave a Reply

Your email address will not be published. Required fields are marked *