Chat with us, powered by LiveChat
Home / Pumps / Motors / How to Program a Century Evo Motor for the Water Feature Mode

 How to Program a Century Evo Motor for the Water Feature Mode

Difficulty:

Beginner

This is a complete how-to guide on programming the Century Evo motor for the water feature mode schedule set C. This guide is for the EVC and EVQ models. Before you start the tools you will need for this project are

Tools Needed:

  • ¼” Nut driver or Philips head screwdriver
  • Flat head screwdriver
  • Voltmeter or Multimeter

Supplies Needed:

  • Century Evo Motor

Step 1

Shut Off the Power at the Breaker
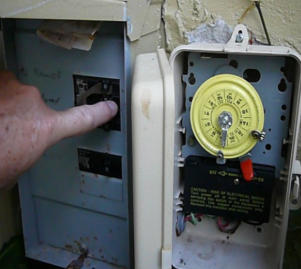
Turn the power off by flipping the breaker.

Step 2

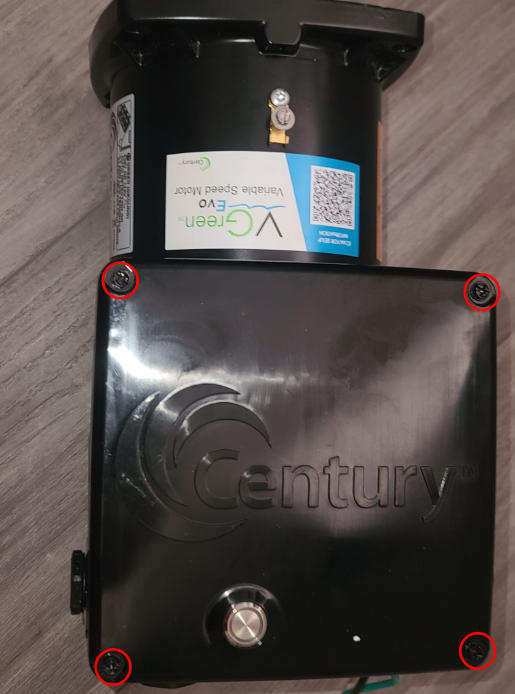
Remove the Top Plate Screws

Using a Philips screwdriver Remove the four screws from the top plate.

Step 3

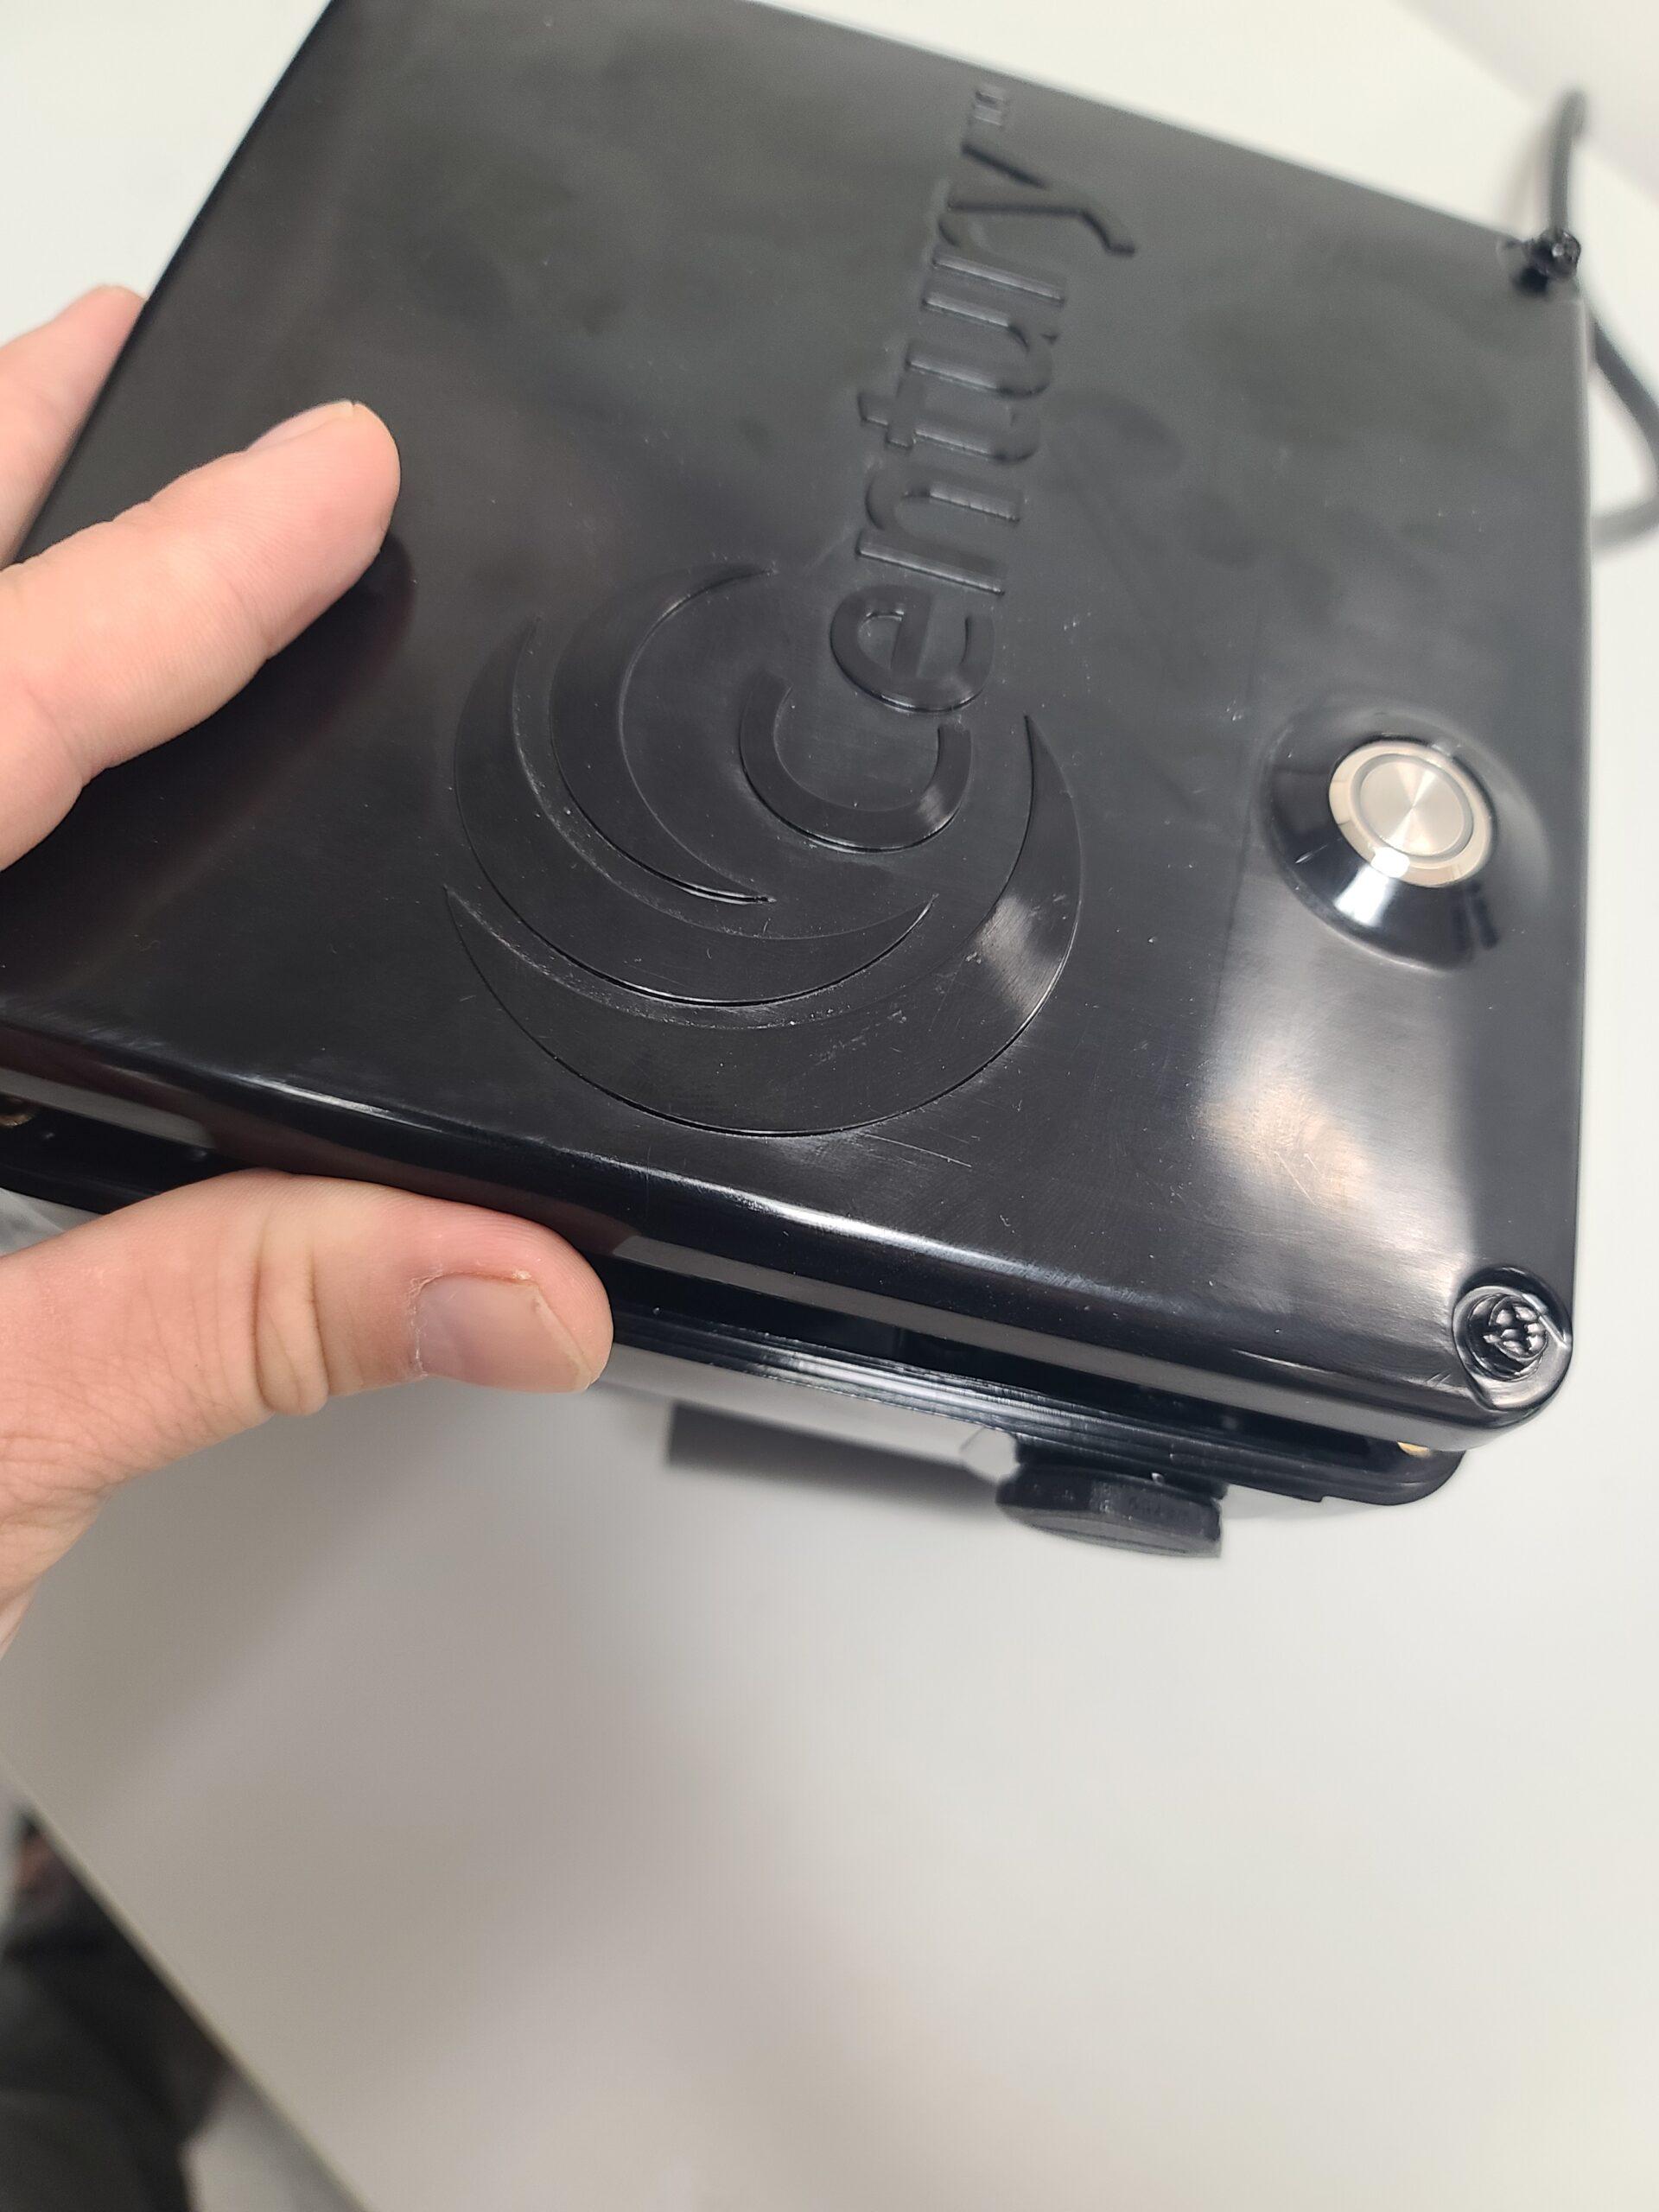
Remove the Top Plate

Once the top screws are removed, lift the top plate off the motor and let it hang to the side.

Step 4

Double Check That the Power is Off
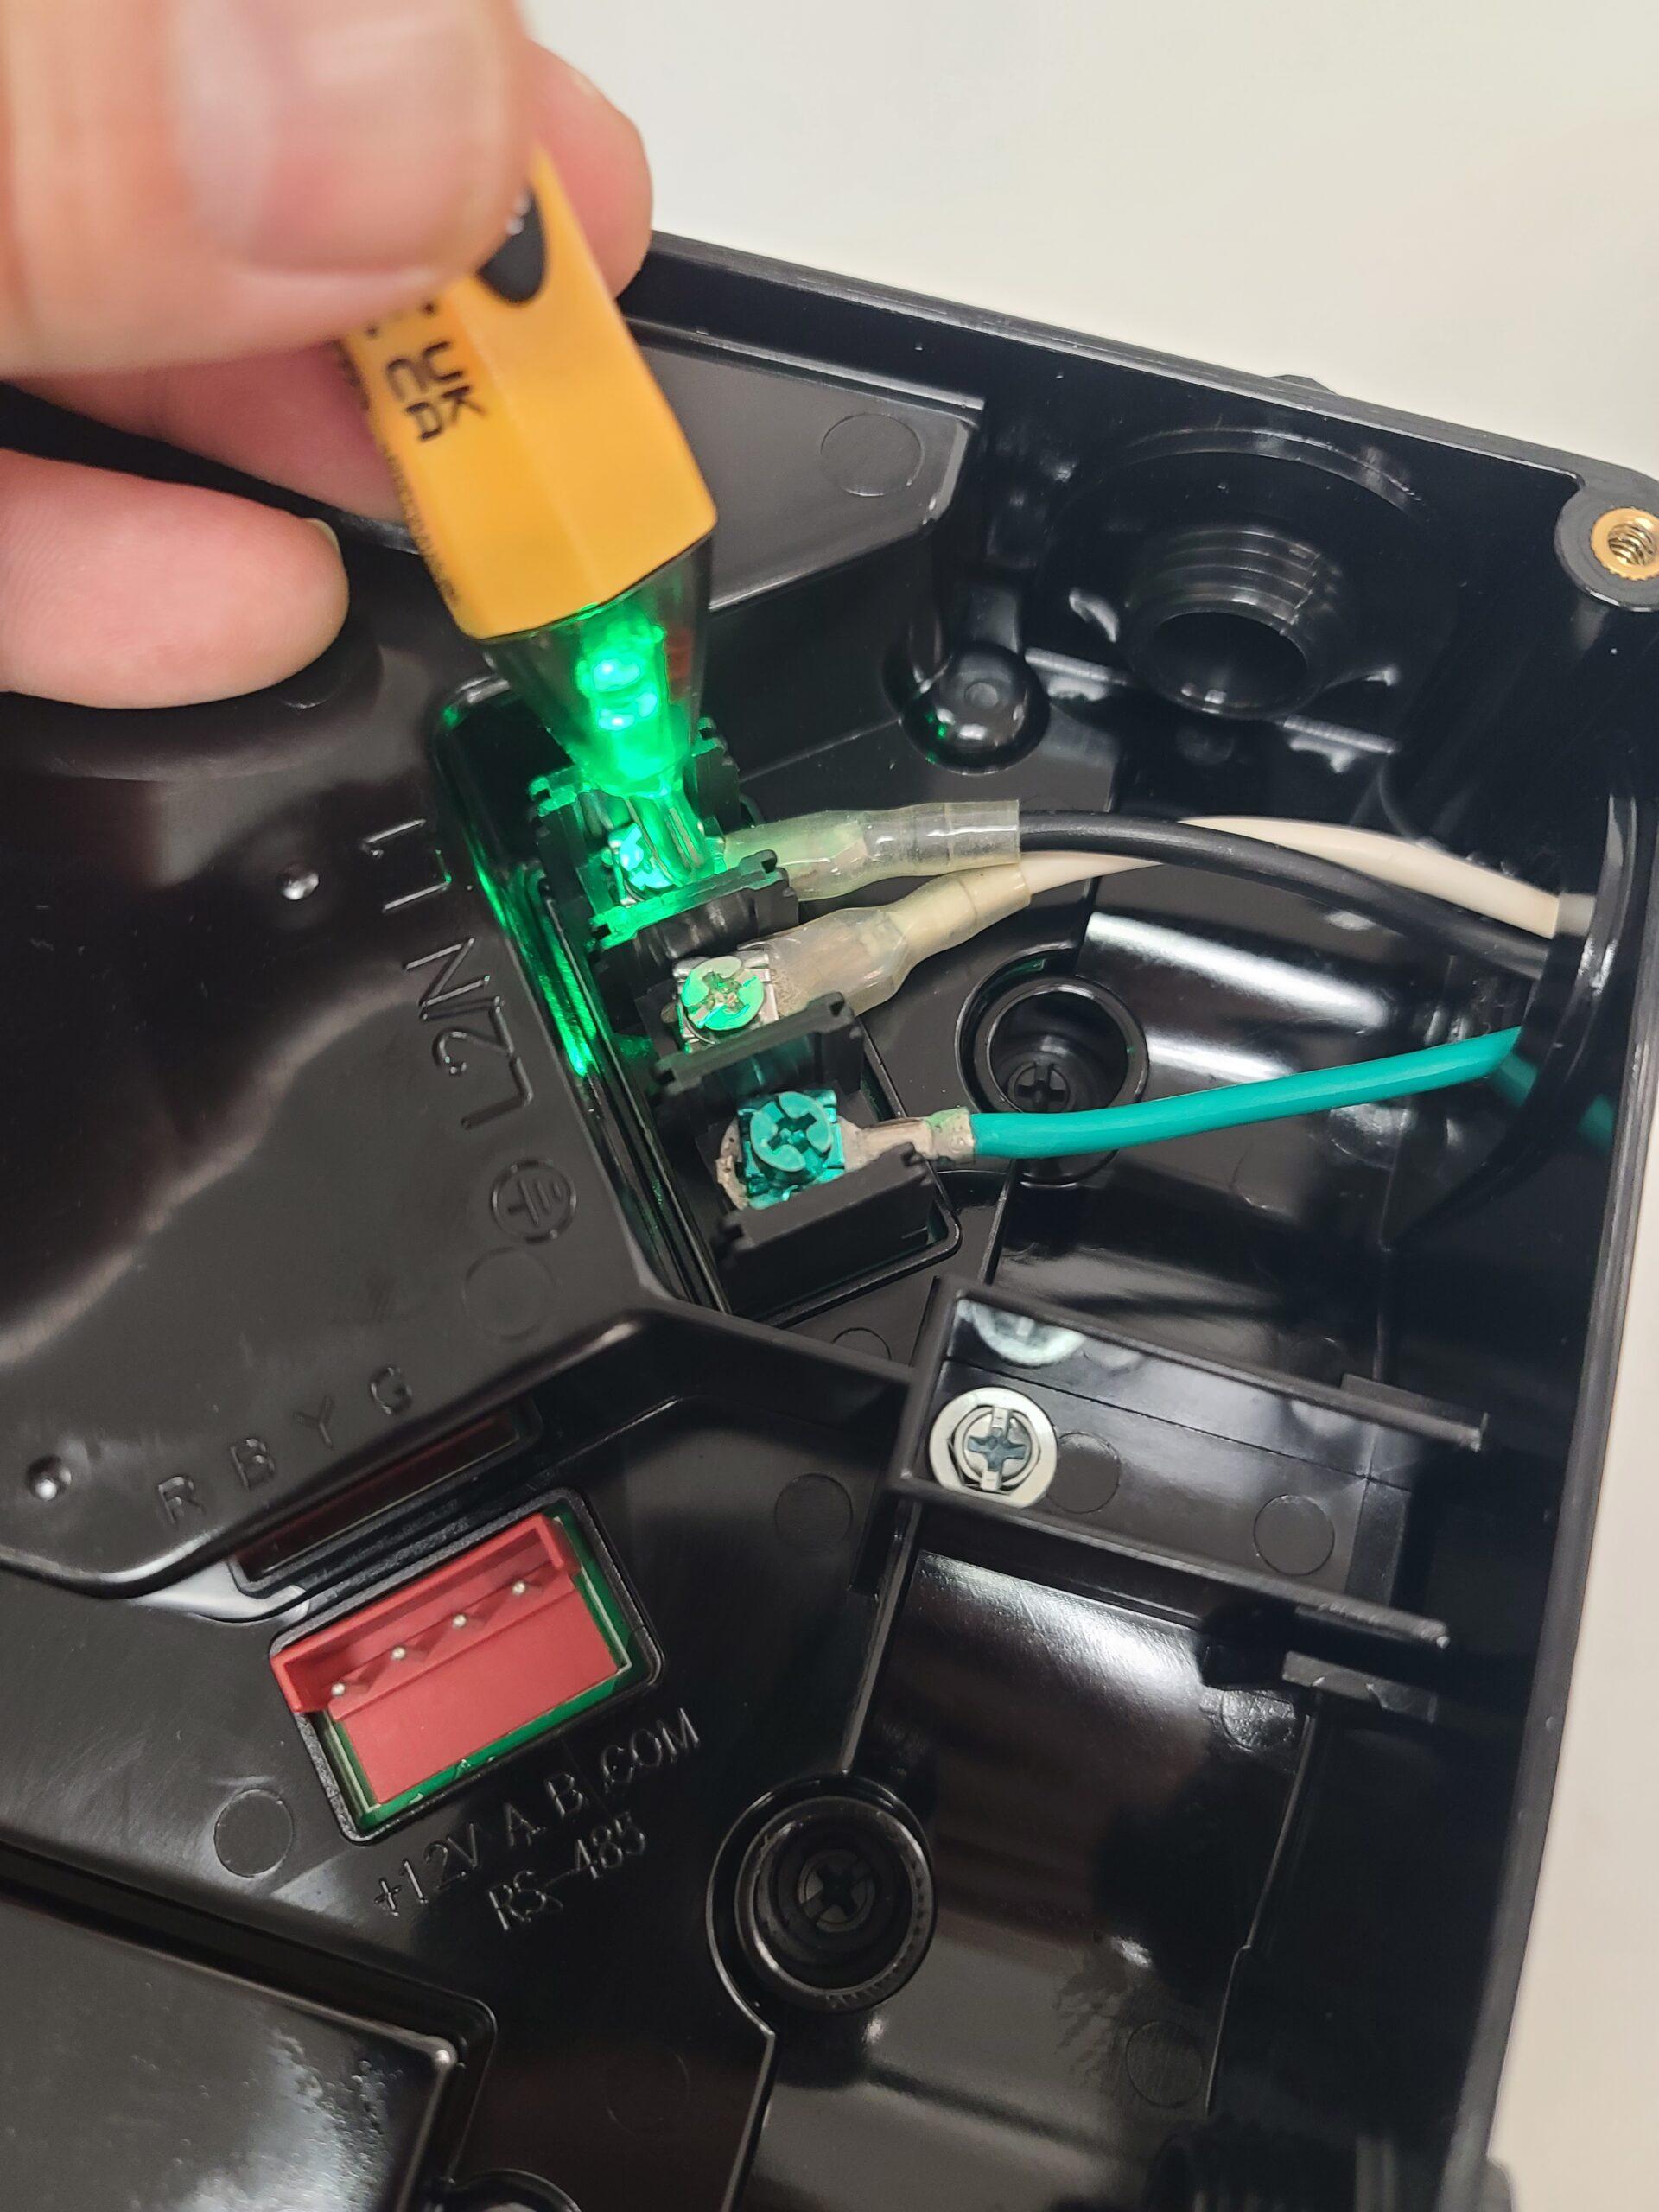
Use a voltmeter (multimeter) to ensure the motor’s power has been cut off.

Step 5

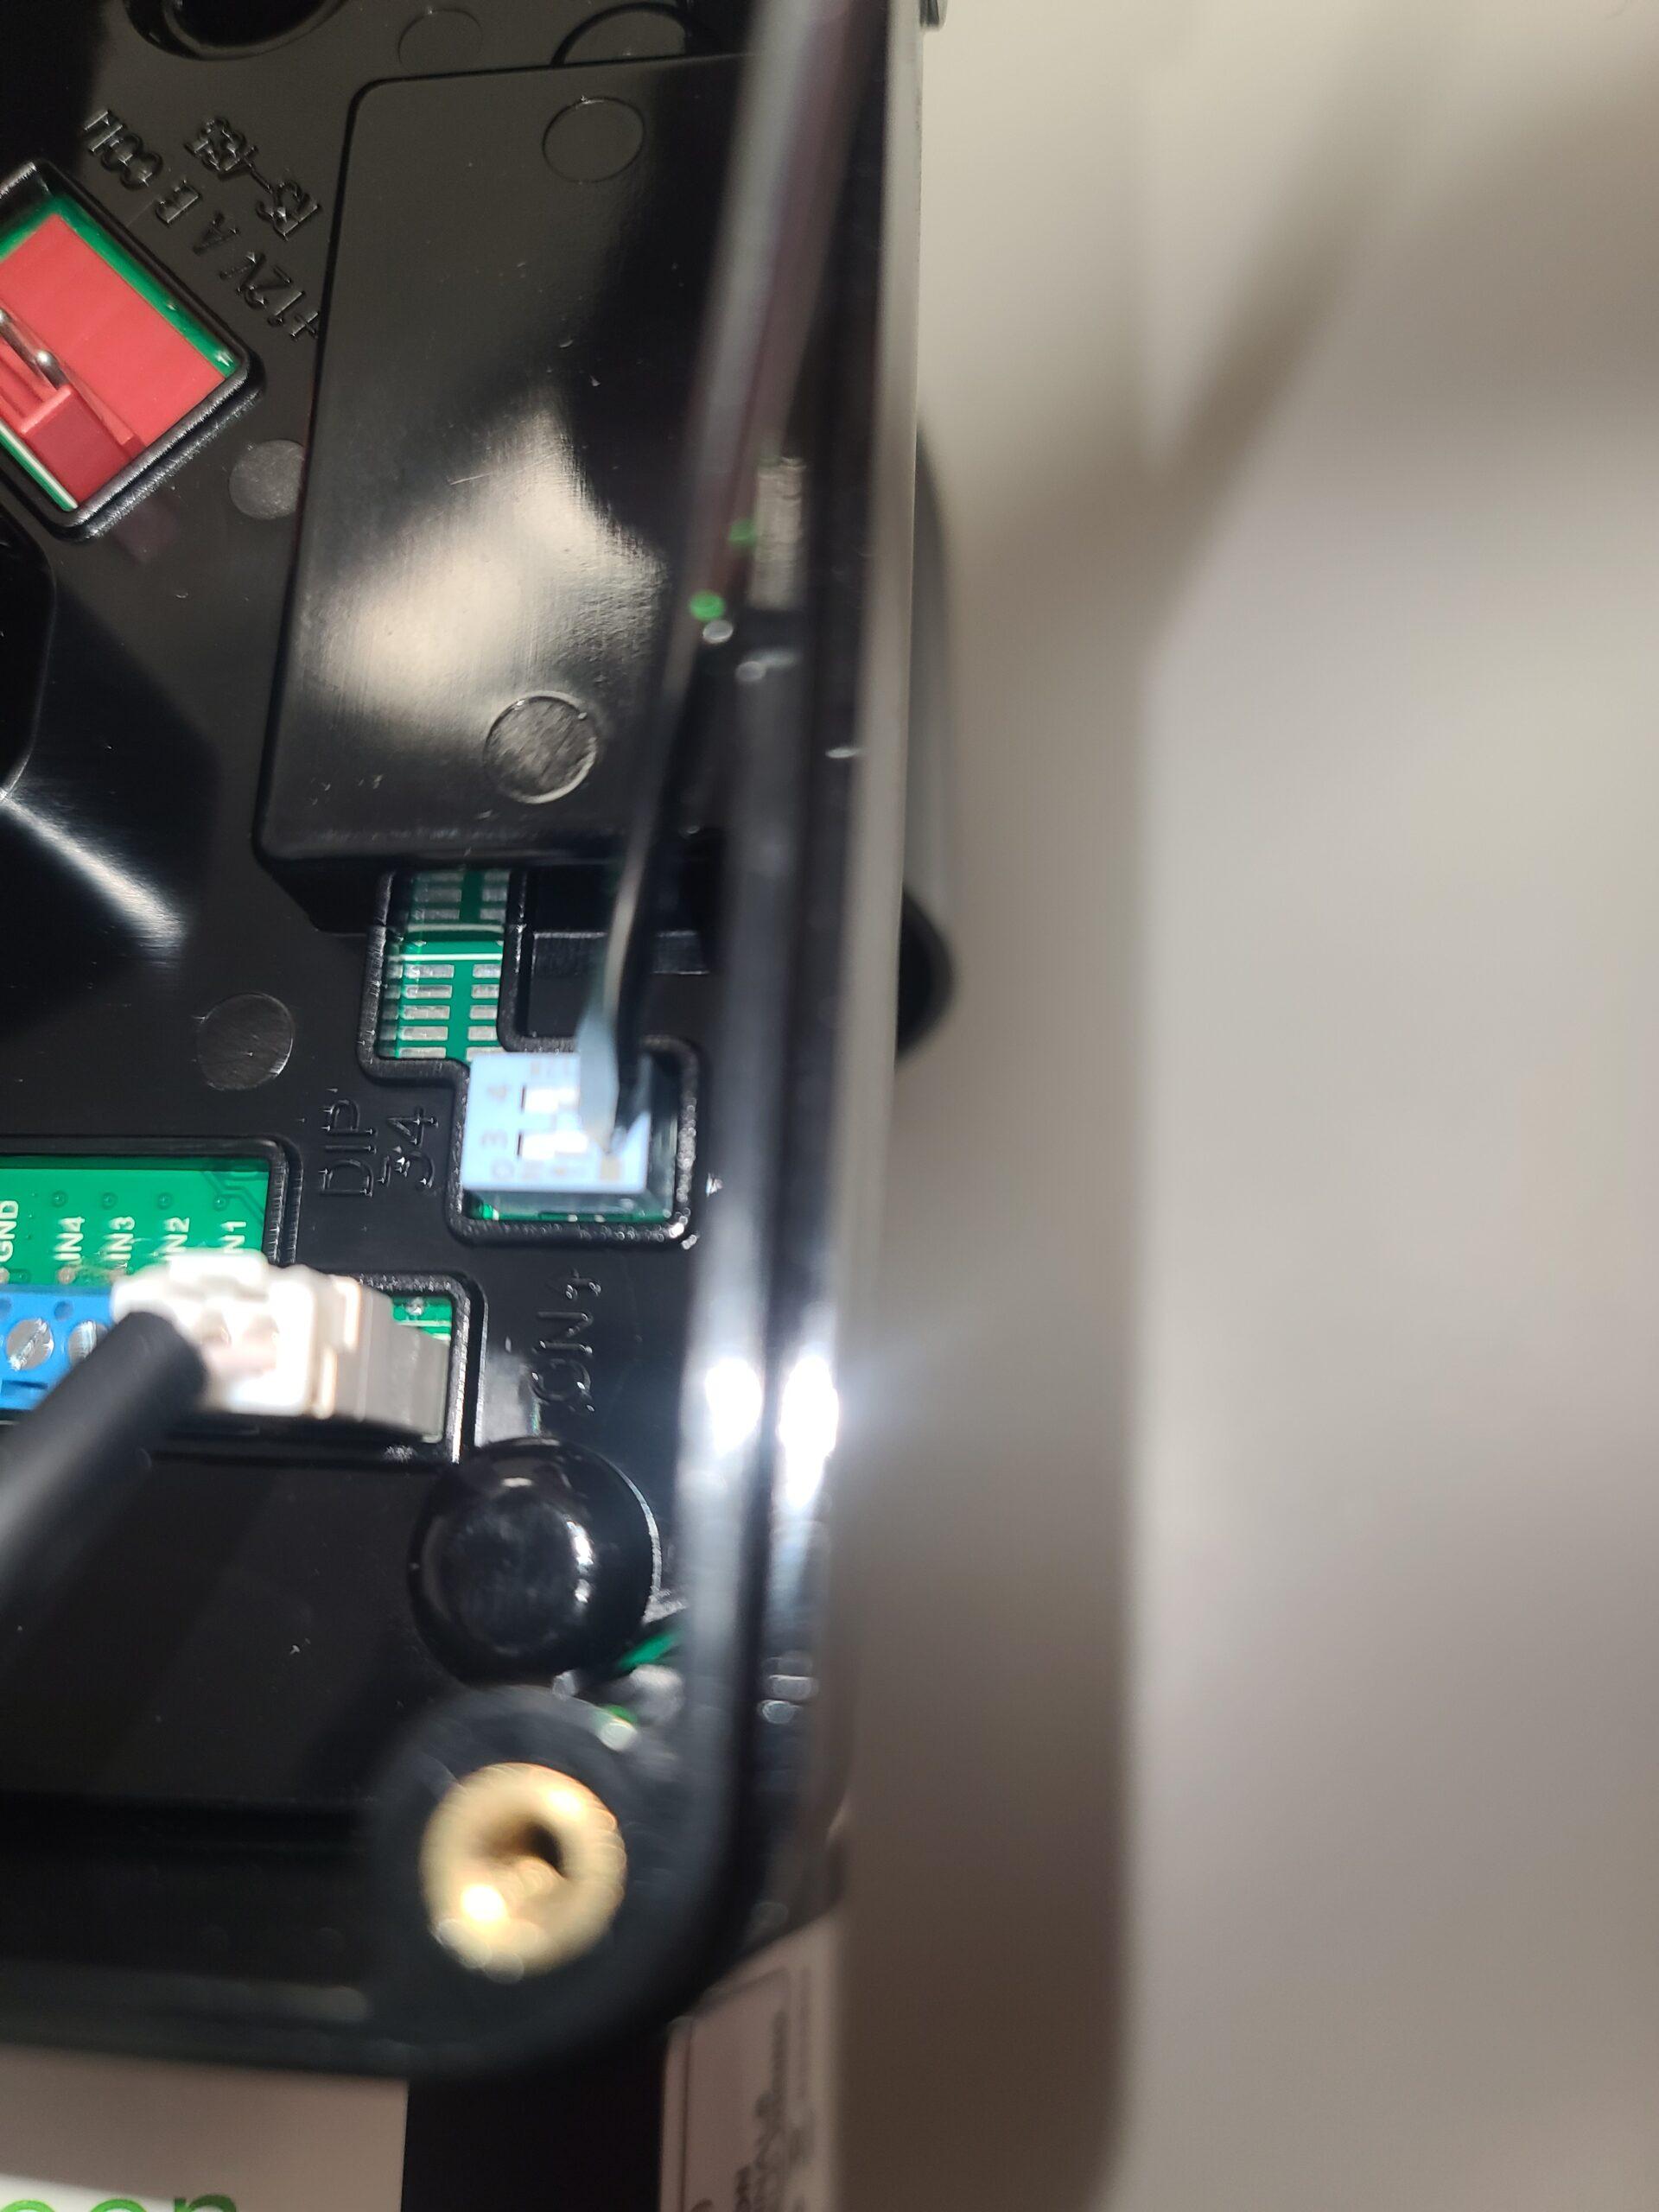
Adjusting the Dipswitches

Use a flathead screwdriver to adjust the dipswitches according to the water feature setup.

Note: The water feature mode dip switch setup is 3 off and 4 on.

Step 6

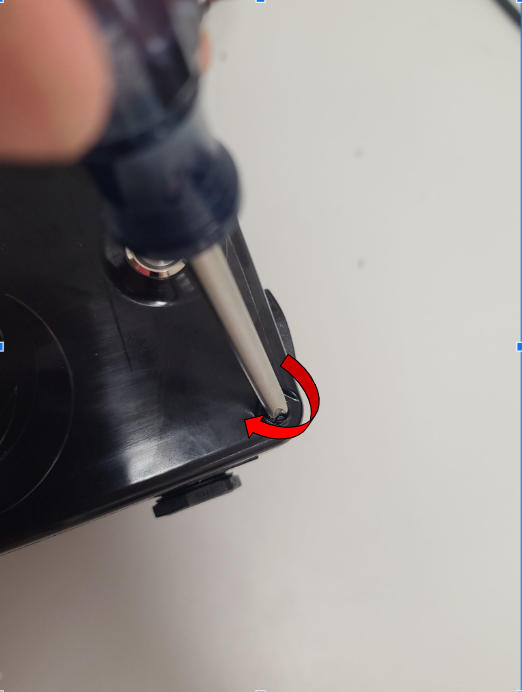
Reattach the Top Plate

 Reattach the top plate with the four screws using a Philips screwdriver.


Step 7

Turn the Power Back on at the Breaker
Reapply power to the motor by turning the breaker back on.

Step 8

Setting the Schedule Set Mode

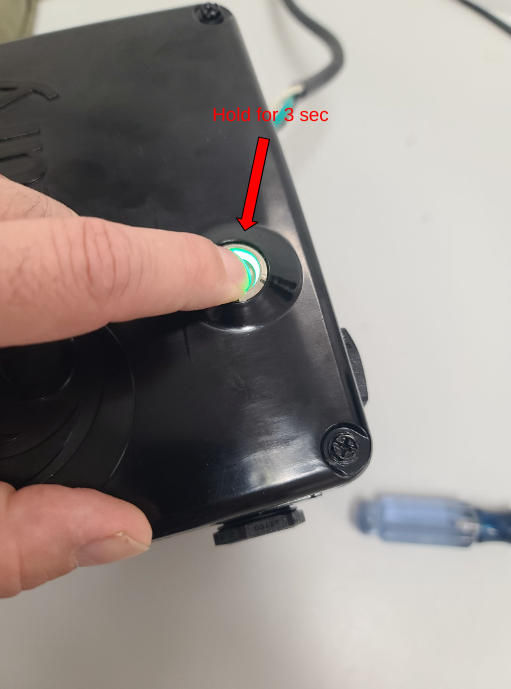
Press and hold down the button for 3 seconds to enter schedule set mode.

(Light will blink rapidly)

Note:The starting RPMs are 1,000”

Step 9

Setting The RPM’S ( Revolutions Per Minute )
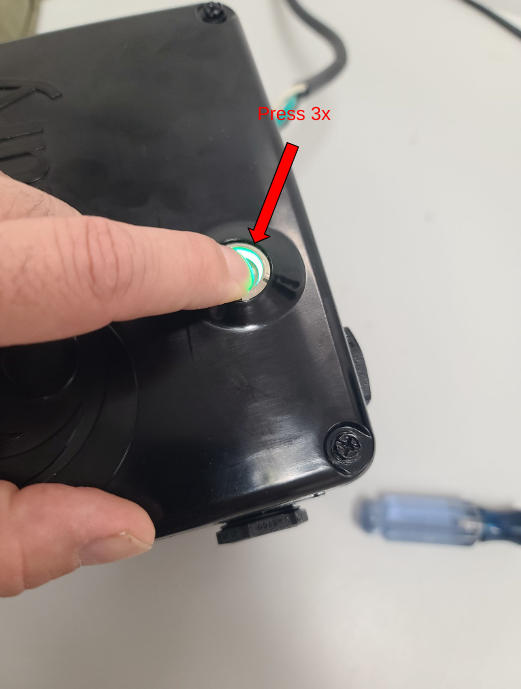
Starting at 1000 Rpms Each time you press the button the motor will raise in 100 RPM  increments. 

Example: If you want the motor to run at 1,800 RPM push the button 8 times.

Step 10

Exiting the Schedule Set Mode
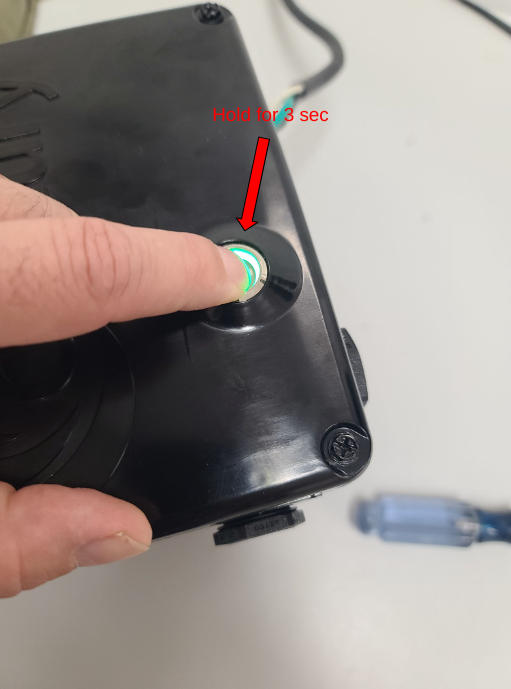
After setting your desired schedule, hold the button down for 3 seconds to exit the schedule set mode.

Step 11

Final Notes

In the water feature mode, freeze protection and priming are disabled. Once you have set a program, the motor will automatically go into schedule check mode. Count the blinks. Then multiply the blinks by 100 and add 1000. That will give your set RPM speed.

Replacement Motors

  • Single, Dual, Variable Speed Options
  • Confirm the right replacement with our Experts.
  • Fast Free Shipping.

Please Click Here for How To Program A Century Evo Motor Schedule Set A & B

Watch Video

No video available.

Related Videos

author avatar
Tyler Aviles

Leave a Reply

Your email address will not be published. Required fields are marked *