Chat with us, powered by LiveChat
Home / Salt Systems / How to Wire the Pureline Salt System for 110 Volts

How to Wire the Pureline Salt System for 110 Volts

Difficulty:

Intermediate

When you first install your PureLine salt system, the box will need to be wired. There are two selections for the voltage. 110-120V or 220-240v. This guide was created so that the average DIYer could follow the steps to wire their new Pure Line salt system. This is a step-by-step how-to guide on wiring the Pureline salt system for 110-120 volts.

Tools Needed:

  • Philips Head Screwdriver

Supplies Needed:

  • Pureline Salt System

Step 1

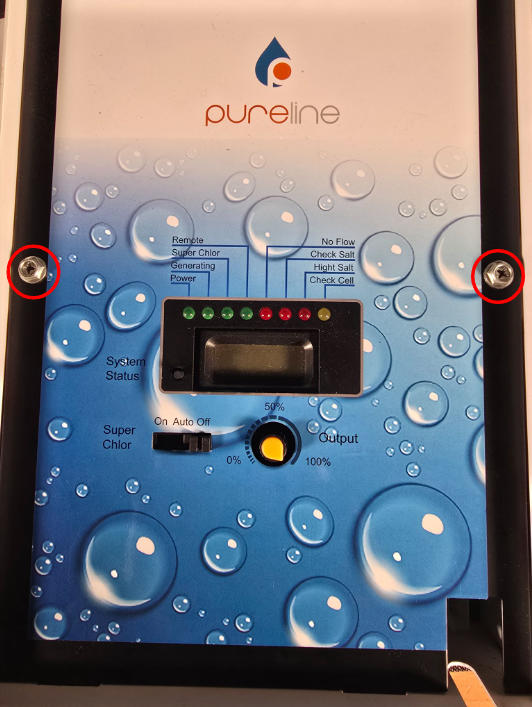
Remove the Faceplate Cover
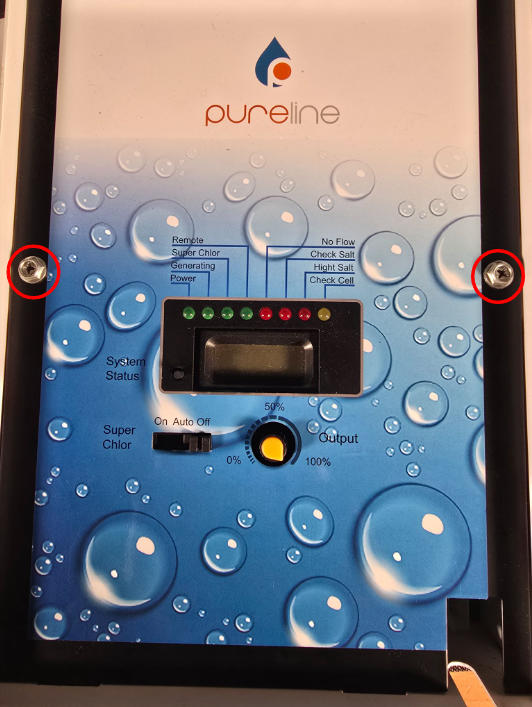
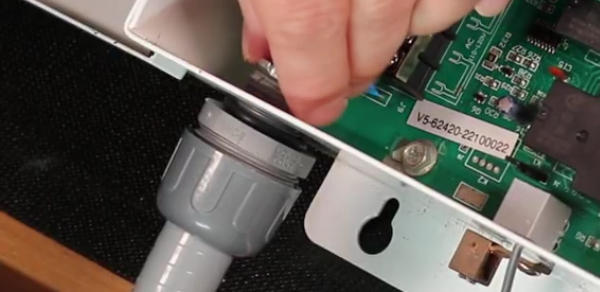
Use a Philips head screwdriver to remove the two screws holding the face plate. 

Note: Set screws in a secure place. (Don’t lose them)

Step 2

Remove the First Jumper Bridge
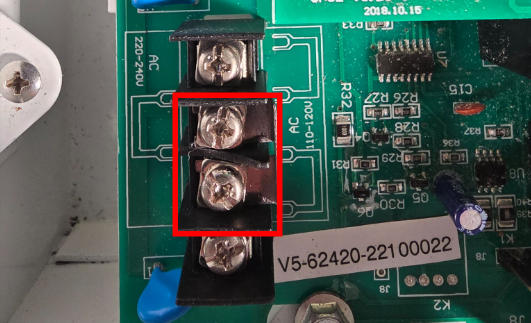
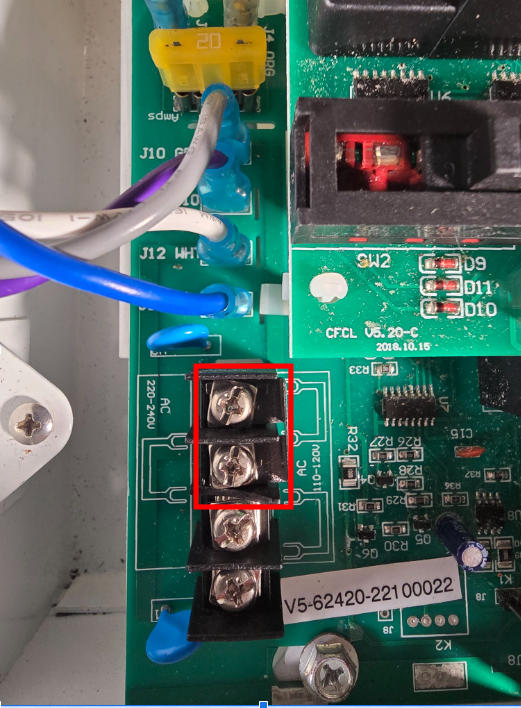
Using a Philips head screwdriver, remove the bridge from the middle two terminals.

Step 3

 Install the First Bridge

Install the first bridge on the first two terminals.


Step 4

Locate the Second Bridge Jumper
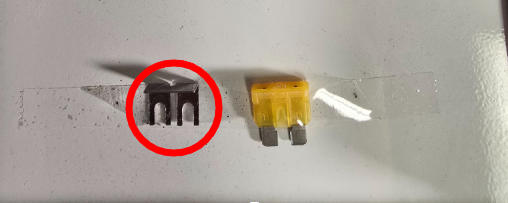
This jumper should be taped to the box door.

Step 5

Install the Second Bridge Jumper
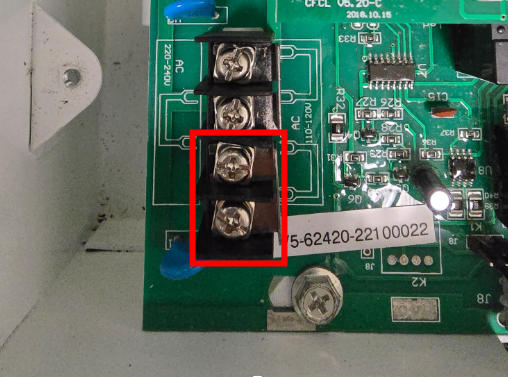
Install the second bridge onto the last two terminals.

Step 6

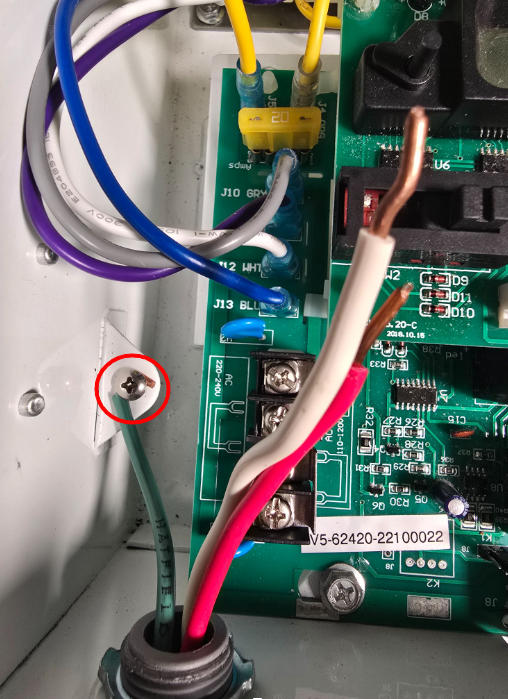
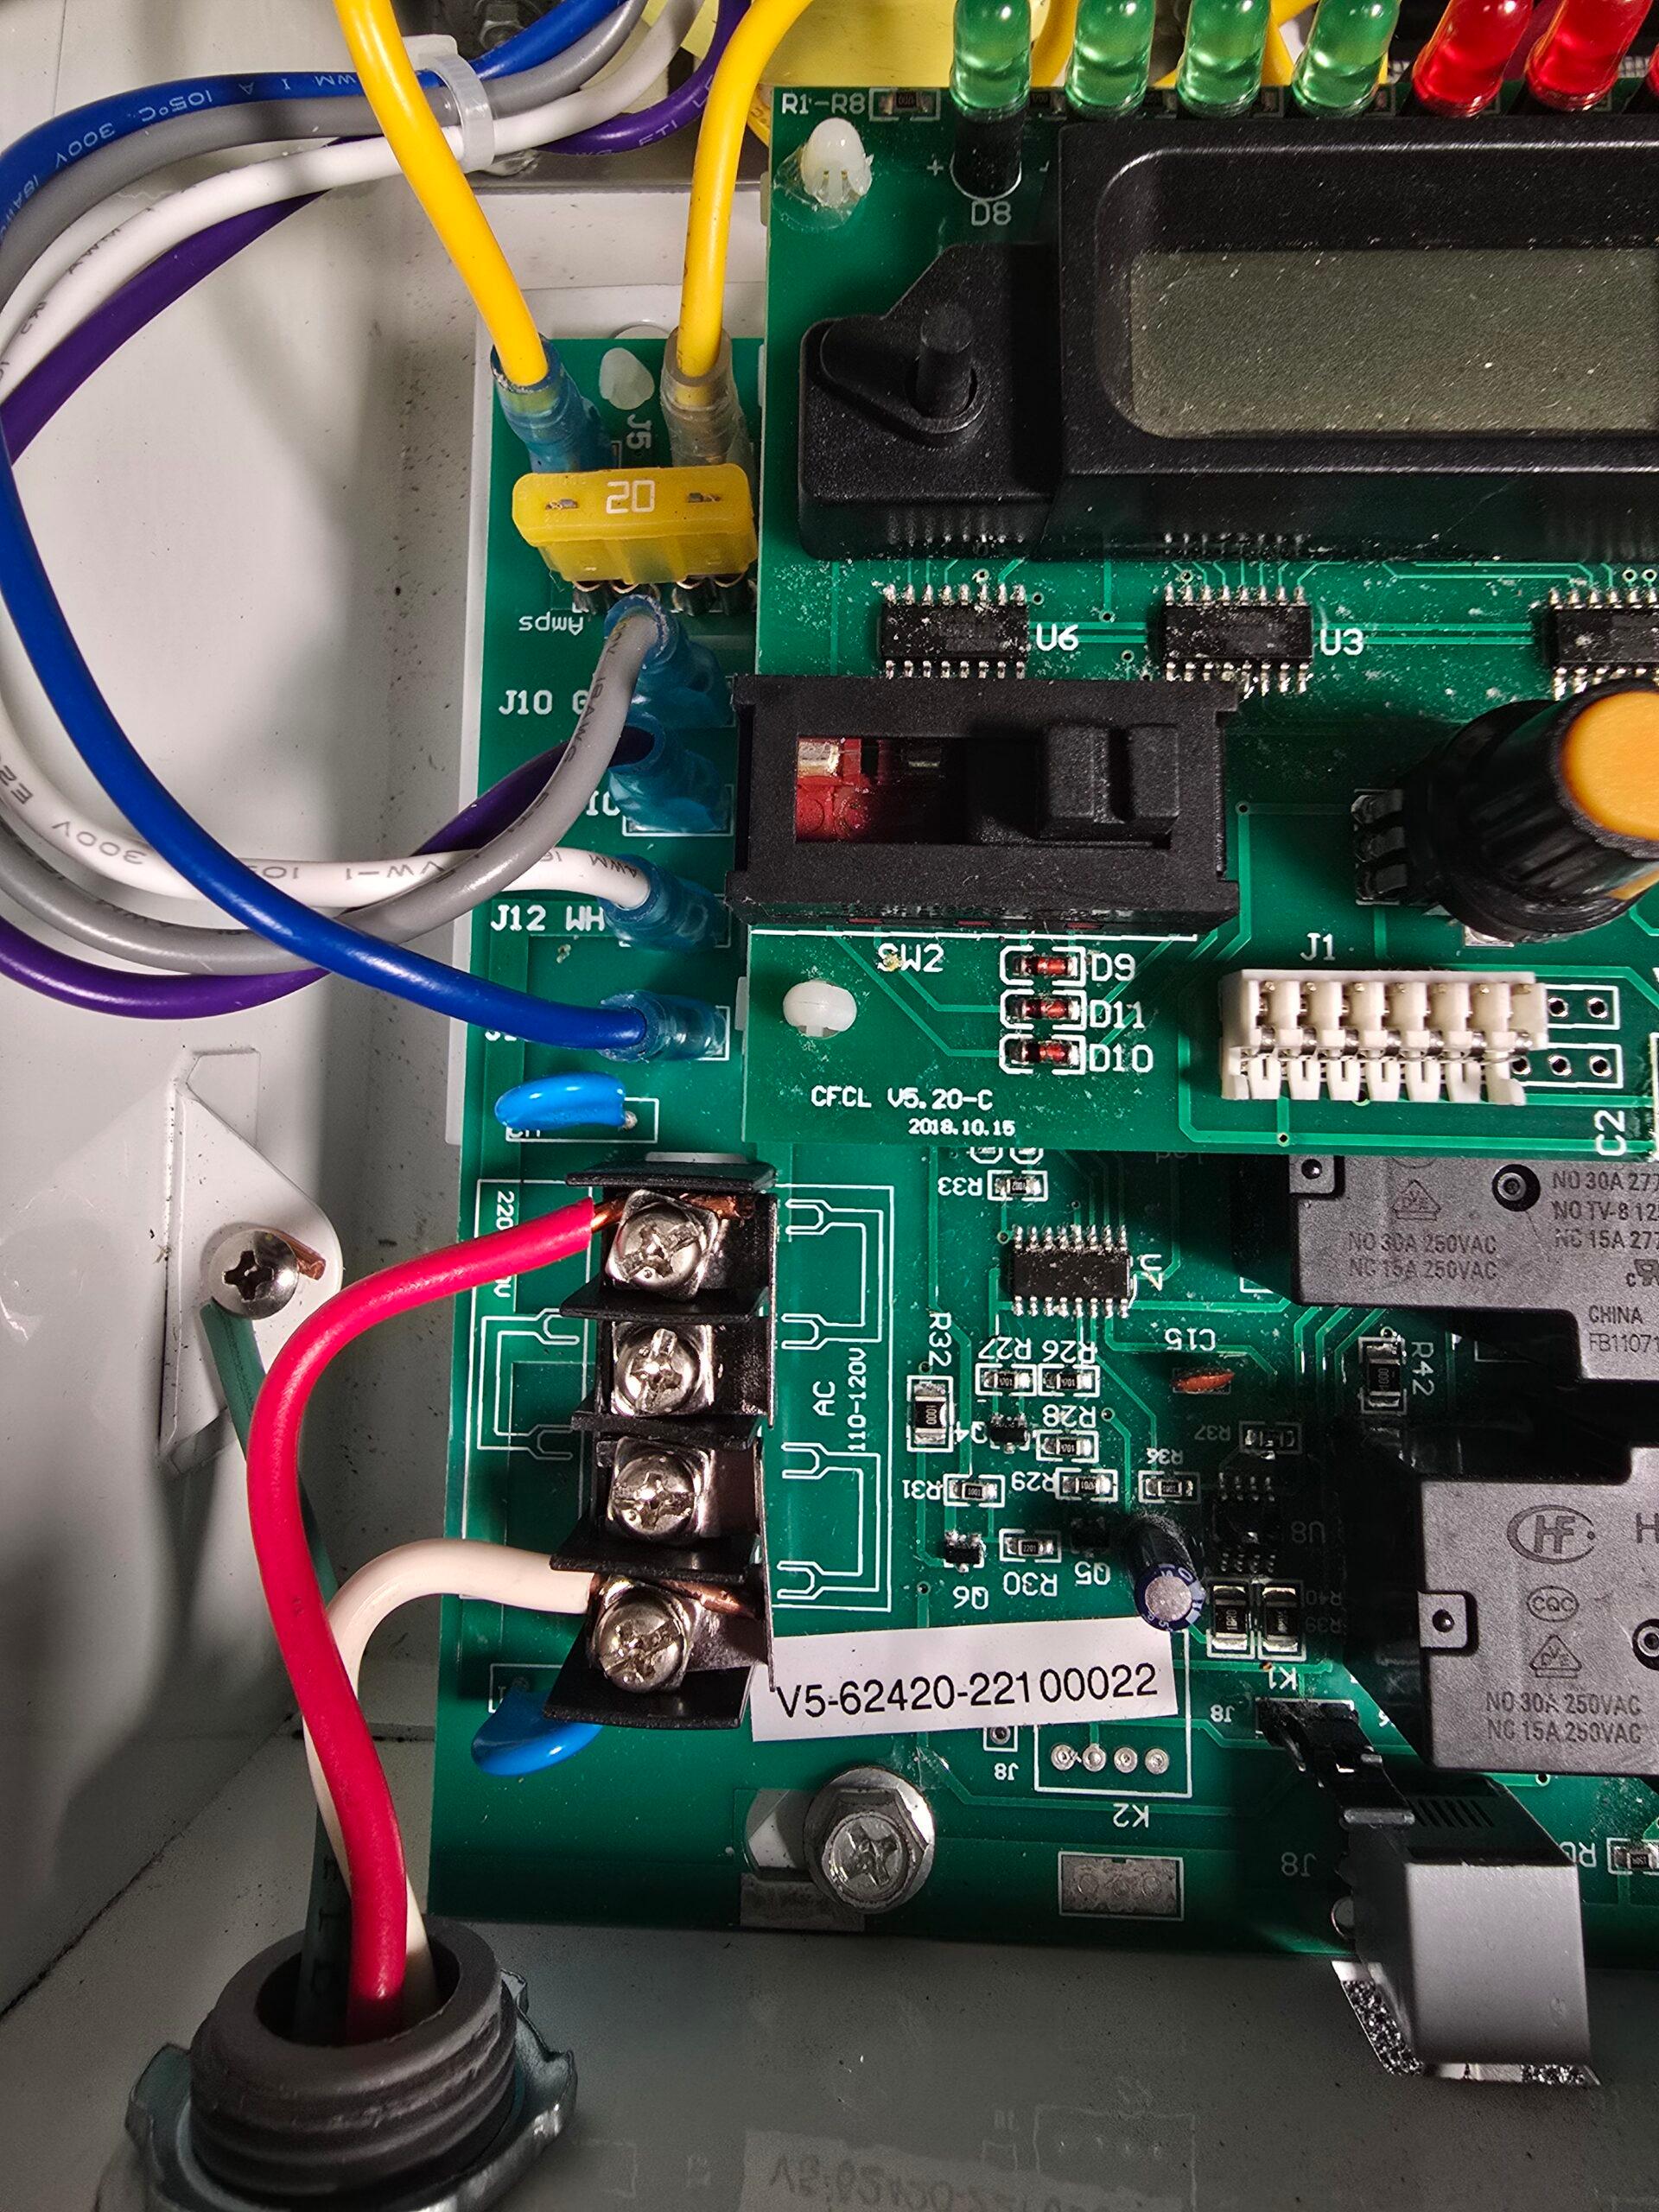
Install the Ground Wire

 Make a candy cane shape, bend to the right. Install the ground wire to the ground set screw on the left bottom corner.

Step 7

Install the Neutral Wire

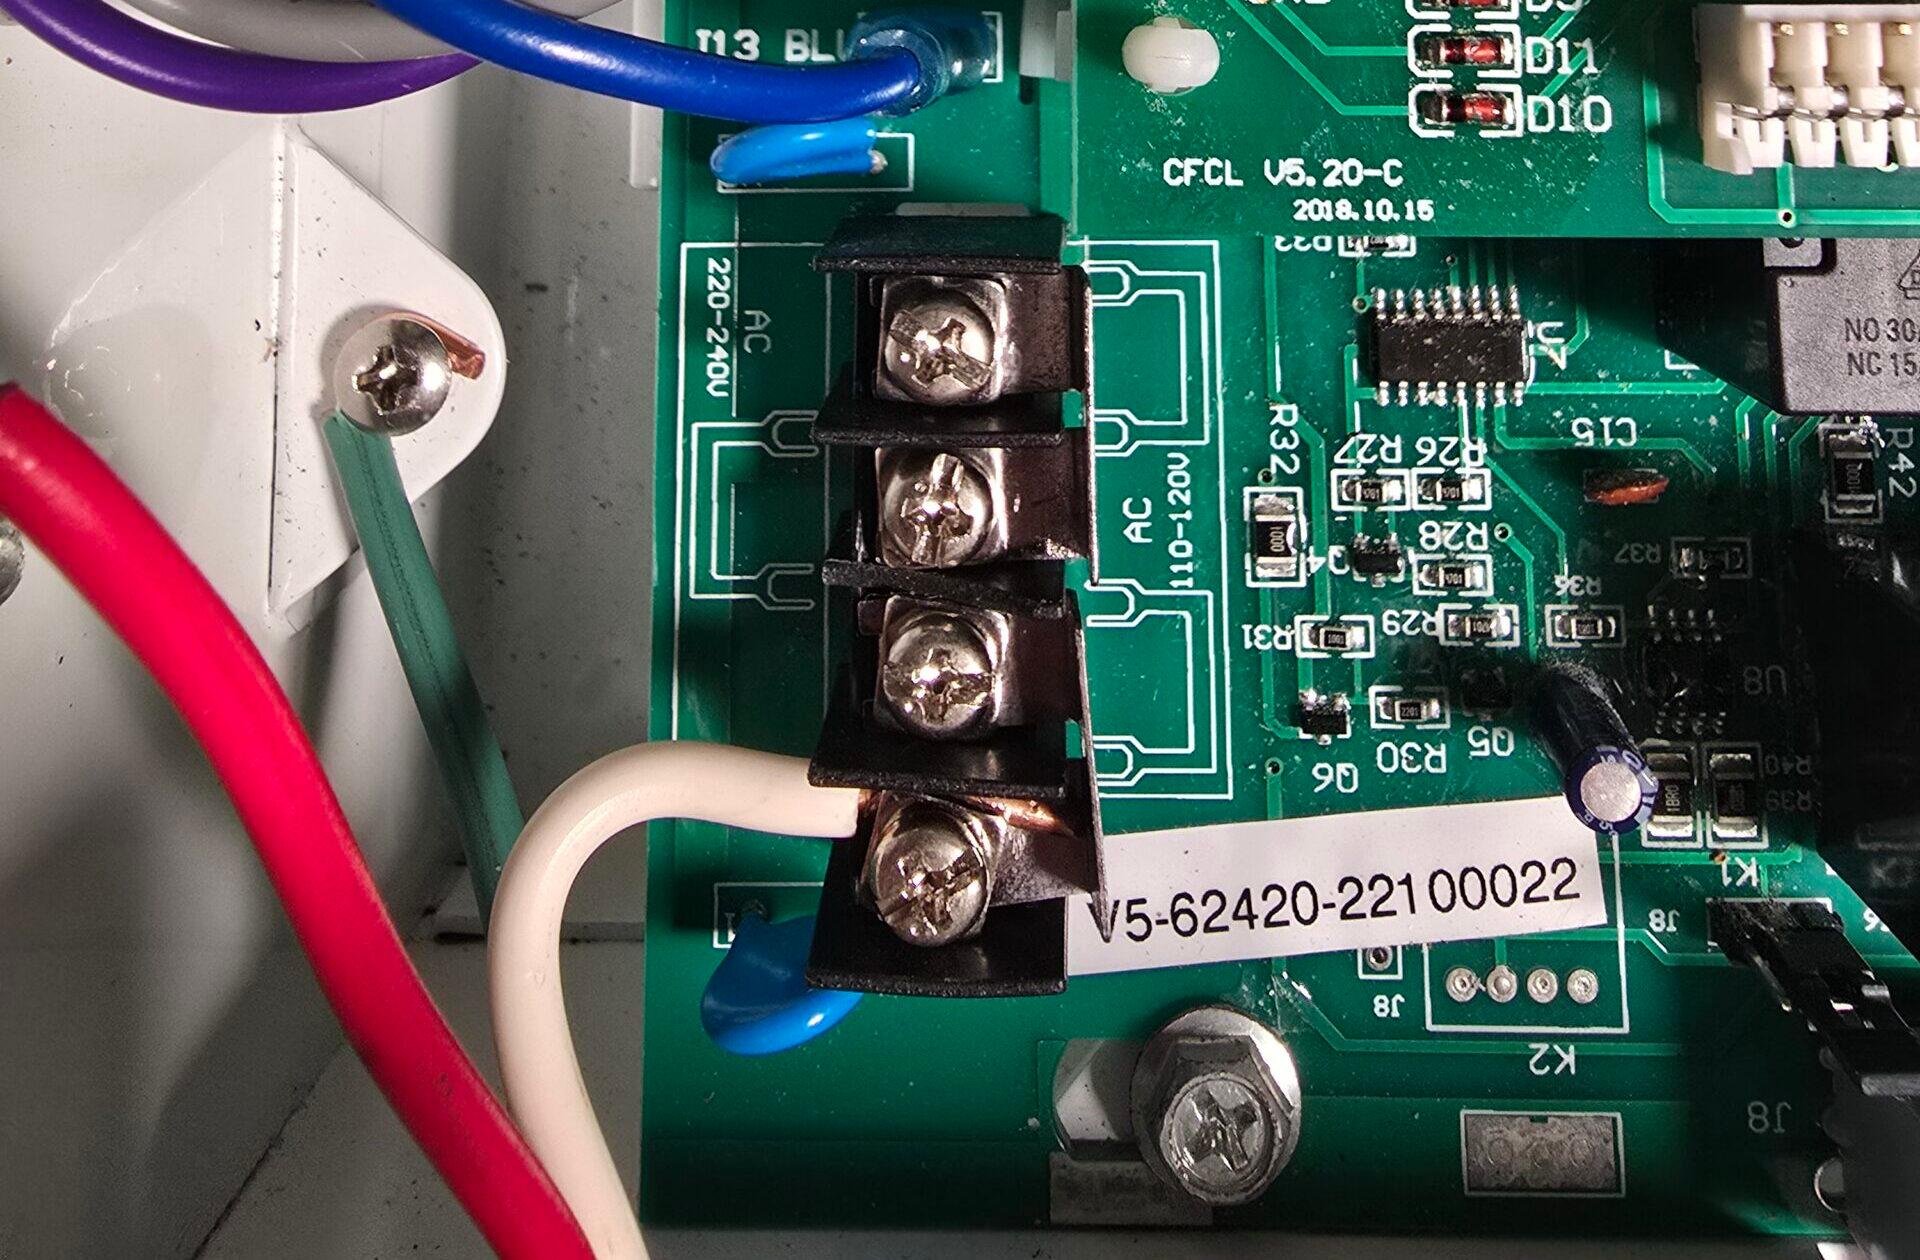
Attach the neutral wire to the (white wire) to terminal 1.

Step 8

Install the Hot Wire

Attach the hot wire to terminal 4.

Step 9

Reattach the Panel Faceplate

Reattach the panel faceplate with the two screws removed in step 1 using a screwdriver.

Step 10

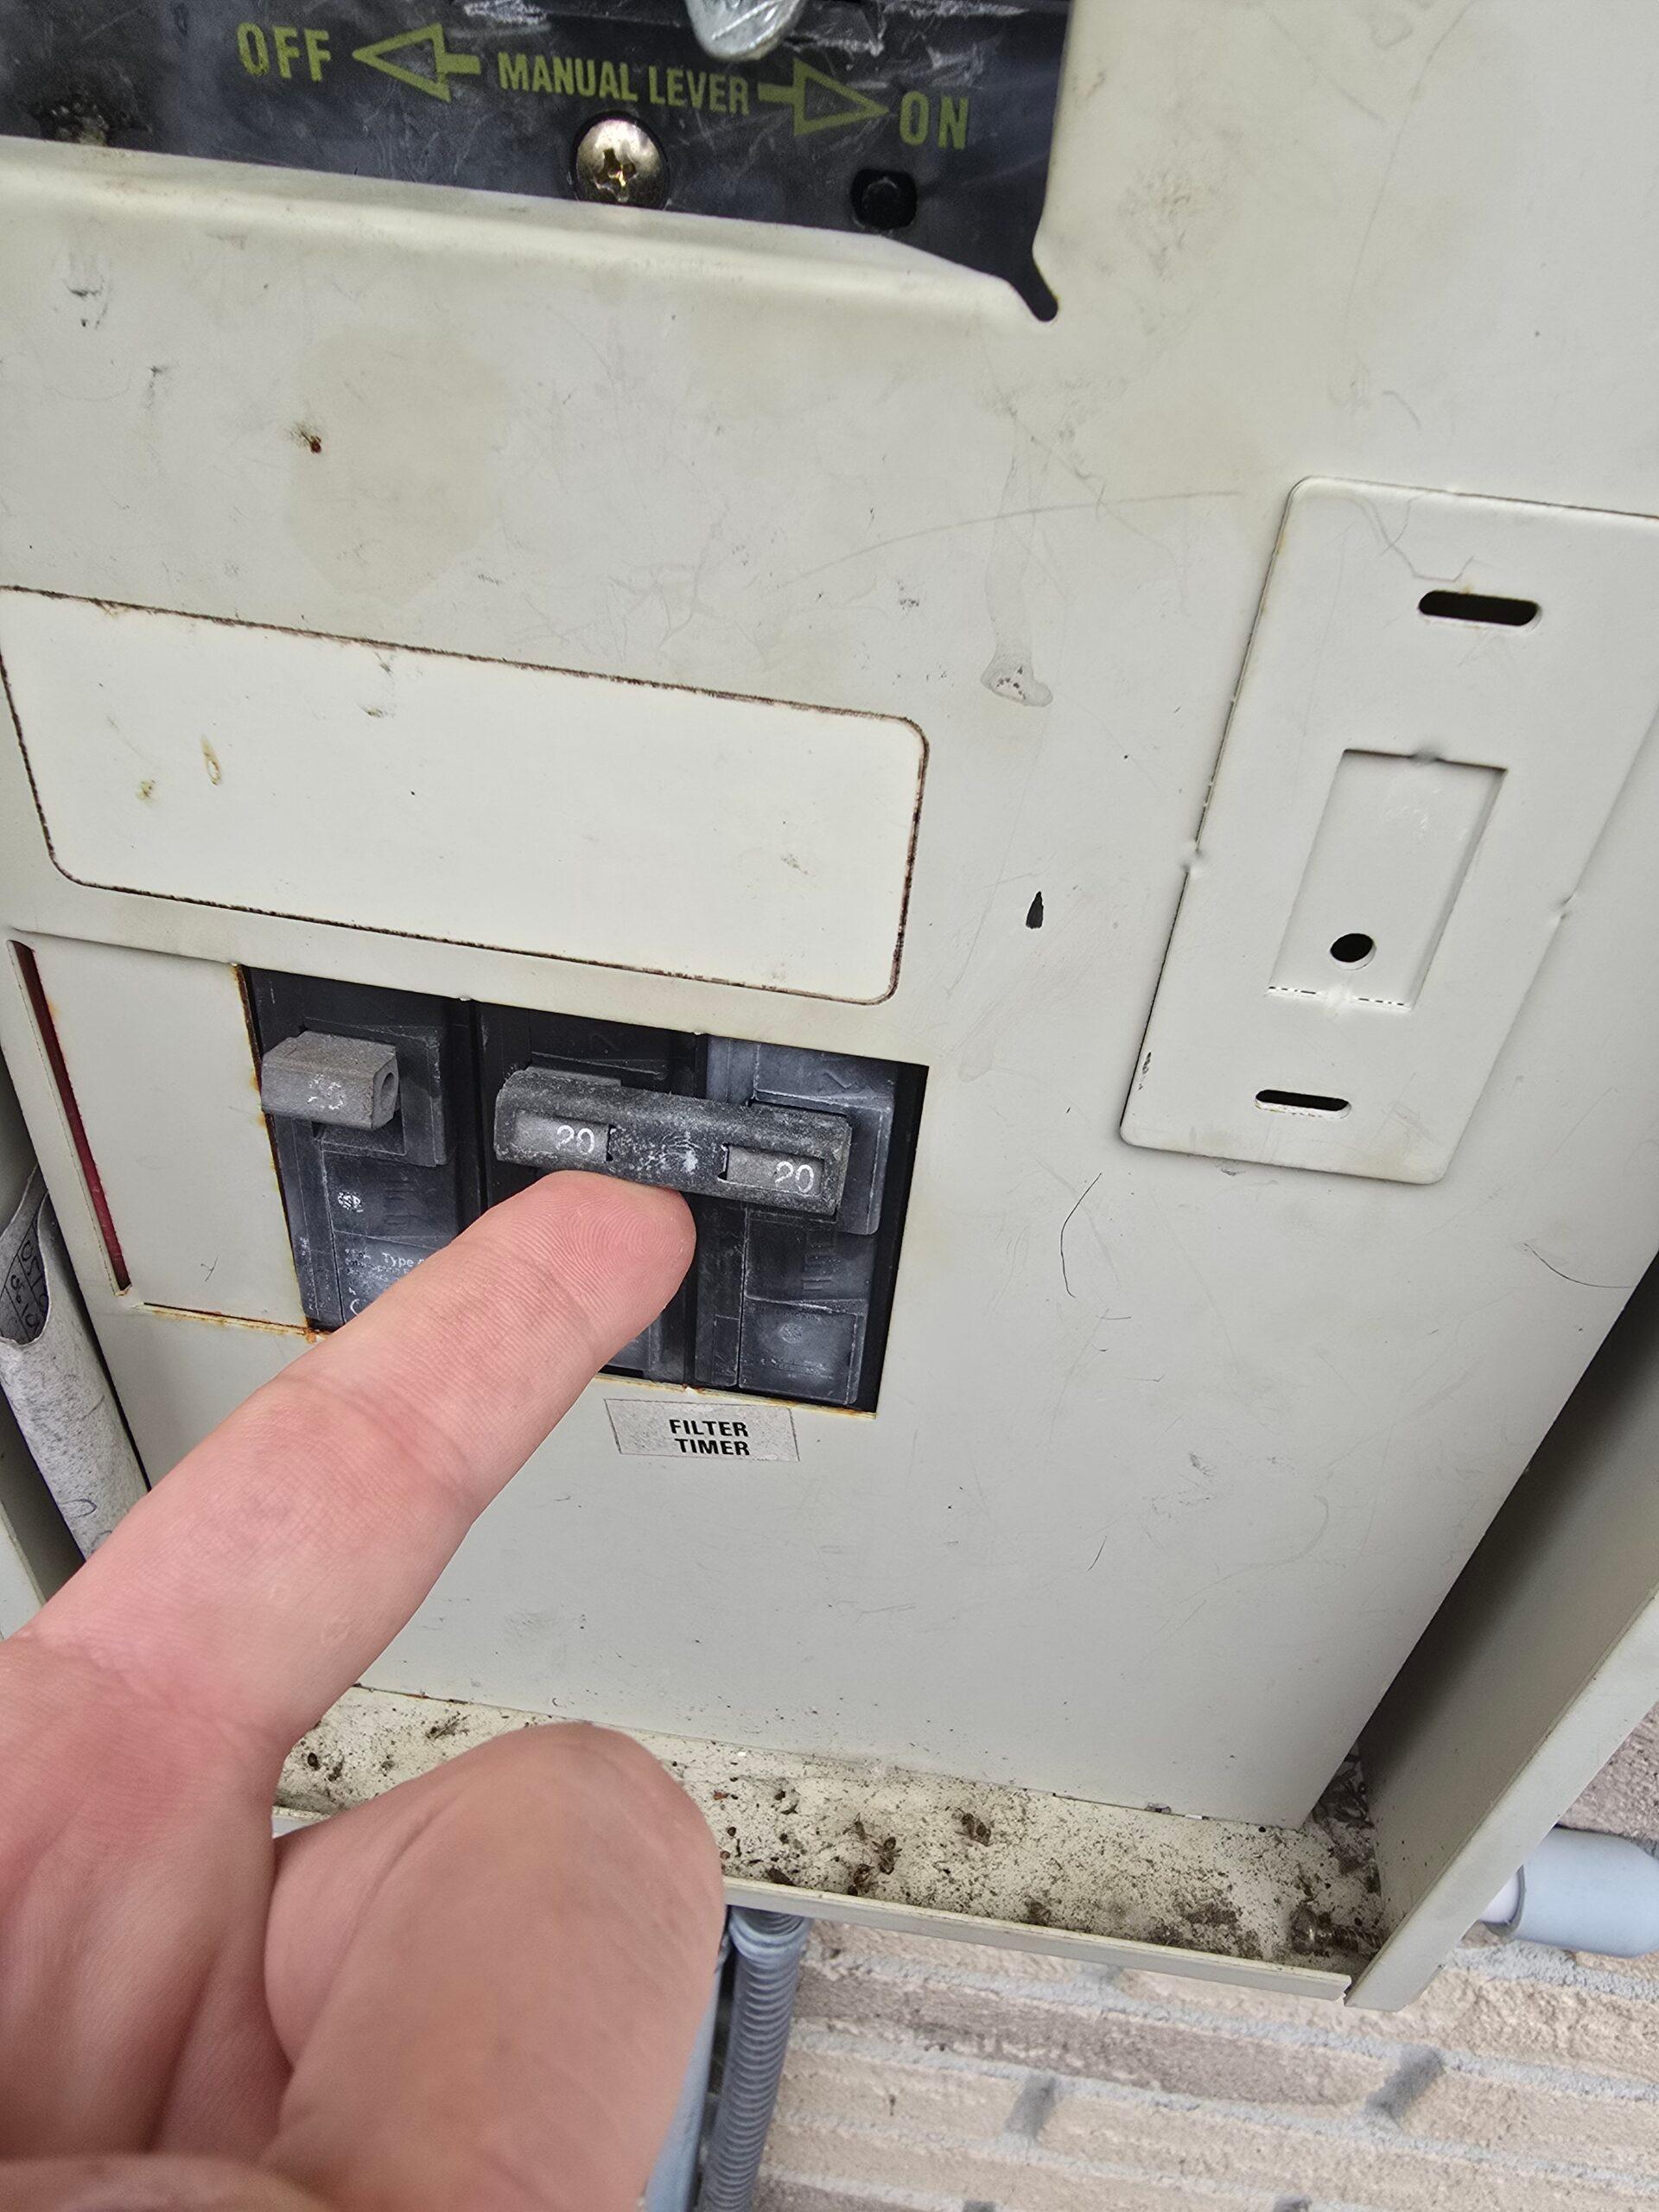
Turn the Breaker On 

Watch Video

No video available.

Related Videos

author avatar
Tyler Aviles

Leave a Reply

Your email address will not be published. Required fields are marked *