Overcoming Pool Testing Obstacles by Taylor Technologies identifies common obstacles pool owners face while performing at-home water tests. Let’s face it, water chemistry is easily a sore spot for pool owners. However, it doesn’t have to be.
In this article, you’ll learn about the various types of tests you will use when owning a residential pool, how to identify testing issues, and most importantly, how to overcome them.
Types Of Testing Obstacles
There are two types of testing obstacles you will come across, normal and abnormal.
Normal obstacles, or interferences, are chemically-known obstacles that are well-documented and ones we can easily resolve.
Abnormal obstacles are instances when even the pool professionals aren’t sure what’s going on and require more research or trial and error.
Overcoming Testing Obstacles: Types of Tests
Sanitizer Testing Obstacles
Testing Method: Color Matching
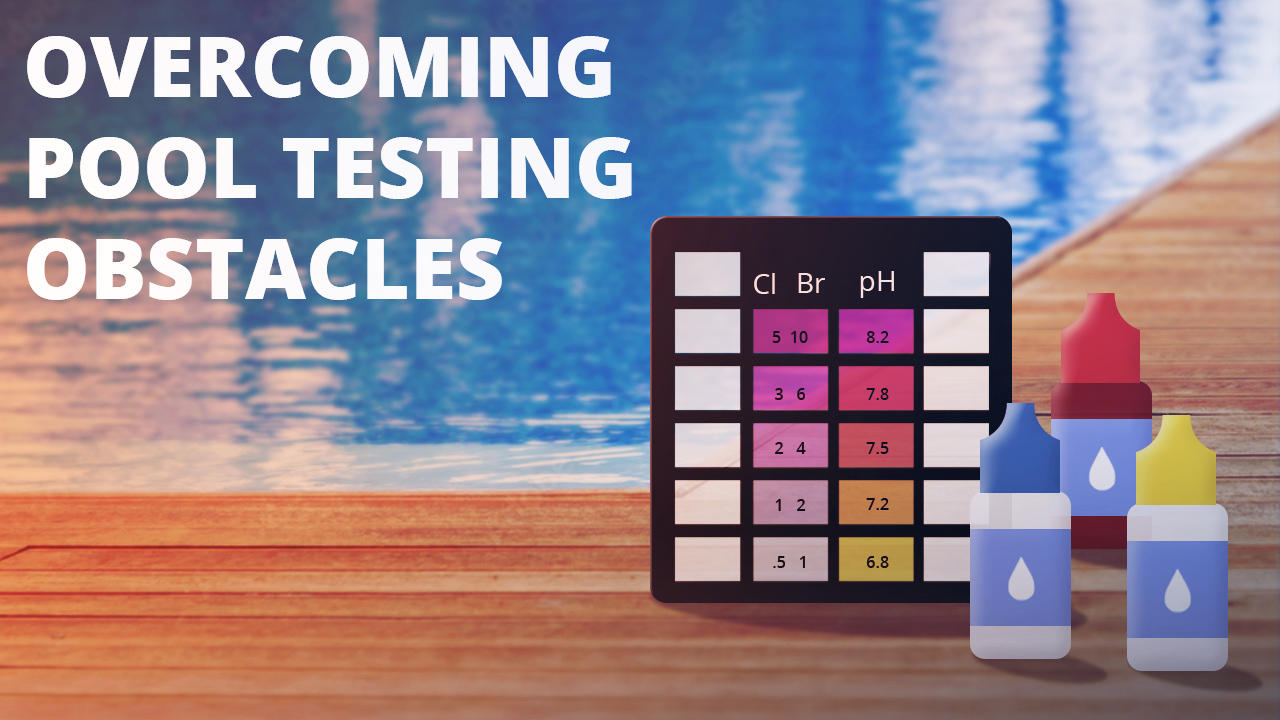
Sanitizer testing includes water tests for chlorine or bromine. If you are using a color matching test and your chlorine or bromine levels are greater than 10-15 ppm, you may experience “bleaching” or “partial bleaching”. Meaning, after you perform your test, nothing happens. This often results in a falsely low or zero sanitizer reading.
Additionally, what may also happen is “flashing”. This occurs once you add the reagent and the color flashes pink and suddenly goes away. This is another example of an abnormally high sanitizer reading
How To Fix It
To fix the problem, dilute your sample by half and retest it. Then, you can determine an approximate chlorine concentration. For a one-to-one dilution, multiply the results by two, and for one to three dilutions, multiply by four.
For example, if your test matches with the 5 reading, it’s really 10. Similarly, if you match with 7.5, it’s really 15. However, one of the issues with dilution is the higher the dilution, the harder it is to identify a color.

Testing Method: Drop Testing Using FAS-DPD
If you are performing a drop test using the FAS-DPD method, you can experience bleaching as well. Although FAS-DPD tests can read up to 20 ppm, anything higher can disrupt your test results.
In reality, your sample does not turn pink once you add your Indicator Powder. It simply stays clear. This means you either have no sanitizer in your sample, which is unlikely or, your sample is greater than 20 ppm.
How To Fix It
- Use a one- to- one dilution. (See “How To Fix” in the Color Matching section.)
- Add another scoop of Indicator Powder to see if it helps to hold the color.
- Re-test a smaller sample size but increase the number of dips. For example, obtain a new 12.5 ml sample and add 12.5 ml of water containing no sanitizer. Then, add as many dips of Indicator Powder necessary to hold a pink color.
pH Testing Obstacles
Testing Method: Color Matching
Most of the pH tests on the market use a phenol red color matching test. Overwhelmingly (and ironically), the main interference in pH testing is sanitizers. High levels of chlorine or bromine affect the dye used in the indicator. This often results in a purple color instead of the normal yellow-to-red color.
In short, if your sanitizer levels reach higher than 10-15 ppm, odds are you will encounter this testing obstacle. In most cases, the results look like the indicator block on the right-hand side pictured below. A normal reading looks like the peach-colored one on the left.

How To Fit It
Based on the test results above, you cannot, with certainty, determine if your pH levels are high. In fact, you will have to start over.
- Obtain a new sample.
- Add 1 drop of thiosulfate (R-0007). Adding more than 1 drop produces a false reading!
- Invert the sample to mix the solutions.
- Add 5 drops of phenol red indicator and match the final results.
Total Alkalinity Testing Obstacles
Testing Method: Color Matching
In a normal alkalinity test, the color transitions from green to red. However, sometimes the sample color goes from blue to yellow or even green to yellow. There are a few reasons why this happens.

- High levels of sanitizer in your sample.
- Indicator solution is old and compromised.
- Sample contains PHMB.
- Presence of CYA or borates produces a false high reading.
How To Fix It
- The easiest way to resolve any obstacles is to obtain a new sample. Then, add up to 5 drops of the thiosulfate to remove any remaining traces of sanitizer. If you need more drops, do so. It will not interfere with the test results. Finally, perform the test as normal.
- Replace your old compromised reagents with new ones and restest.
- If your sample contains PHMB, a generic name for Baquacil, the color test will change from blue to yellow. This is accurate and a good thing. In fact, you won’t need to retest.
- Before you can retest your sample, remove any traces of the CYA. You can remove the CYA by dividing your results by 3. Then, subtract that from your test total alkalinity value. For example, if your CYA sample tested at 90 ppm. One-third of 90 is 30. If your total alkalinity sample measures 100 ppm. Finally, subtract 30 from 100 and your total is 70. This is the number you can use for your test results.
Calcium Hardness Testing Obstacles
Testing Method: Color Matching
The only true interference you should see in your calcium hardness results from the presence of metal ions from algaecides, pipes, or your water. In most cases, the culprit is usually copper, iron, or manganese. Instead of going from red to sky blue, it either stays red or transitions to purple.
How To Fix It
- First, start with a new sample.
- Add 5-6 drops of titrant to the sample BEFORE adding the buffer and indicator.
- Proceed as normal with the test.
- Don’t forget to include the drops of titrant you added in the beginning of the test when counting the total number of drops required to reach the endpoint.





Leave a Reply