How to Diagnose the Mx8 Cleaner

Difficulty:

Beginner

When the MX8 is experiencing issues such as moving in circles, slow or no movement, unusual noises, or difficulty climbing, the primary components to inspect are the A & B drive assemblies, tracks, and the drive shaft/engine (internal bearings and gears). This guide is intended for use after confirming that the pool system is operating correctly, including verifying that proper suction is being supplied to the cleaner.

Tools Needed:

  • Philips head screw driver

Supplies Needed:

No items found.

Step 1

Disassemble the Cleaner
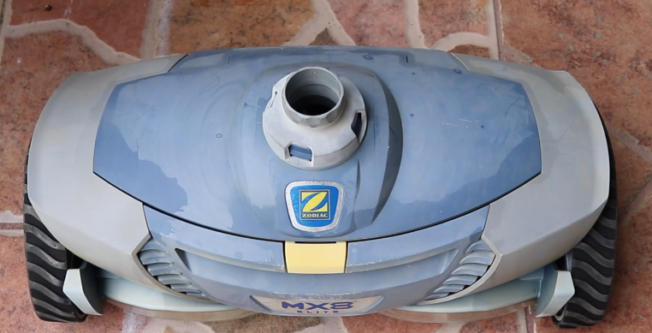
Steps 2 – 4 will go over how to disassemble the cleaner.

Blue and gray Zodiac MX8 robotic pool cleaner on terracotta tiles, showing the intake opening and wheels.

Step 2

Remove and Inspect the Tracks

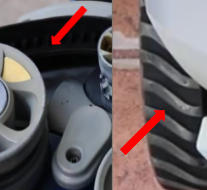
Slip the tracks off the drive wheel and the two bottom wheels. Inspect the track teeth to ensure they are not worn down or damaged. Also, check the track tread to confirm it is not worn.

Close-up of two vent-like openings with a red arrow pointing to a gap or misalignment between parts, suggesting a potential issue on a mechanical assembly.

Step 3

Open the Top of the Cleaner

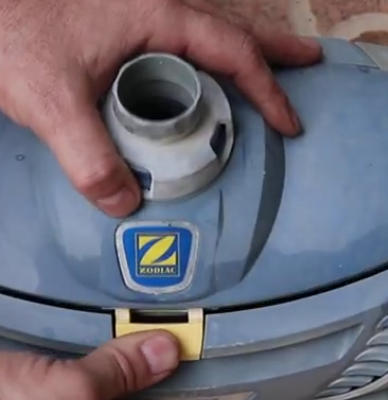
Press the tab down and open the top of the cleaner.

Hands removing the cap from a blue Zodiac-brand fuel tank.

Step 4

Remove the Screws from the Drive Cover
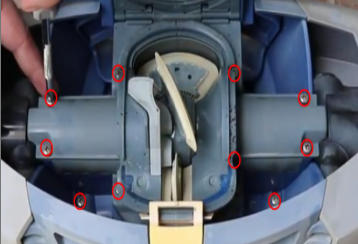
Using a Phillips head screwdriver, remove the 10 screws in the body.

NoteMake sure to place the screws in a safe place so you don’t lose them.

Close-up of an open blue device showing its inner mechanism with several bolts circled in red for emphasis, including a central beige component and surrounding metal frame.

Step 5

Inspect the Drive Shaft Assembly
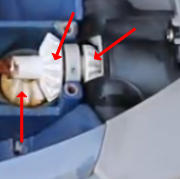
Examine both gear sections to ensure they are not rounded or worn. Inspect the bearings on each side.

Note: Spin the bearings by hand to confirm they rotate freely without resistance or grinding.

Under-hood view of a car engine bay with three red arrows highlighting a white electrical connector, a fuse/relay block, and a metal bracket.

Step 6

Inspect the Wheel Engine Bearings
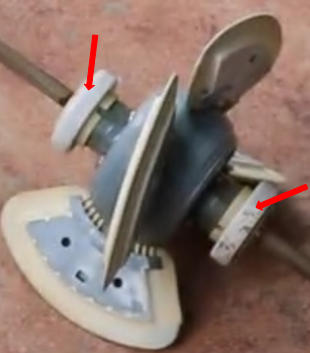
Check the wheel engine bearings and confirm they spin freely and smoothly.

Close-up of a rotary tool attachment with an abrasive wheel, guards, and a clamp, used for grinding and polishing surfaces.

Step 7

Inspect the A & B Drive

Inspect the gears inside the A & B drive assemblies. Ensure the gears are not worn, damaged, or slipping.

Close-up of a round, black four-pin electrical connector with a white outer shell.

Watch Video

No video available.

Related Videos

author avatar
Tyler Aviles

Leave a Reply

Your email address will not be published. Required fields are marked *