How to Replace the A&B Drives, Tracks, and Drive Shaft/Engen Bearings on an MX8 Pool Cleaner

If your MX8 cleaner is experiencing issues such as spinning in circles, moving slowly (or not at all), making unusual noises, or failing to climb walls, the problem is typically related to worn internal components like the A & B drives, tracks, drive shaft, or engine bearings. This guide walks you through replacing those parts.

Difficulty:

Beginner

Tools Needed:

  • Philips Head Screwdriver

Supplies Needed:

  • Direction Control Device, Side A
  • Direction Control Device, Side B
  • Tracks (2)
  • Drive Shaft Assembly (2)
  • Wheel/Engine Bearing (2)

Step 1

Open the Access Lid
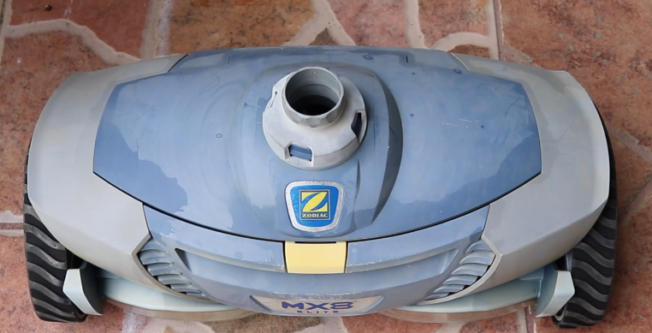
Push the yellow tab to open the access lid.

Blue and gray Zodiac MX8 robotic pool cleaner on terracotta tiles, showing the intake opening and wheels.

Step 2

Remove the Screws from the Drive Cover
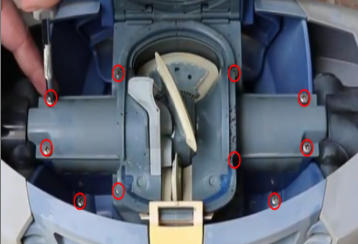
Remove the 10 screws from the drive cover.

Note: Don’t lose the screws. 

Close-up of a blue mechanical housing with a central beige component and red circles marking the fastening bolts around the opening.

Step 3

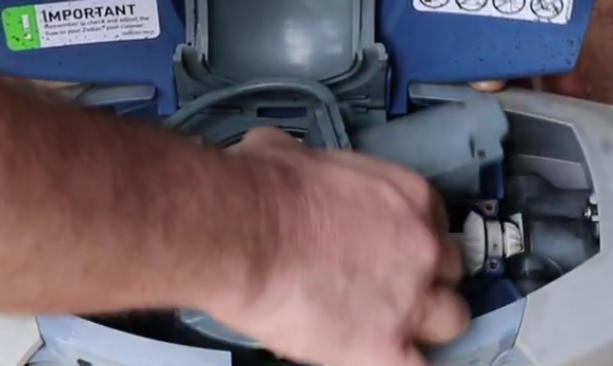
 Remove the Engine Cover 

Close-up of a person's hand working on a blue power tool or motor, with components exposed and a warning label visible on the unit.

Step 4

Remove the Engine and Drive Shaft Assembly
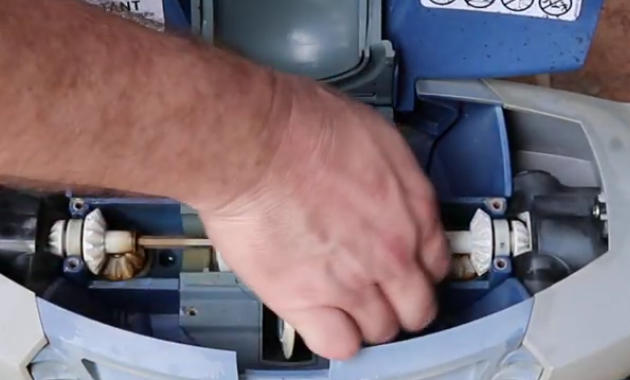
Pull on the Drive shaft to remove the whole engine and drive shaft assembly. 

Close-up of a technician's hand adjusting white gears inside a blue motor housing.

Step 5

Install the New Drive Shaft Assembly and Engine Bearings
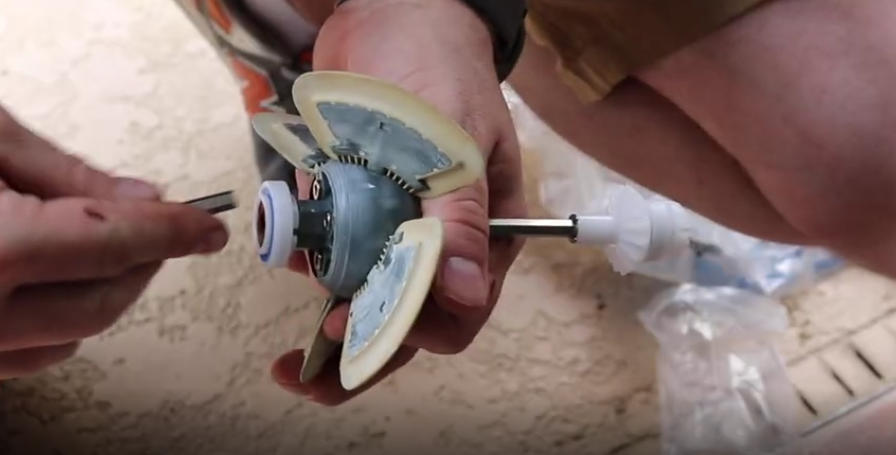
Remove the old drive shaft and engine bearings. Then install the new engine bearings and drive assemblies.

Close-up of hands assembling a small plastic impeller with white blades on a metal shaft, likely a pump or valve component.

Step 6

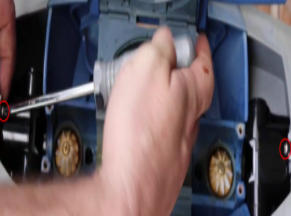
Remove the Directional screws

Remove the two screws that hold the directional controls in place.

Close-up of a hand using a screwdriver to adjust a screw on a blue model vehicle chassis, mid-action repair.

Step 7

Remove the Two Tracks

Remove the tracks on both sides of the cleaner.

Close-up of hands fitting a gray, ribbed drive wheel onto a small mechanical assembly.

Step 8

Remove the Two Outer Screws

Remove the two screws on the outside that hold the directional controls. 

Close-up of a technician tightening a bolt between two gray circular propeller-like components on a blue device.

Step 9

Remove the Directional Controls
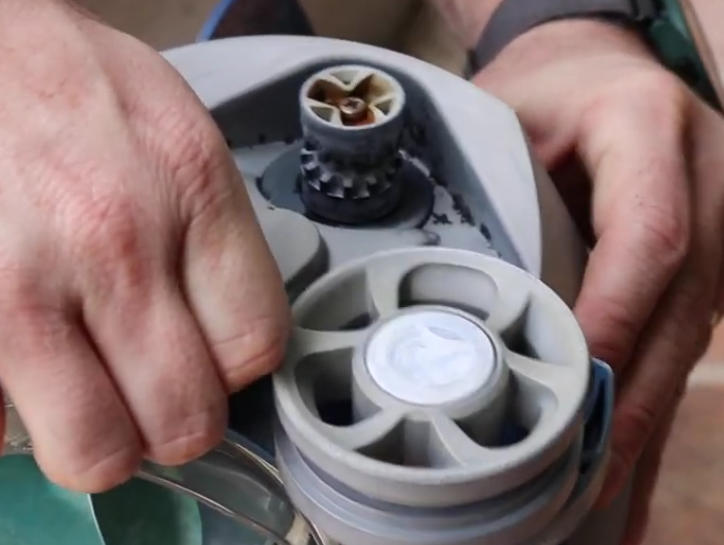
Pull up on the body that holds the directional controls.

Close-up of hands attaching a burner to a portable camping gas canister for a stove use

Step 10

Separate the Directional Controls From the Body.
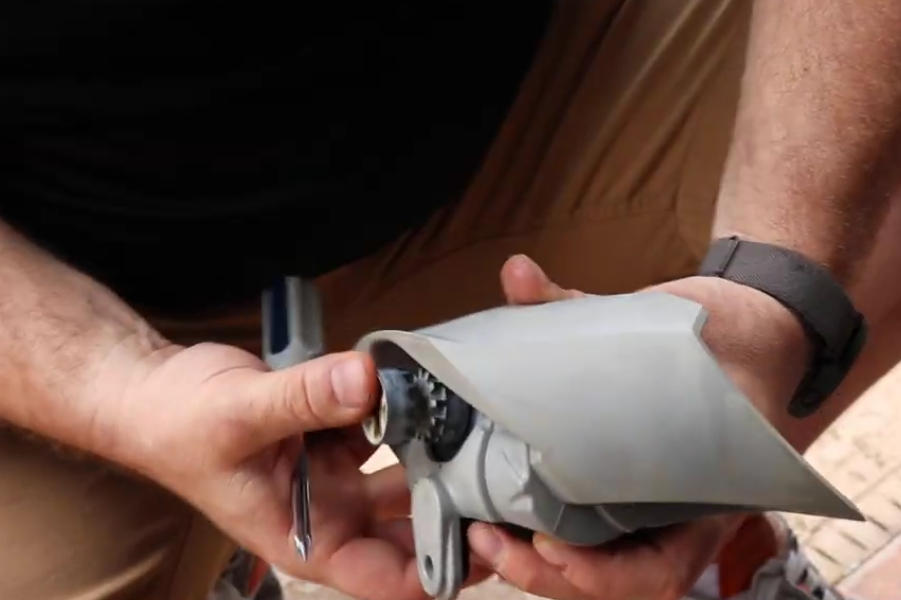
Person holding and inspecting a small gray gearbox with visible gears, likely in a repair or assembly task.

Step 11

 Install the New Directional Controls
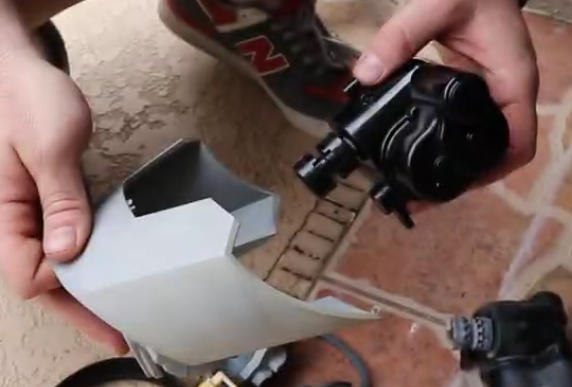
Insert the new Directional controls into the body cover.

Note: Remember, there is an A&B side. They only fit one way.

Person holds a gray plastic component next to a small black engine part, as if assembling a model vehicle or RC gadget.

Step 12

Install the Body Back onto the Cleaner.
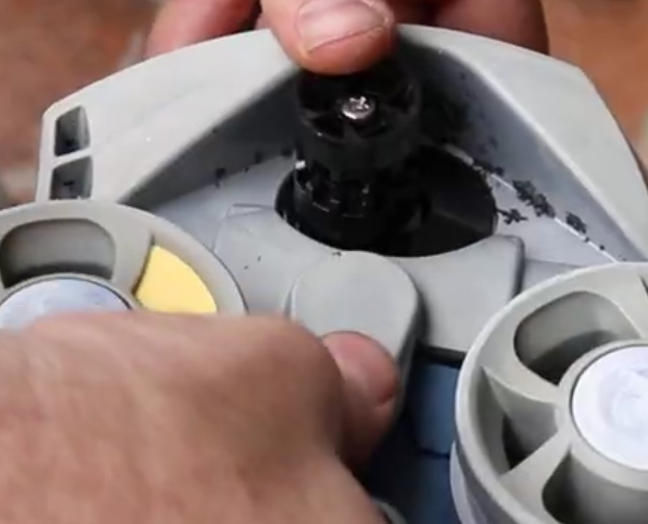
Close-up of hands assembling a gray plastic device with two circular rotating wheels and a central black connector.

Step 13

Tighten Down the Outer Screws.
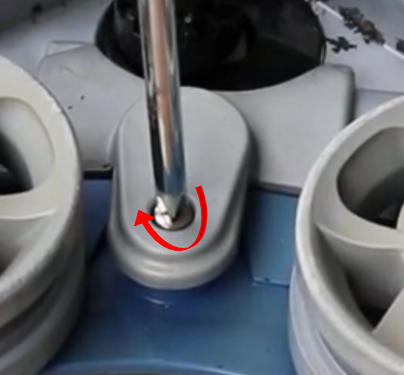
Close-up of a bolt and nut on a gray base being tightened with a tool, with a red arrow indicating clockwise rotation.

Step 14

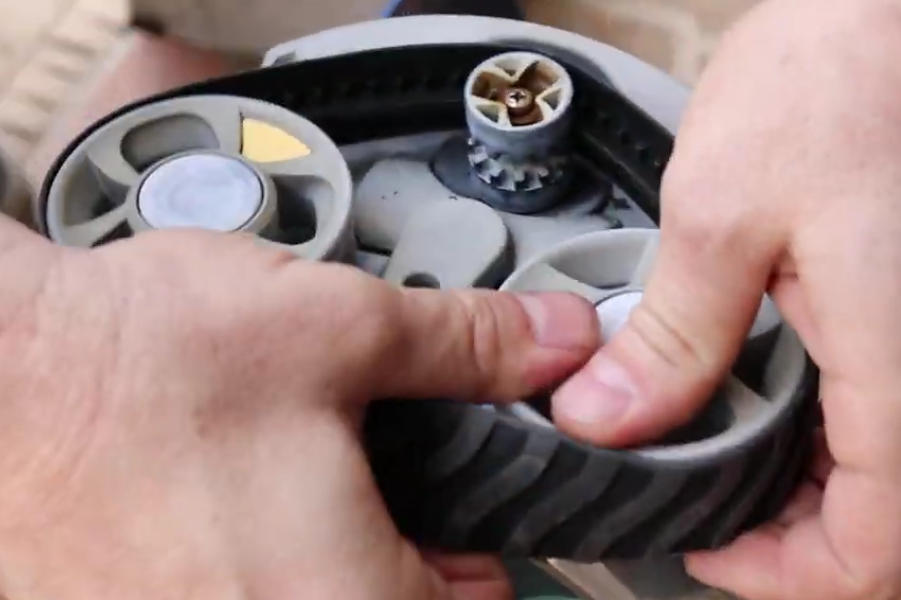
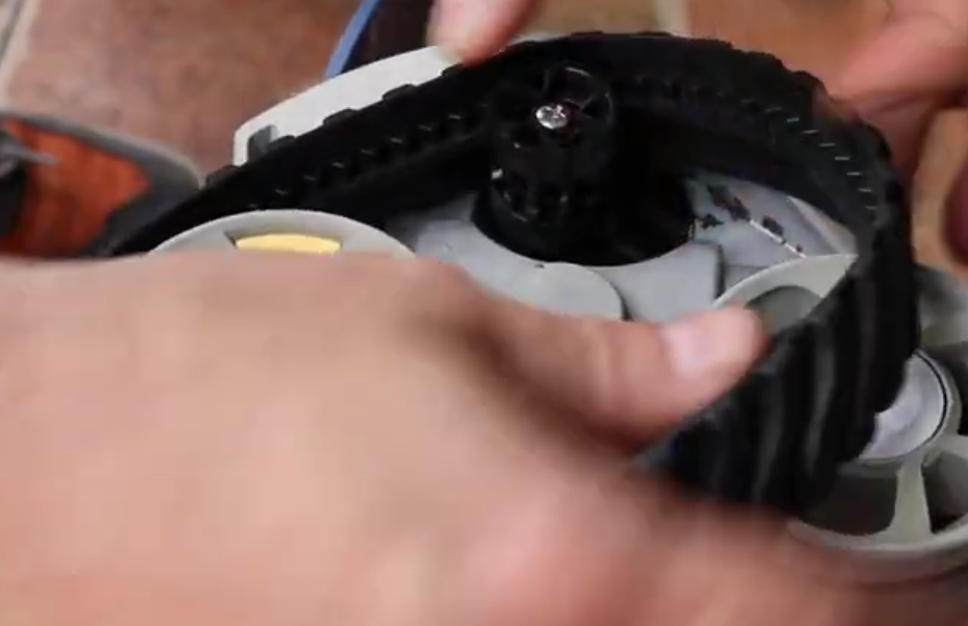
 Install the New Tracks

Hands assemble a black toothed belt around a gray gear-driven mechanism in a close-up view.

Step 15

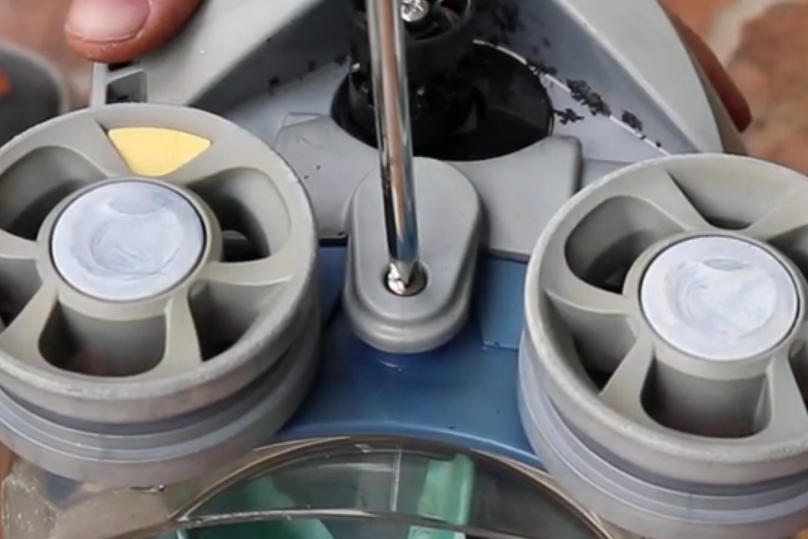
Install the Inside Directional Control Screws
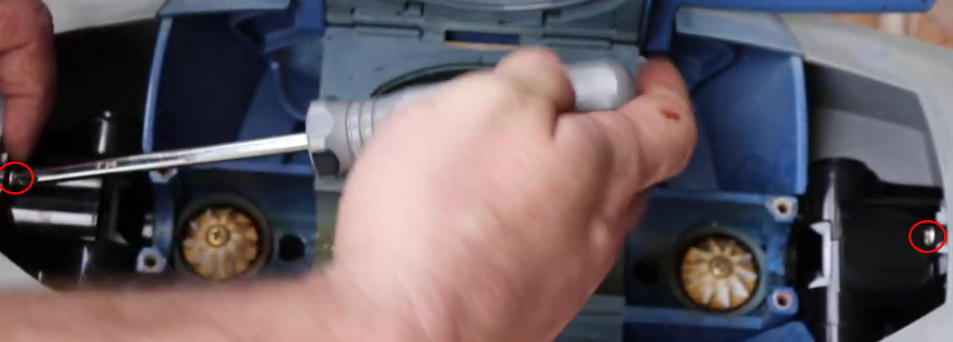
Close-up of a person using a screwdriver to work inside a blue plastic mechanism, with visible gold gears and internal components.

Step 16

Install the Drive Engine Assembly
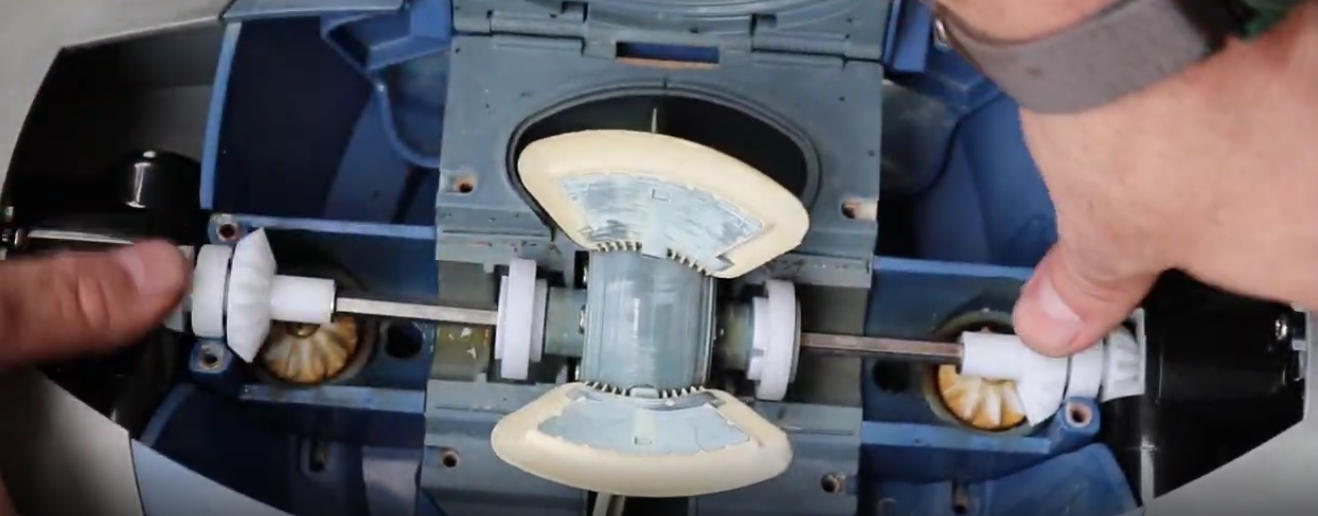
Close-up of a blue machine showing a central rotating shaft with two white gears on either side, hands holding the assembly apart for maintenance/repair.

Step 17

Install the Drive Engine Assembly Cover
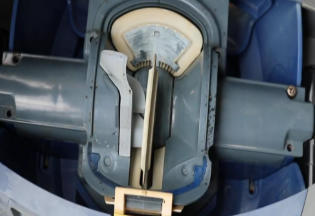
Install the engine assembly cover and the 10 screws.

Close-up of a vehicle headlight housing with the bulb socket and mounting bracket exposed

Leave a Reply

Your email address will not be published. Required fields are marked *