
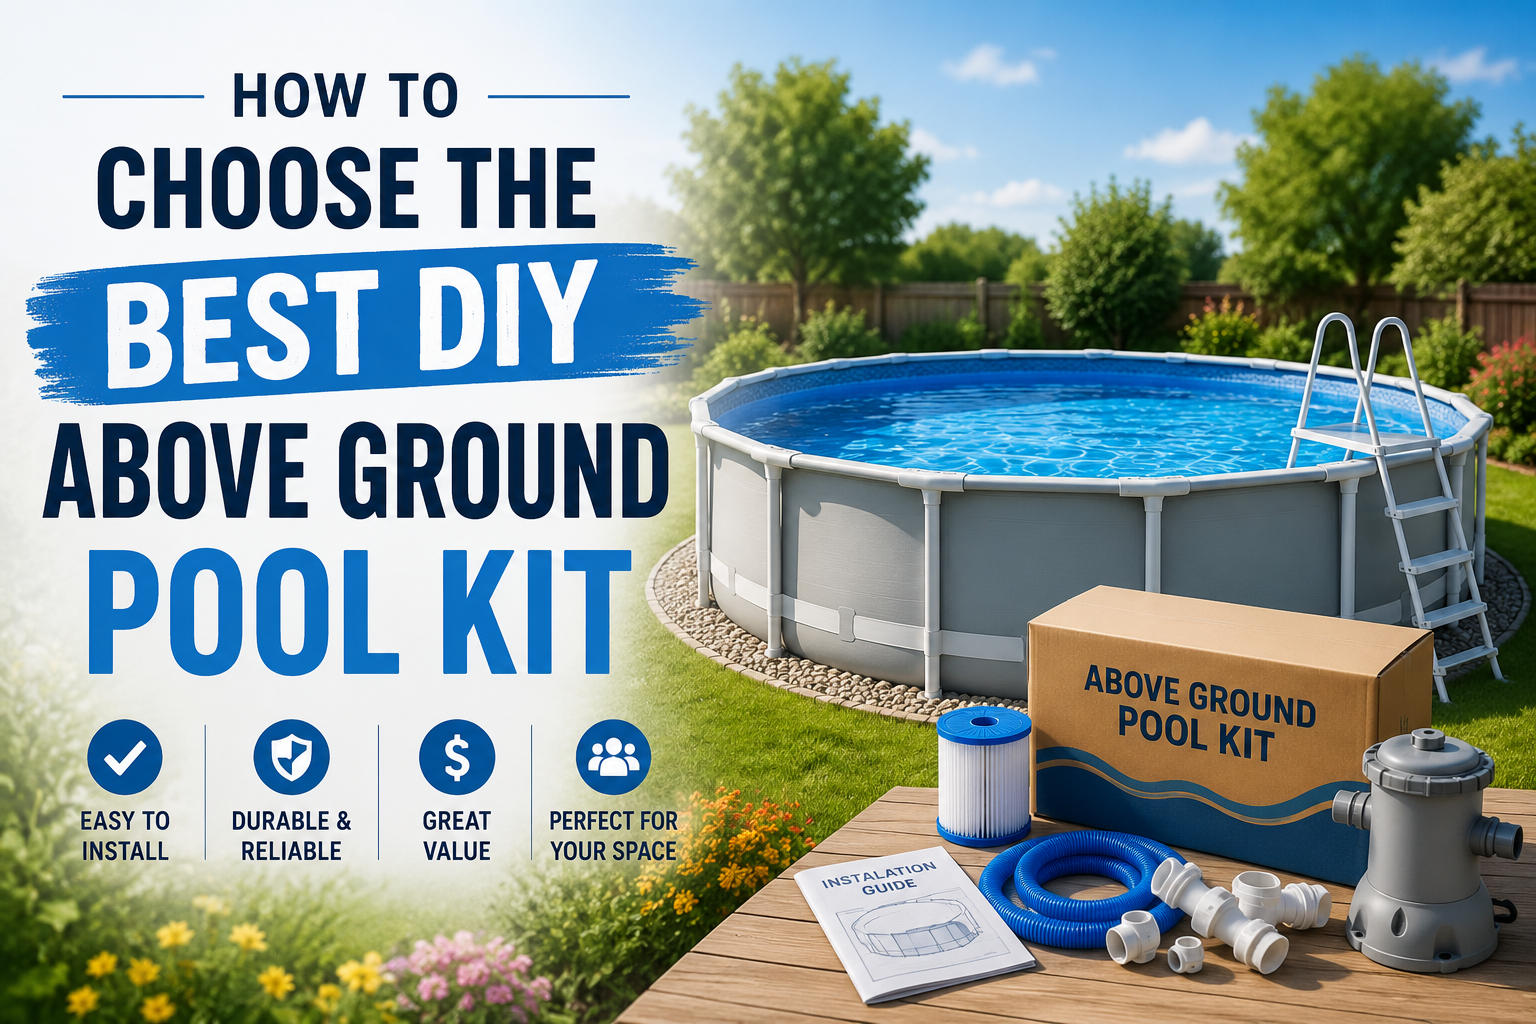
An above ground pool kit are one of the best ways to get a real, full-size swimming pool without the cost and permanence of an in-ground installation. But “DIY kit” covers a wide range of products from inflatable frame pools to serious steel and resin wall systems that last decades. Here’s everything you need to know:
What’s Actually Included in a DIY Above Ground Pool Kit
A complete kit typically includes:
- Pool wall panels (steel, resin, or hybrid)
- Top rails and stabilizers
- Upright posts
- Liner (may be included or sold separately always confirm)
- Skimmer and return fitting
- Pump and filter system (included in full kits, sometimes sold separately in base kits)
- Hardware and connectors
- Installation manual
What’s usually NOT included:
- Pump/filter (in base kits)
- Ladder or steps
- Pool chemicals
- Underlayment or ground cloth
- Coping strips (sometimes)
- Electrical hookup for the pump
- Sand (for sand filter models)
Always read the complete kit contents before purchasing two kits at the same price point can include very different things.
Types of Above Ground Pool Kits
Inflatable / Soft-Side Frame Pools
Technically DIY pool kits but at the entry-level end. These include Intex and Bestway-style pools with inflatable or snap-together metal frames.
- Setup time: 1–4 hours
- Lifespan: 3–7 years with good care
- Best for: Temporary use, renters, kids’ pools, very tight budgets
- Limitations: Small sizes, basic filtration, not as durable as hard-wall pools
Steel Wall Pools
The traditional above ground pool construction. Steel panels form a continuous circular or oval wall, held in shape by top rails and uprights.
- Setup time: 1–2 days with help
- Lifespan: 10–20+ years depending on coating quality and maintenance
- Best for: Permanent installation, larger pools, most common residential choice
- Watch for: Cheaper steel panels can rust over time look for galvanized or resin-coated steel
Resin Pools
All components (walls, uprights, rails) are made from high-density resin/polymer rather than metal. Completely rust and corrosion proof.
- Setup time: Similar to steel,1–2 days
- Lifespan: 20–30 years – generally outlasts steel in humid or coastal environments
- Best for: Long-term investment, coastal or high-humidity climates, anyone who wants a premium product
- Watch for: Higher upfront cost than steel
Hybrid Pools
Steel wall panels combined with resin top rails and uprights. The wall is the structural element most protected by the liner and water, while the exposed components (rails and uprights) are resin for corrosion resistance.
- Best for: Balance of cost and durability ;a very popular middle ground
- Lifespan: 15–25 years
Common Pool Shapes and Sizes
Round pools:
- Easiest to install – the circular shape is self-supporting and requires no special bracing
- Most common sizes: 12′, 15′, 18′, 21′, 24′, 27′, 30′ diameter
- Most affordable per gallon of water
Oval pools:
- More like in-ground pool aesthetics, fits better in rectangular yards
- Require buttress supports on the straight sides – these extend outward from the wall and need clear space
- More complex to install than round pools
- Common sizes: 12×24, 15×30, 18×33 feet
Rectangular pools:
- Less common in above ground kits more of a specialty product
- Most closely resembles an in-ground pool appearance
- Most complex installation, typically requires more support structure
Wall Height Options
Most above ground pool kits come in these wall heights:
- 48 inches – good for younger children, shallower experience
- 52 inches – the most popular middle ground
- 54 inches – slightly deeper, good compromise
Taller walls hold more water, which means more chemical volume and longer fill times but also a better swimming experience for adults. The 52″ height is the sweet spot for most families.
Liner Considerations
The liner is one of the most important components and a frequent area where buyers underinvest.
Liner thickness:
- Measured in gauge or mil
- 20 mil: Entry level, adequate for moderate use
- 25–27 mil: Mid-range, better puncture resistance and longevity
- 30 mil: Premium, longest lasting, worth the upgrade
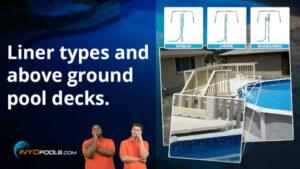
Liner overlap vs. beaded vs. J-hook:
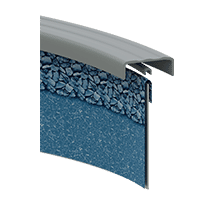
- Overlap liners: Drape over the top of the wall and are held by coping strips. Most forgiving to install, easiest to find replacements
- Beaded liners: Snap into a bead receiver track at the top of the wall. Cleaner look, easier to replace without draining if properly set up
- J-hook liners: Hook directly over the top rail. Simple installation, no receiver track needed
Pattern and color:
- Lighter colors (blue, white) make the pool appear larger and brighter
- Darker colors absorb more heat from sunlight a small but real thermal benefit
- Pattern is mostly cosmetic preference
Measure carefully:
- Liner size must match your pool dimensions exactly a liner that’s too small can’t be stretched to fit without risk of failure, and too large creates unsightly folds
Filter System Options
Most kits include one of three filter types:
Sand Filter
- Filters water through a bed of #20 silica sand
- Easy maintenance backwash when pressure rises, replace sand every 5 years
- Good for larger pools
- Filters particles down to 20–40 microns
Cartridge Filter
- Uses a pleated cartridge element to trap debris
- No backwashing remove and rinse/soak cartridge to clean
- Better filtration than sand (10–15 microns)
- Better suited to smaller pools or pools with light debris loads
DE (Diatomaceous Earth) Filter
- Best filtration of the three (3–5 microns)
- More maintenance involved backwash and recharge with DE powder
- Less common in basic above ground kits but available as an upgrade
Pump sizing matters:
- Kit pumps are often sized adequately but not generously check the turnover rate
- Your pump should turn over your pool’s total volume every 6–8 hours
- Upgrading to a variable speed pump is worth considering even if the kit includes a single speed unit
Site Preparation The Most Critical Step
This is where more DIY installations go wrong than anywhere else. A poorly prepared site causes liner wrinkles, structural stress, wall failure, and premature pool failure.
Ground requirements:
- Perfectly level – this is non-negotiable. Even a 2-inch difference across the pool diameter creates significant water pressure imbalance and wall stress. Use a line level or laser level, not eyeballing.
- Firm and compacted – soft or loose soil will settle unevenly under the weight of thousands of gallons of water
- Free of roots, rocks, and sharp objects – anything that can puncture the liner from below must be removed
Leveling methods:
- Sand base: 2–3 inches of compacted sand creates a smooth, forgiving surface for the liner. Do NOT use pea gravel or loose fill it shifts
- Concrete pad: The most permanent and level option, but expensive and overkill for most installations
- Compacted native soil: Works if the soil is suitable, but requires careful leveling and removal of all debris
Don’t add dirt to raise low spots:
- Loose fill dirt compresses unevenly under the pool’s weight
- Always remove soil from high spots rather than adding to low spots
Ground cloth / underlayment:
- Always use a ground cloth or pool pad between the soil and liner
- Adds a layer of puncture protection and extends liner life
- Foam underlayment provides extra cushion and insulation from ground temperature
What You’ll Need for Installation
Tools:
- Tape measure (long – 50’+)
- Line level or laser level
- Rubber mallet
- Flathead and Phillips screwdrivers
- Adjustable wrench and pliers
- Garden hose
- Shovel and rake (for site prep)
- Utility knife (for liner trimming)
- Marking paint or stakes and string
Materials not usually in the kit:
- #20 silica sand (for sand base and/or filter)
- Pool underlayment or ground cloth
- PVC cement and primer (for some plumbing connections)
- Teflon tape
- Filter media (sand, cartridge, or DE)
- Start-up chemical kit
- Garden hose for filling (may take many hours plan accordingly)
Help:
- Realistically, above ground pool installation requires at least 2 people wall panels and liner installation are very difficult alone
- 3–4 people makes it significantly easier and faster
Installation Overview (Steel/Resin Round Pool)
Every kit is different but the general sequence is:
- Mark and prepare the site – most important step, take your time
- Lay out and level the bottom track – the circular bottom rail that the wall sits on
- Install wall panels – connect panels end to end around the track
- Install uprights and top rails – these lock the wall in place
- Install skimmer and return fittings – cut wall openings per instructions
- Lay ground cloth and sand base
- Install the liner – hang it, smooth out wrinkles, begin filling slowly while continuously smoothing
- Connect plumbing – skimmer and return lines to filter system
- Fill to operating level
- Install ladder/steps
- Prime pump, check for leaks, start filtration
- Balance water chemistry
The liner step is the most stressful part for most DIYers. Fill slowly, keep smoothing wrinkles toward the walls as the water rises, and work quickly once you start the liner becomes less pliable as it fills and cools.
Permits and Regulations
Many jurisdictions require permits for above ground pools, particularly once they exceed a certain size or depth. Common requirements include:
- Fencing/barrier: Most areas require a fence or barrier around any pool above ground or in-ground. Some jurisdictions accept the pool wall itself as the barrier if it’s tall enough and the ladder is secured/removable
- Setback requirements: Minimum distance from property lines, structures, and utilities
- Electrical: Pump must be properly grounded and GFCI protected this is a safety requirement, not optional
- Utility locates: Always call 811 (in the US) before any digging for site preparation
Check with your local building department before purchasing requirements vary significantly by municipality.
Common DIY Mistakes to Avoid
- Skipping proper leveling – the #1 cause of above ground pool problems
- Buying an undersized pump – poor circulation leads to chemistry problems and algae
- Cheap liner – false economy, a quality liner lasts years longer
- Not calling 811 before digging – utility line strikes are dangerous and expensive
- Rushing the liner installation – wrinkles set permanently once the pool fills
- Ignoring local permit requirements – can result in fines or required removal
- Installing on soft or uncompacted ground – pool will settle unevenly
- Not having enough help – wall panel and liner installation really needs multiple people
Above ground pool kits represent exceptional value when chosen and installed correctly. A quality hybrid or resin kit installed on a properly prepared site can give you 20+ years of reliable swimming for a fraction of the cost of an in-ground pool. The investment of time upfront in site preparation and careful installation pays back every single season.



Leave a Reply